
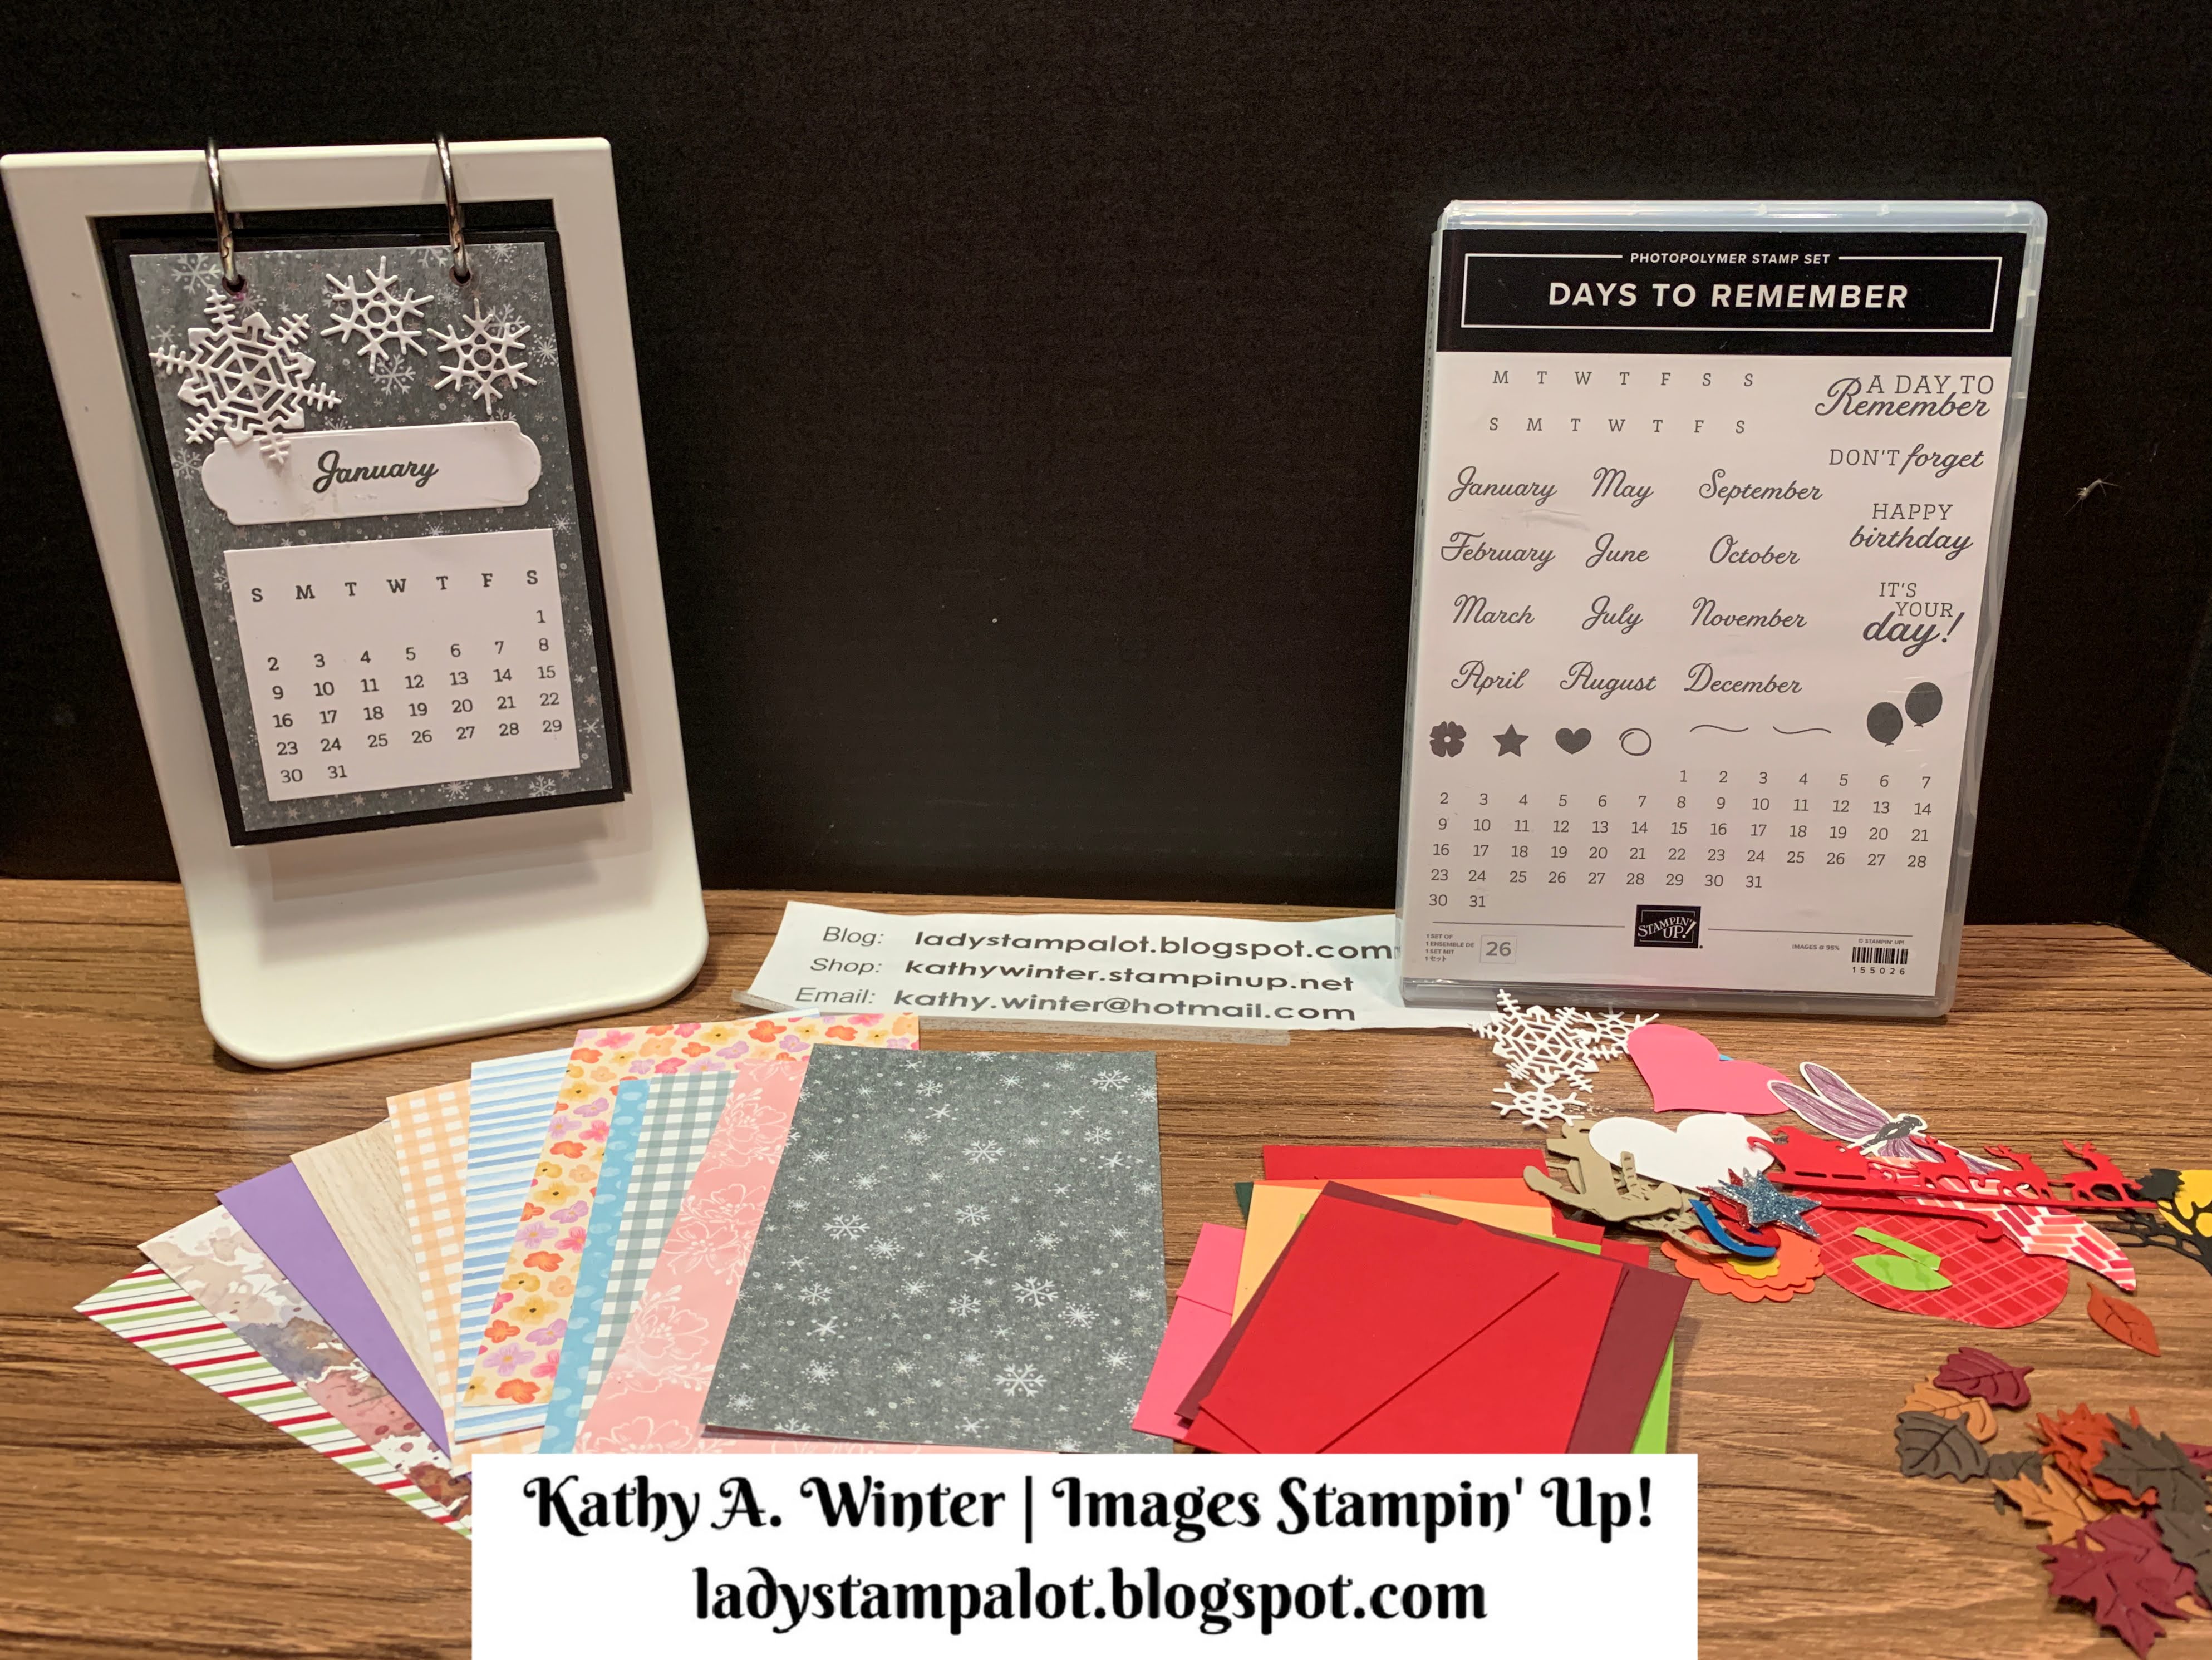
Christmas will be here in 8 short weeks! This is a great project that you can make for just about anyone on your list! The idea for this calendar has been on my mind since I first saw the Days to Remember stamp set in the 2021-22 Annual Catalog from Stampin' Up! This cute desktop calendar begins with a 99 cent frame from IKEA. I cut 6 pieces of black card stock as the base for this calendar, then decorated both sides with Designer Series Paper, stamped calendar pieces, and various punched or die cut shapes. Below are two other pages from the calendar.

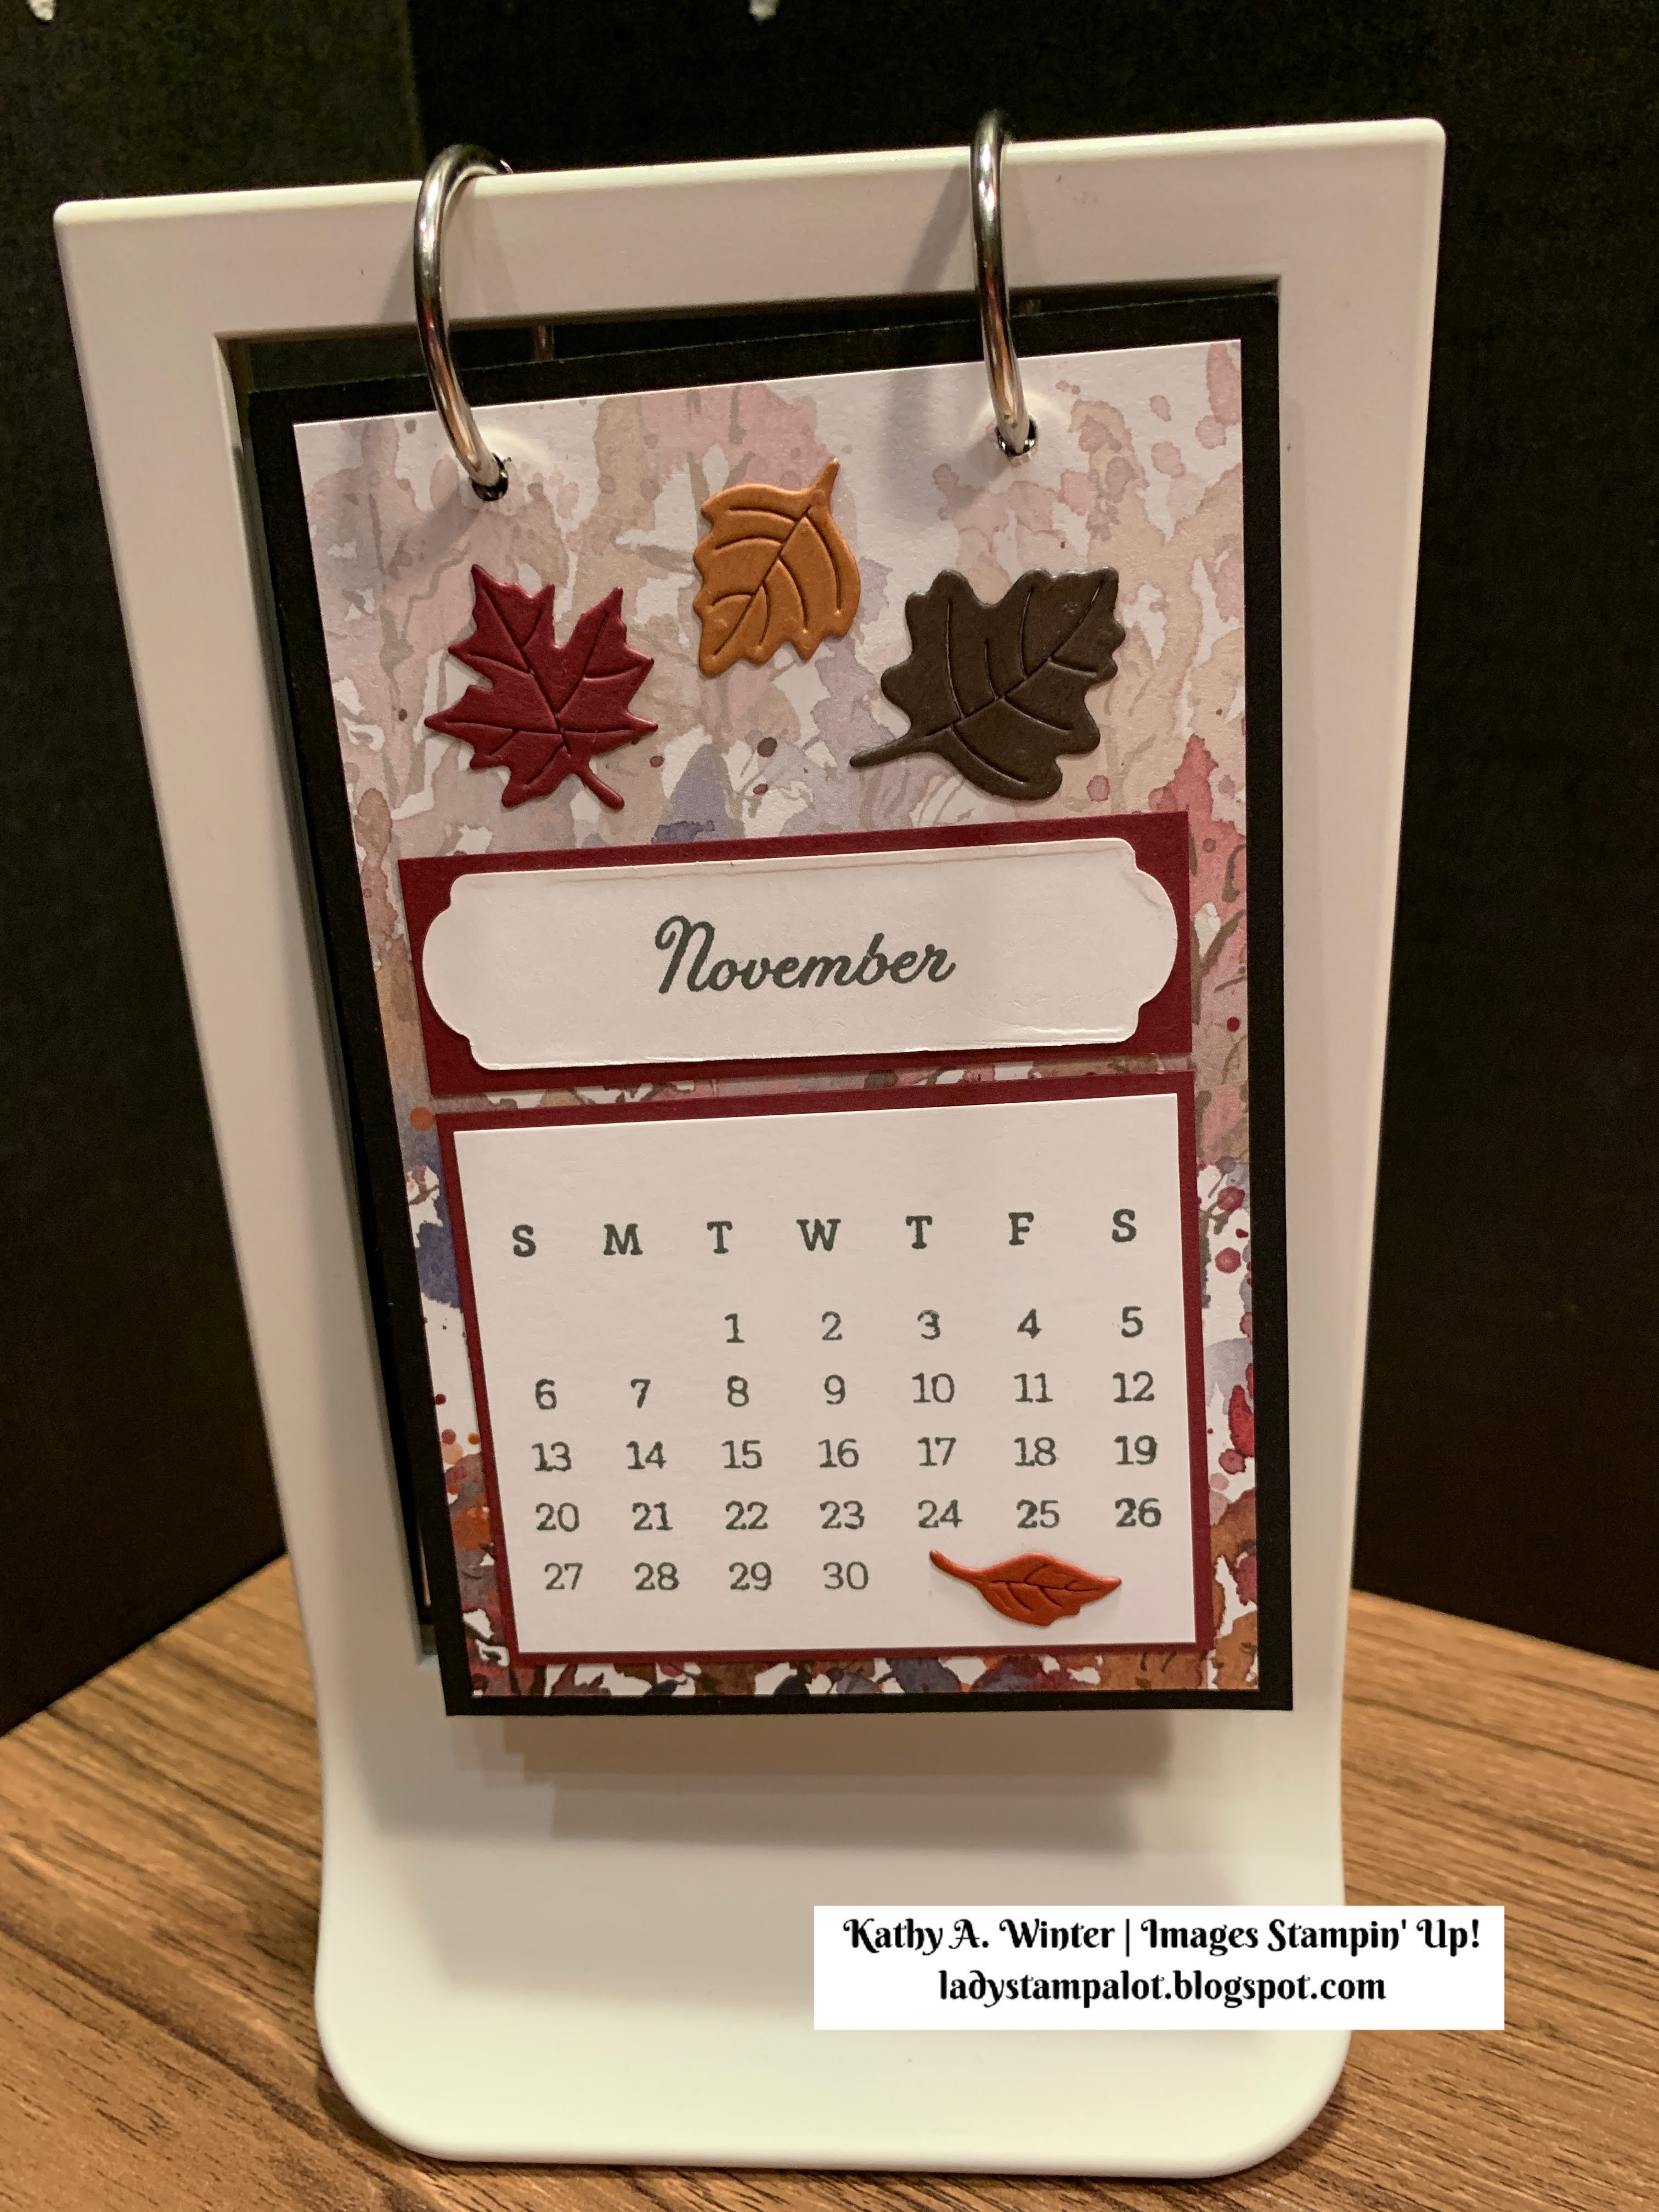
Watch this short video to see the other pages.
Next week I will post a video showing you how to stamp the calendar pieces, as well as the basic measurements for making this project.
Below are some of the products I used to make this project. Click on any image to purchase them from my online store.
")


 Specialty Designer Series Paper")
 Designer Series Paper")
 Designer Series Paper")
 Designer Series Paper")
 Designer Series Paper")
 Designer Series Paper")


I also used several punches and dies that are now retired. You could substitute something similar - or next week I will also share the details of a special "Class to Go." That way you can complete this project, without buying all of the products listed above!
If you have any questions please CONTACT ME.
Thanks for stopping by!
Kathy


")


 Gingham Ribbon")
