Wednesday, April 29, 2020

Pop Up 21st Birthday Card

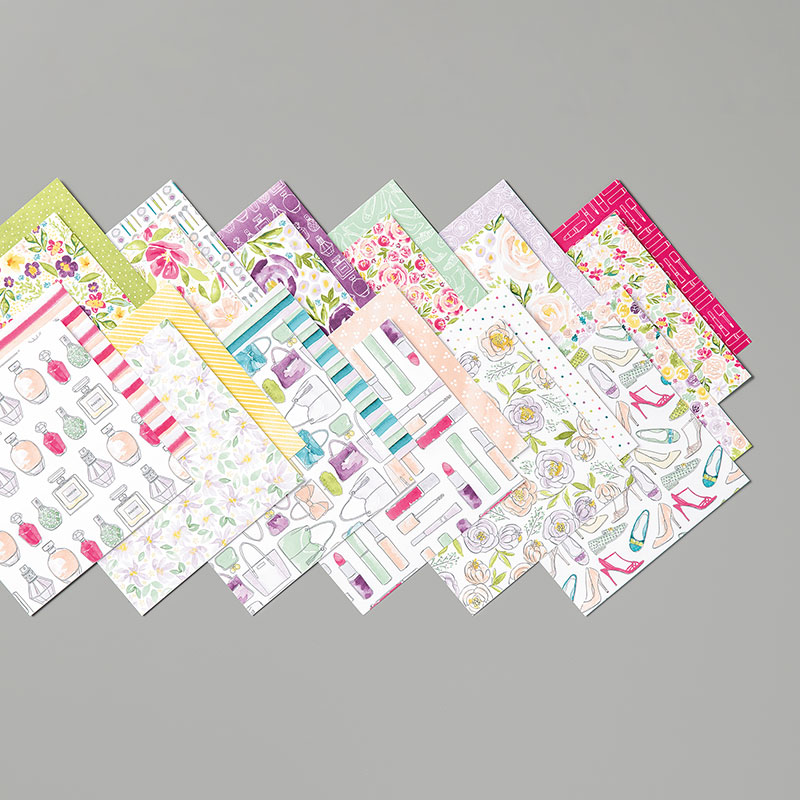
My son, Ben, turned 21 on Monday.  I spent two days designing and making this card for him.  It uses a lot of retired Stampin' Up! products.  I usually don't make cards that involve this much work - but I had a lot of time on my hands - with staying at home during the current pandemic. I designed the card front around the piece of designer series paper with candles.  I cut a section of 21 candles - and had to make it work with just that portion of the paper.  The colors are Pacific Point the Tangerine Tango or Tangelo Twist - can't remember!  But both are retired and similar to each other.

 This is the inside of the card - it pops up to look like the desk in his bedroom, where he is completing his spring semester of college.  My sense of humor is to remind him where/how he celebrated this milestone  birthday.  Below is a photo of his real desk - which I used as inspiration for the card.
To point out a few details:

  • He has the ABC flags for sailing above his desk - I made the flags on the card spell out HAPPY BIRTHDAY
  • His desk is made from two sets of black metal mechanics drawers - with a laminated kitchen counter top - with a "splatter" design.  I stamped the splatter onto blue card stock with white and Smokey Slate ink.  The drawer pulls are cut from silver foil paper.
  • He has a collection of Hess trucks above his desk on a wooden shelf.  I made a shelf using wood grain patterned paper - and cut small trucks from a (non -SU) piece of patterned paper.  I colored the trucks using a white gel pen, then added green markings to make them look more like Hess trucks.
  • The books are stickers - and if you look closely you will see a calculator sticker - that matches the calculator on his desk I made the red mouse by hand cutting the shape from a balloon sticker.
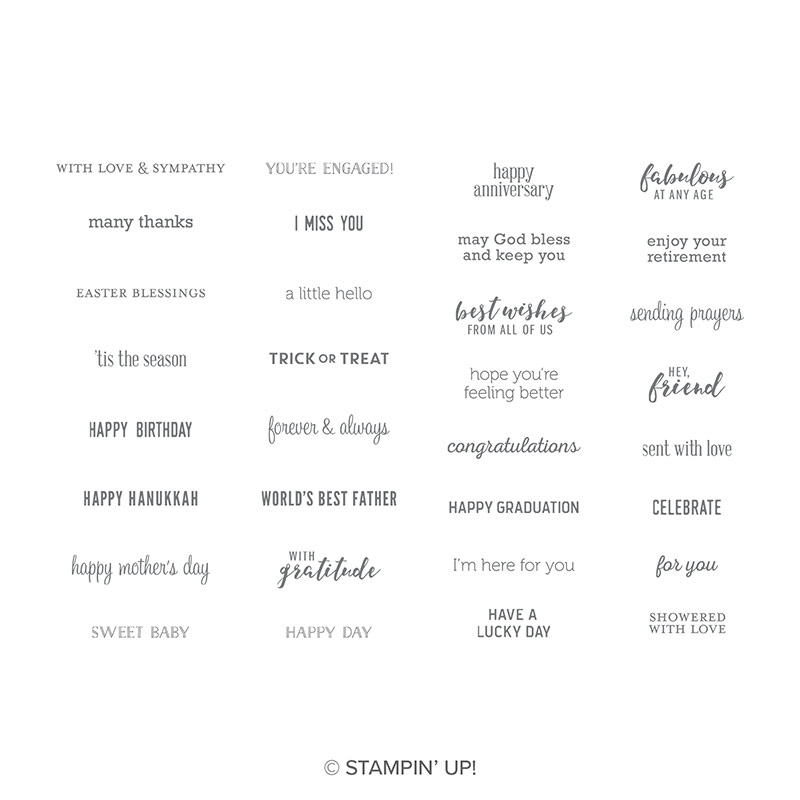
  • I made the laptop from card stock.  The happy birthday stamp is from Teeny Tiny Wishes (retired.)  I used a black Stampin' Up! marker to ink and stamp each word separately.
  • And, yes, the carpet in his room is Garden Green - like the card stock I used for the card.  The walls are Pacific Point - and match the walls of his room perfectly

And below is a picture of the birthday boy.

It is really easy to make the pop up element of this card.  Maybe I will put it on my list of videos to make.  


CLICK HERE to see and print the PDF of retiring products from the Stampin' Up! Jan - June mini catalog.

CLICK HERE  to see and print the PDF of retiring products from the  Stampin' Up! annual catalog.

CLICK HERE to go to my online store to SEE the retiring products and to start shopping.

A few notes about retiring products:

  • The Stampin' Blends markers are NOT retiring.  They will only be sold in combo packs of two pens, beginning with the new annual catalog.  So  now is your last chance to buy single pens.
  • Many of the retiring products are discounted up to 60% off.
  • Stamp sets are guaranteed to be available through May 22.  All other retiring products are WHILE SUPPLIES LAST.
  • When you see a "bundle" retiring - the stamp set itself may NOT be retiring.  It's just the last time you can buy the bundle for the additional 10% off.


PLEASE CONTACT ME if you have any questions - or if you would like me to place you order.

Please follow my FACEBOOK PAGEPINTEREST BOARDS, and YOU TUBE channel.


Thanks for stopping by!
Kathy

Sign up for my news letter here. 

Add your birthdate so I can send you a card! (I'll email you several weeks in advance for your mailing address.)

Subscribe

* indicates required

/ ( mm / dd )

Monday, April 27, 2020

Last Chance - Music from the Heart

MUSIC FROM THE HEART PHOTOPOLYMER STAMP SET
Stampin' Up! posted the list of retiring products last week - and this fun stamp set is on the list!  It was the first one I bought from the current January - June 2020 mini catalog!  It is PERFECT for any  music lover - and who doesn't love music?  Click on the image above to purchase this stamp set now.

I featured this stamp set in my JANUARY CLASS TO GO, which is still available.  Although Sale-a-bration ended  in March, I still have 4 free SAB items for the first 4 people to order this class to go.  EMAIL ME to let me know you want to order this class, and you can choose your FREE set.

Below are some of the projects I made using this stamp set.


CLICK HERE to see and print the PDF of retiring products from the Jan - June mini catalog.

CLICK HERE  to see and print the PDF of retiring products from the annual catalog.

CLICK HERE to go to my online store to SEE the products and to start shopping.

A few notes about retiring products:

  • The Stampin' Blends markers are NOT retiring.  They will only be sold in combo packs of two pens, beginning with the new annual catalog.  So  now is your last chance to buy single pens.
  • Many of the retiring products are discounted up to 60% off.
  • Stamp sets are guaranteed to be available through May 22.  All other retiring products are WHILE SUPPLIES LAST.
  • When you see a "bundle" retiring - the stamp set itself may NOT be retiring.  It's just the last time you can buy the bundle for the additional 10% off.


PLEASE CONTACT ME if you have any questions - or if you would like me to place you order.

Please follow my FACEBOOK PAGEPINTEREST BOARDS, and YOU TUBE channel.


Thanks for stopping by!
Kathy


Friday, April 24, 2020

New Catalog is Coming Soon!

I have seen the new 20-21 Stampin' Up! catalog and it is AWESOME (as usual.)  I am sad to see the 2018-2019 In Colors retire - but I'm sure the new ones will become fast favorites.

Whenever there is a new catalog - we must say "Good-bye" to some favorite sets and products.  Click on the graphic below to go to my online store.  Many of the products are discounted.  FYI - the Stampin' Blends markers are NOT really retiring  They will just be sold together as a combo set only - so if you want to purchase single markers in a certain color - now is the time to do it!


In the next several weeks, I will share with you some of my favorite sets that are retiring - along with projects that I made using those sets.  Retiring stamp sets are guaranteed to be available through May 22, 2020.  All other retiring products are "while supplies last" or until June 2. 

If you are not currently working with a Stampin' Up! demonstrator, I would love the chance to earn your business.  Send me an email at kathy.winter@hotmail.com  by April 28th - if you would like me to send you the catalog by mail.


CONTACT ME if you have any questions or if you would like me to place your order for you.

CLICK HERE to see my April 2020 class to go.  This is a project that I designed for the beginner: all you need to complete the 20 cards is your favorite adhesive!  The products that are used in the class are retiring and are discounted 30%.  

CLICK HERE  to see my other classes to go - which are still available.

Please follow my FACEBOOK PAGEPINTEREST BOARDS, and YOU TUBE channel.


Thanks for stopping by!
Kathy

Wednesday, April 22, 2020

Tips for Using and Storing Thin Dies


I made these cute cards using the Stitched Shapes dies and the Layering Ovals dies from Stampin' Up!  I posted a video on Monday showing how easy it easy to make these sweet cards.  You can see the video and close up photos of each card BY CLICKING HERE.

Today I wanted to explain how I store my dies and label them for easy use.  Below are photos of the dies.  Before I use them, I make a copy of them on regular (or colored) copy paper.  The main reason I make a copy is to make sure all the dies get back in place when I am done using them.  This is especially important when using dies with lots of small pieces.

I glue the copy paper to a magnetic sheet and glue that to the thin cardboard piece that the dies were originally taped to.  I get my magnetic sheets at Lowe's - they are really vent covers.  I keep everything in the original package. I add Velcro dots to make the plastic envelope easier to close.  I also add a larger label with the names of the dies - which just makes it easier for me to find when looking through all my dies.


If you look carefully at the dies in the photo below, you will see that I have numbered each of the dies.  The smallest oval is #1, the next one (which is in the group on the left) is #2, and I continue numbering them from smallest to largest.  This helps me when I write notes and tutorials - I can just tell you which number die I used to cut the piece - instead of measuring the dies each time.


I store all the dies in their original plastic envelopes in a basket that sits near my die cutting machine.  The basket on the right are the dies that are current - which means the dies on the left are all retired.  Believe it or not, I have sold quite a few retired dies - but these are ones that I still use and love - and can't part with - yet!


I hope this has been helpful to you.  I know everyone has their own way of storing their supplies - but this works well for me.  Some people like to keep the dies with a coordinating stamp set - but I find that I often use the dies alone or with other stamp sets.  If they were tucked away in a case with the stamp set, I would be less likely to use them.  This way I can quickly look through the dies to find something that might work for a project I am trying to complete,


CONTACT ME if you have any questions.

CLICK HERE to visit my online store.

CLICK HERE to see my April 2020 class to go.  This is a project that I designed.for the beginner: all you need to complete the 20 cards is your favorite adhesive!

CLICK HERE  to see my other classes to go - which are still available.

Please follow my FACEBOOK PAGEPINTEREST BOARDS, and YOU TUBE channel.


Thanks for stopping by!
Kathy


Monday, April 20, 2020

Wildly Happy - Quick & Easy Cards with video tutorial


I used the Wildly Happy stamp set from Stampin' Up! to make this cute set of cards.  The stamp set is perfect for welcoming new babies into the world. (With the current Stay at Home order - we may need A LOT of these cards in 9 months!) The stamps can also be used to just keep in touch or to tell someone that you are "Wildly Happy" for them - for almost any reason!  I even used a greeting from another set (Itty Bitty Greetings) to make an Easter card.

Watch the video below to see how easy it is to make the cards.  If you are viewing this in an email,  please click on the name of the blog post above to load the video.


Of course you could color those cute animals - but as you can see, they look great using black ink only!  Below is the card that I made in the video.


When I was filming the video - I was a little confused about the pieces I attached inside the card.  Afterwards, I realized that I should have cut them differently - as shown in the photo below.  This will make it look better - but honestly, I don't think the person receiving the card would even notice the difference.


Below are other versions of the card - using different stamps from the set and different Designer Series Paper.  The paper I used for the card below is from the 6x6 Brights Collection - which sadly has sold out.  But the paper is available in all of the other color collections, including current In Colors.  This is the time of year when many products are selling out and will be available "while supplies last."   We are approaching the end of the catalog year - and a new catalog will be available in early June.


Click on any item below to go to my online store.  See more detailed information about each product and start shopping!
WILDLY HAPPY CLING STAMP SET2019–2021 IN COLOR 6 X 6 (15.2 X 15.2 CM) DESIGNER SERIES PAPERnote cards and envelopeswhite paperCardstockSTITCHED SHAPES DIESLAYERING OVALS DIESblack markerblack stamp ink padclear stamp mounting blocksimply shammy stamp cleaning clothadhesive foam dotssnail sticker adhesivesticker refillfine tip liquid glue


CONTACT ME if you have any questions or if you would like me to place your order for you.

CLICK HERE to see my April 2020 class to go.  This is a project that I designed for the beginner: all you need to complete the 20 cards is your favorite adhesive!

CLICK HERE  to see my other classes to go - which are still available.

Please follow my FACEBOOK PAGEPINTEREST BOARDS, and YOU TUBE channel.


Thanks for stopping by!
Kathy


Wednesday, April 15, 2020


This is another reminder that the 2018-2020 In Colors will be retiring at the end of May.  This card is made with the retiring colors Lovely Lipstick, Grapefruit Grove, Blueberry Bushel, Pineapple Punch, and Call Me Clover.  

If you like these colors, now is the time to stock up.  Any products with these colors will NOT carry over to the new catalog.  These items will start to sell out quickly - and will be available  only while supplies last towards the end of the catalog selling period.  If you have the ink pad - don't forget to order the ink refill!

Click on any item below to add to your shopping cart.  You can also purchase individual colors  by CLICKING HERE.   Other items available in these colors include ribbon and Stampin' Blends.

While you are shopping, be sure to check out the CLEARANCE RACK.  New items have been added - lots of great products at deep discounts.

primary color cardstocksquare multi-color paper packfive ink padsblueberry blue inkgreen ink refillorange inkpink inkyellow inkfive marker pack2018-2020 IN COLOR 6" X 6" (15.2 X 15.2 CM) DESIGNER SERIES PAPER

CONTACT ME if you have any questions or if you would like me to place your order for you.

CLICK HERE to see my April 2020 class to go.  This is a project that I designed for the beginner: all you need to complete the 20 cards is your favorite adhesive!

CLICK HERE  to see my other classes to go - which are still available.

Please follow my FACEBOOK PAGEPINTEREST BOARDS, and YOU TUBE channel.


Thanks for stopping by!
Kathy


Monday, April 13, 2020

Hold on to Hope fancy fold card


Here is a video that shows how to make the card that I posted on my blog on Friday.  I had several people ask me how to make the card.  The video will show you how easy it is to put the card together.  Below are photos of the card I posted Friday - and the one I made in the video, using different card stock and patterned paper.


How to make this card: (all measurements are inches)

Card Base is cut at 4 1/4 x 8; score at 1 1/4, 2 1/2, 5 1/2, 6 3/4

Card stock strip: 1 x 5 1/2

Whisper Whiter: you will need two pieces, 2 3/4 x 4 ( 1 piece for the stamped leave/cross and 1 for the back of the card) 

The Designer Series Paper strips are 1 x 4 (you will need two of them)

The large ovals are cut using the Stitched Shaped dies and Layering Ovals Dies

The small white oval is also cut from the Stitched Shapes dies.

The butterfly and "greens" behind the small oval are cut using the Well Written dies.

I added some rhinestones as a finishing touch.

Below are some of the products I used to make the card in the video.  Click on any image to add that item to your shopping cart!


CROSS OF HOPE DIESpink lipstick cardstock
olive green paperwhite paperBEST DRESSED 6" X 6" (15.2 X 15.2 CM) DESIGNER SERIES PAPER
olive ink padSTITCHED SHAPES DIESLAYERING OVALS DIESWELL WRITTEN DIESItty Bitty Greetings Cling-Mount Stamp Setclear rhinestone jewels

CLICK HERE to see the products for making the original card that I posted on Friday.

If you have any questions or need more information, please CONTACT ME.

CLICK HERE to visit my online store.

Please follow my FACEBOOK PAGEPINTEREST BOARDS, and YOU TUBE channel.


Thanks for stopping by!
Kathy