Showing posts with label Hold on to Hope. Show all posts

Wednesday, May 27, 2020

Hold on to Hope


I literally made these cards before breakfast one day last week.  I think they are gorgeous - and I can say that because they are not my original design.  I CASEd them from another Stampin' Up! demonstrator, Brandy Cox, who helped design this set.  "CASE" is a term that we use in the stamping world to mean Copy And Share Everything.  The only thing I did differently was to stamp the pink butterfly.  She used Early Espresso ink to stamp the butterfly and cut it out using the coordinating dies for this set.

If you do all the stamping first - then the cards can be made quickly.

Basic Directions for making these cards:
  • Card Base: Thick Whisper White 5 1/2 x 8 1/2, scored at 4 1/4
  • Petal Pink layer: 3 7/8 x 5 1/8: stamp the edge of the card using the large floral stamp and Petal Pink Ink
  • Whisper White mat/layer: 2 3/4 x 3 3/4
  • Whisper White for stamped images: 2 1/2 x 3 1/2 ; stamp the cross and butterfly using Petal Pink ink, and the words with Early Espresso ink; layer this on the white mat using dimensionals
  • Stamp the inside and the envelope as desired 

This is one of the sets that I hate to see retire. I love everything about this set, the sentiments, images, and beautiful dies.  This set and the dies are only available through June 2, or while supplies last.  The dies are now 60% off - a GREAT deal - and they could even be used without the stamp set.  Click on the images below to add the items to your shopping bag in my online store.
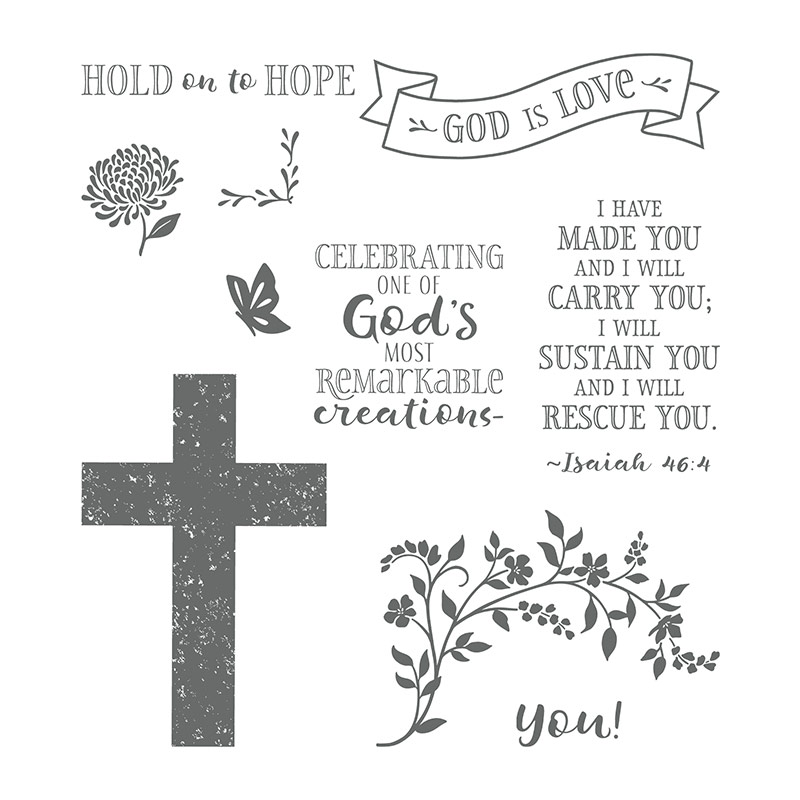
Hold On To Hope Cling-Mount Stamp SetCROSS OF HOPE DIES


CLICK HERE to see another card that I made using this stamp set.

Click on the image above to see all of the items that will be retiring on June 2.  The Stampin' Blends markers are NOT retiring, but they will only be sold in a bundle in the new catalog.  So this is the last chance to buy individual markers. 

Thanks for stopping by!
Kathy
Monday, April 13, 2020

Hold on to Hope fancy fold card


Here is a video that shows how to make the card that I posted on my blog on Friday.  I had several people ask me how to make the card.  The video will show you how easy it is to put the card together.  Below are photos of the card I posted Friday - and the one I made in the video, using different card stock and patterned paper.


How to make this card: (all measurements are inches)

Card Base is cut at 4 1/4 x 8; score at 1 1/4, 2 1/2, 5 1/2, 6 3/4

Card stock strip: 1 x 5 1/2

Whisper Whiter: you will need two pieces, 2 3/4 x 4 ( 1 piece for the stamped leave/cross and 1 for the back of the card) 

The Designer Series Paper strips are 1 x 4 (you will need two of them)

The large ovals are cut using the Stitched Shaped dies and Layering Ovals Dies

The small white oval is also cut from the Stitched Shapes dies.

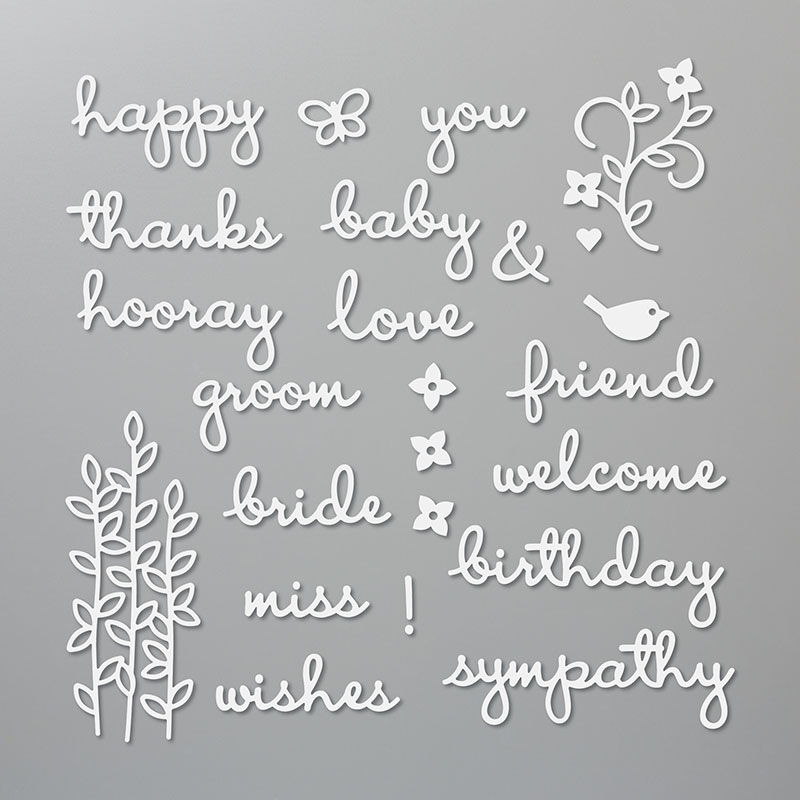
The butterfly and "greens" behind the small oval are cut using the Well Written dies.

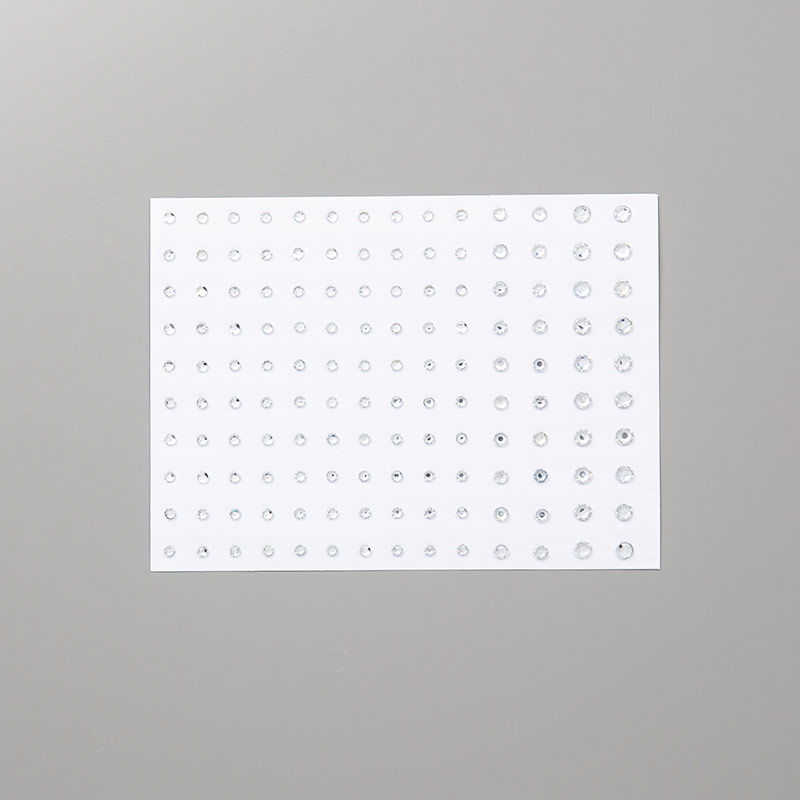
I added some rhinestones as a finishing touch.

Below are some of the products I used to make the card in the video.  Click on any image to add that item to your shopping cart!


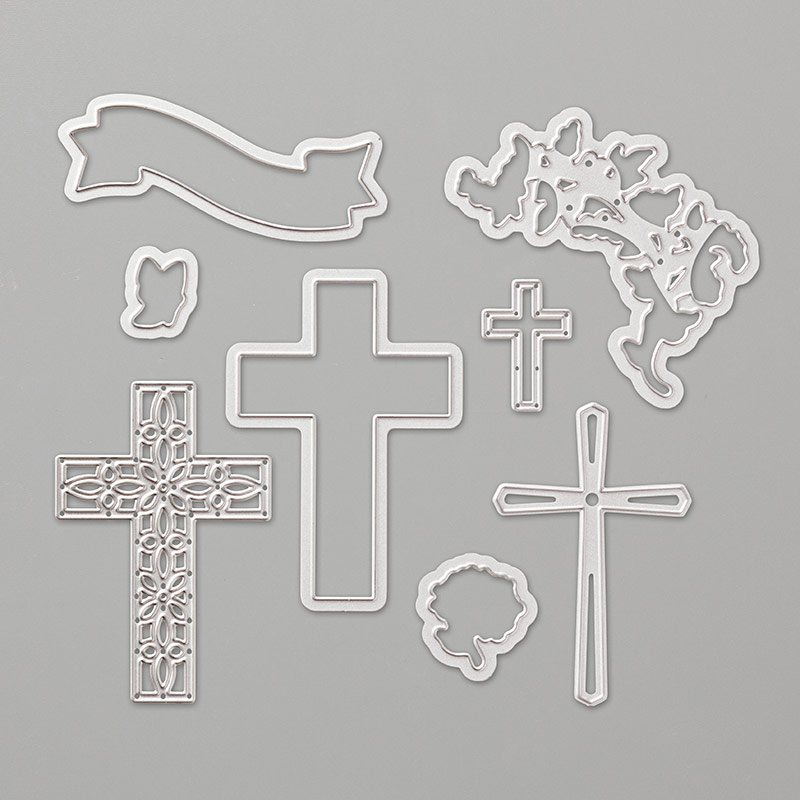
CROSS OF HOPE DIESpink lipstick cardstock
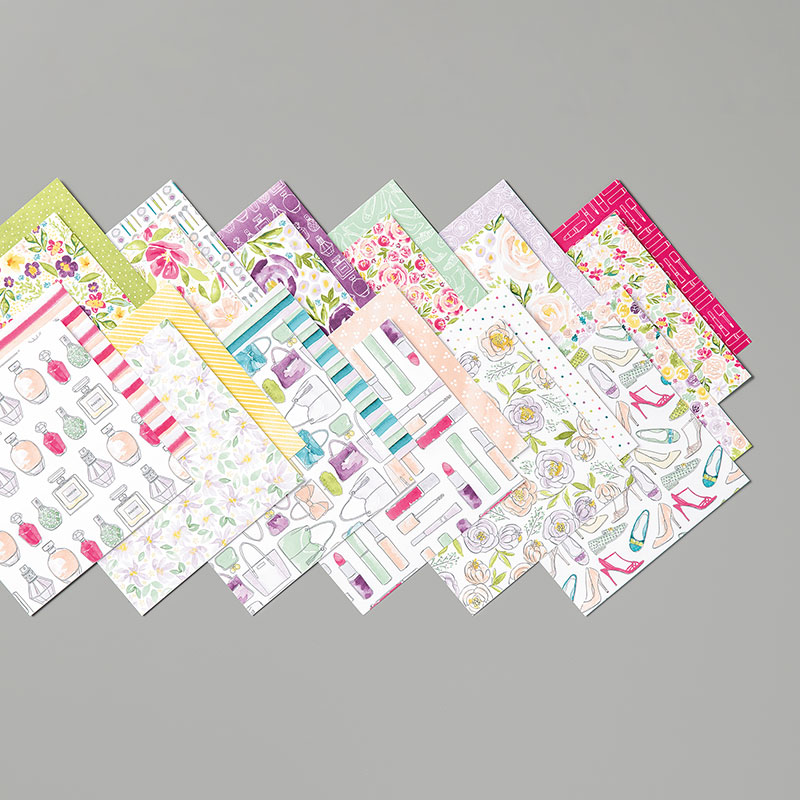
olive green paperwhite paperBEST DRESSED 6" X 6" (15.2 X 15.2 CM) DESIGNER SERIES PAPER
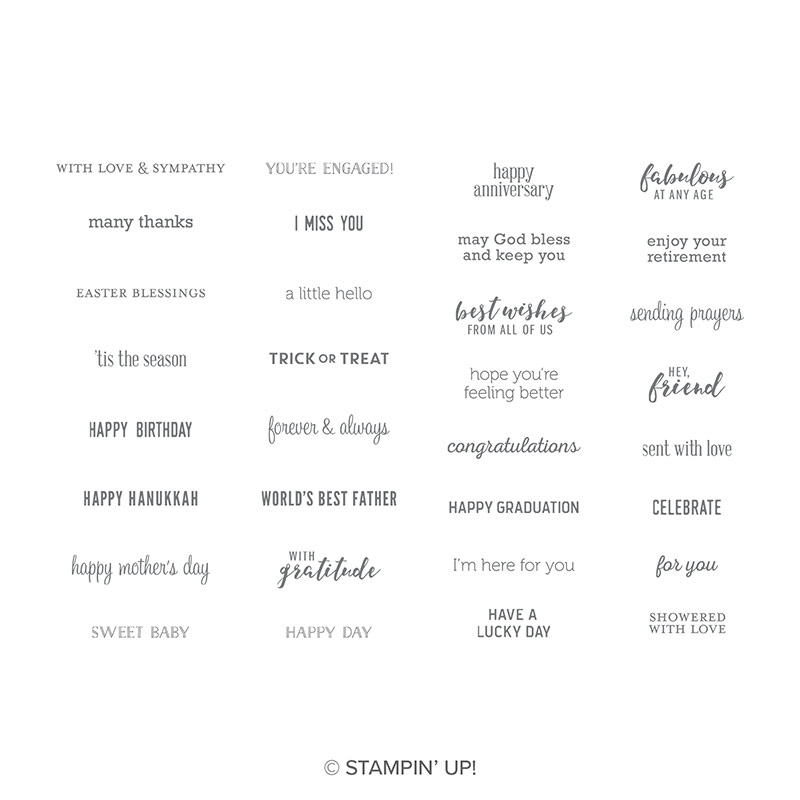
olive ink padSTITCHED SHAPES DIESLAYERING OVALS DIESWELL WRITTEN DIESItty Bitty Greetings Cling-Mount Stamp Setclear rhinestone jewels

CLICK HERE to see the products for making the original card that I posted on Friday.

If you have any questions or need more information, please CONTACT ME.

CLICK HERE to visit my online store.

Please follow my FACEBOOK PAGEPINTEREST BOARDS, and YOU TUBE channel.


Thanks for stopping by!
Kathy


Friday, April 10, 2020

Hold on To Hope

 I put several of these cards in the mail this week.  I made this card using the "Hold on to Hope" stamp set and Crosses of Hope dies from Stampin' Up!

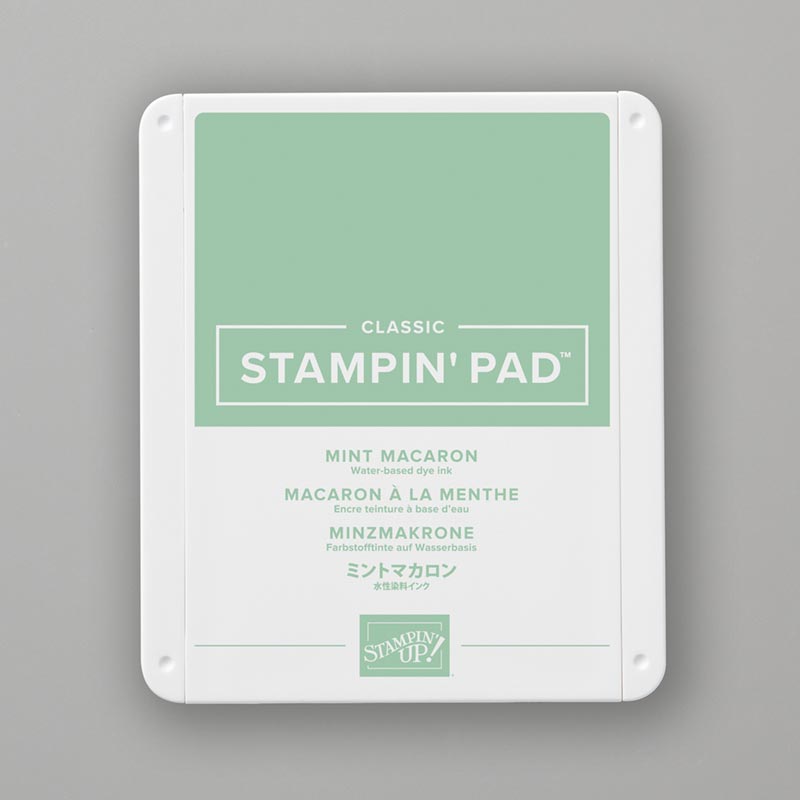
The colors I used on this card are Highland Heather (card stock)and Mint Macaron (ink and small card stock embellishments.)  The Designer Series paper is from the 6 x 6 "Best Dressed" paper pack - in the January - June mini catalog.

Below is a side view - so you can see how it stands up.  The basic card is easy to make - and it folds up to fit into a regular Medium envelope.  This card took a little more work to die cut the cross and then glue it back into the "negative" space.


Below is a photo of the back of the card and the matching envelope. (No Naked Envelopes)  I like to write a note instead of stamping a greeting on my cards.  Wouldn't YOU rather see someone's handwriting - knowing they were "speaking "directly to you when writing the message?!

How to make this card: (all measurements are inches)

Card Base (Highland Heather) is cut at 4 1/4 x 8; score at 1 1/4, 2 1/2, 5 1/2, 6 3/4

Highland Heather strip: 1 x 5 1/2

Whisper Whiter: you will need two pieces, 2 3/4 x 4 ( 1 piece for the stamped leave/cross and 1 for the back of the card) 

The Designer Series Paper strips are 1 x 4 (you will need two of them)

The large ovals are cut using the Stitched Shaped dies (white/stamped piece) and Layering Ovals Dies (Highland Heather)

The small white oval is also cut from the Stitched Shapes dies  ("Easter Blessings" is from the Itty Bitty Greeting stamp set.)

The butterfly and "greens" behind the small oval are cut using the Well Written dies.

I added some rhinestones as a finishing touch

Below are some of the products I used to make this card.  Click on any image to add that item to your shopping cart!


CROSS OF HOPE DIESlight purple paper
mint green paperwhite paperBEST DRESSED 6" X 6" (15.2 X 15.2 CM) DESIGNER SERIES PAPER
mint green stamp padSTITCHED SHAPES DIESLAYERING OVALS DIESWELL WRITTEN DIESItty Bitty Greetings Cling-Mount Stamp Setclear rhinestone jewels

If you have any questions or need more information, please CONTACT ME.

CLICK HERE to visit my online store.

Today is the last day to order April's Paper Pumpkin kit - learn how you can get a FREE KIT by CLICKING HERE.

Please follow my FACEBOOK PAGEPINTEREST BOARDS, and YOU TUBE channel.


Thanks for stopping by!
Kathy
Monday, April 2, 2018

Hold on to Hope

This is a beautiful card that I made a few weeks ago when I got together with several stamping friends for a fun day of stamping.  We each brought 3 projects for the others to make.  This is one that Martha Armstrong taught us how to make.  It is called a bridge card and it is surprisingly EASY to make.  It folds up to fit in a regular sized envelope for mailing.  It is made using the Hold On to Hope stamp set and coordinating thinlit dies.  They are found in the Stampin' Up! Occasions catalog.  Just a beautiful bundle of products and a great one to share with you on this day after Easter. 

CLICK HERE to visit my online store,

CONTACT ME if you would like to learn how to make a card like this with a group of your friends!

Thanks for stopping by!
Kathy