Showing posts with label Crosses of Hope. Show all posts

Monday, April 13, 2020

Hold on to Hope fancy fold card


Here is a video that shows how to make the card that I posted on my blog on Friday.  I had several people ask me how to make the card.  The video will show you how easy it is to put the card together.  Below are photos of the card I posted Friday - and the one I made in the video, using different card stock and patterned paper.


How to make this card: (all measurements are inches)

Card Base is cut at 4 1/4 x 8; score at 1 1/4, 2 1/2, 5 1/2, 6 3/4

Card stock strip: 1 x 5 1/2

Whisper Whiter: you will need two pieces, 2 3/4 x 4 ( 1 piece for the stamped leave/cross and 1 for the back of the card) 

The Designer Series Paper strips are 1 x 4 (you will need two of them)

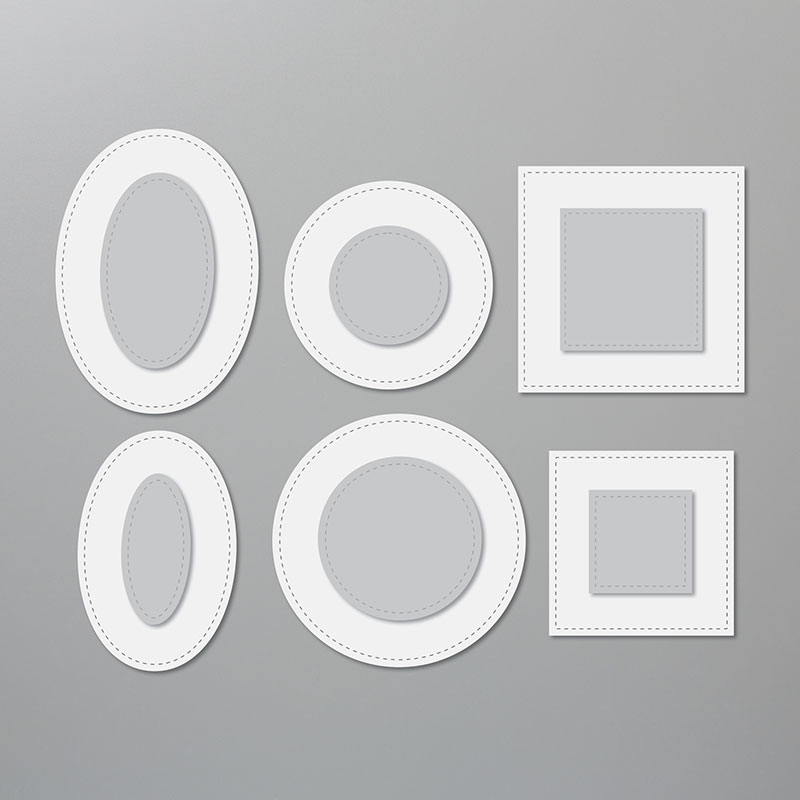
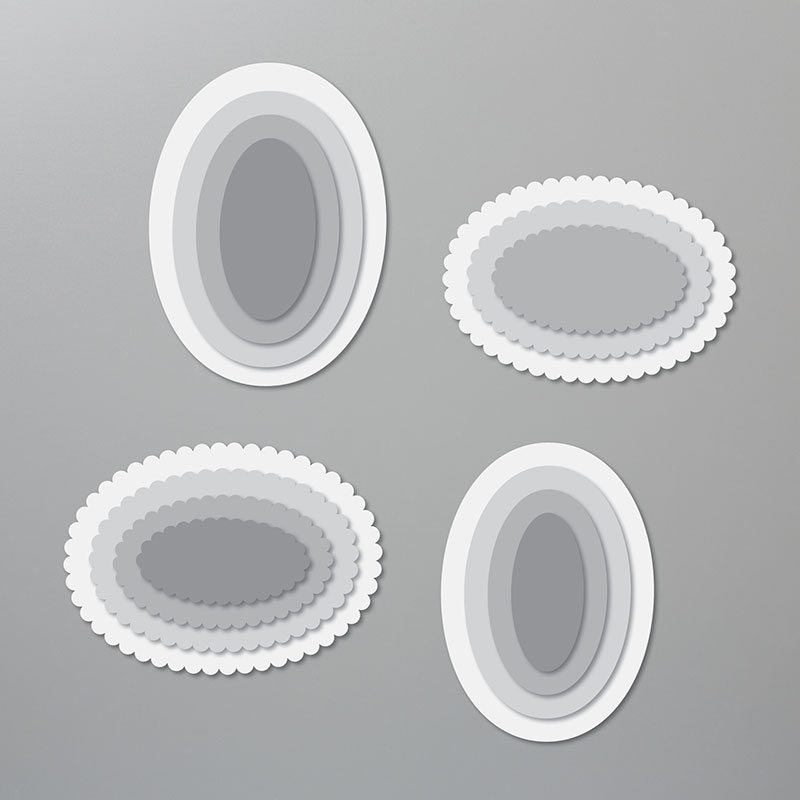
The large ovals are cut using the Stitched Shaped dies and Layering Ovals Dies

The small white oval is also cut from the Stitched Shapes dies.

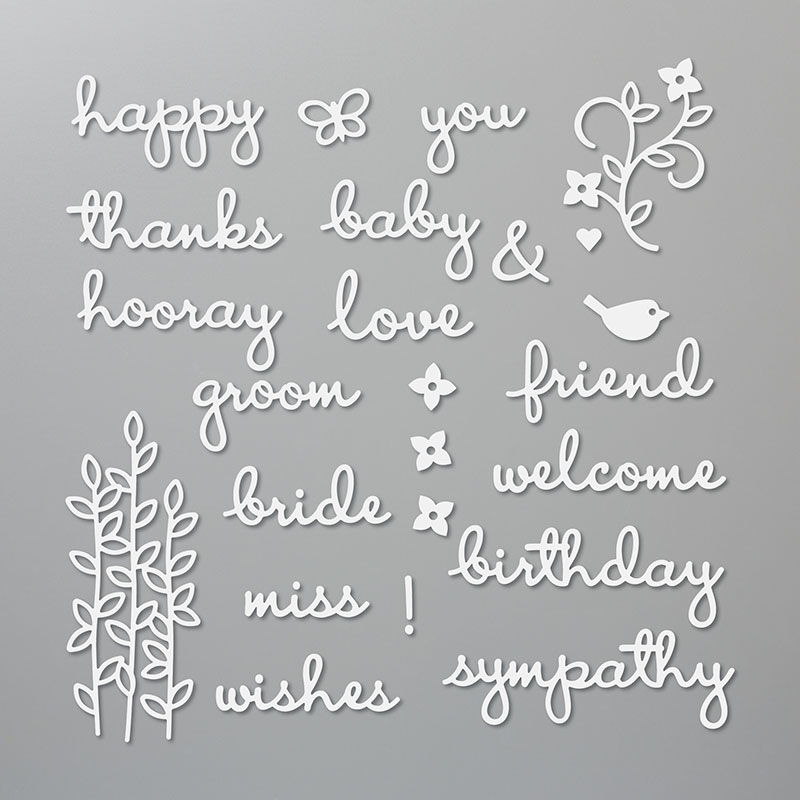
The butterfly and "greens" behind the small oval are cut using the Well Written dies.

I added some rhinestones as a finishing touch.

Below are some of the products I used to make the card in the video.  Click on any image to add that item to your shopping cart!
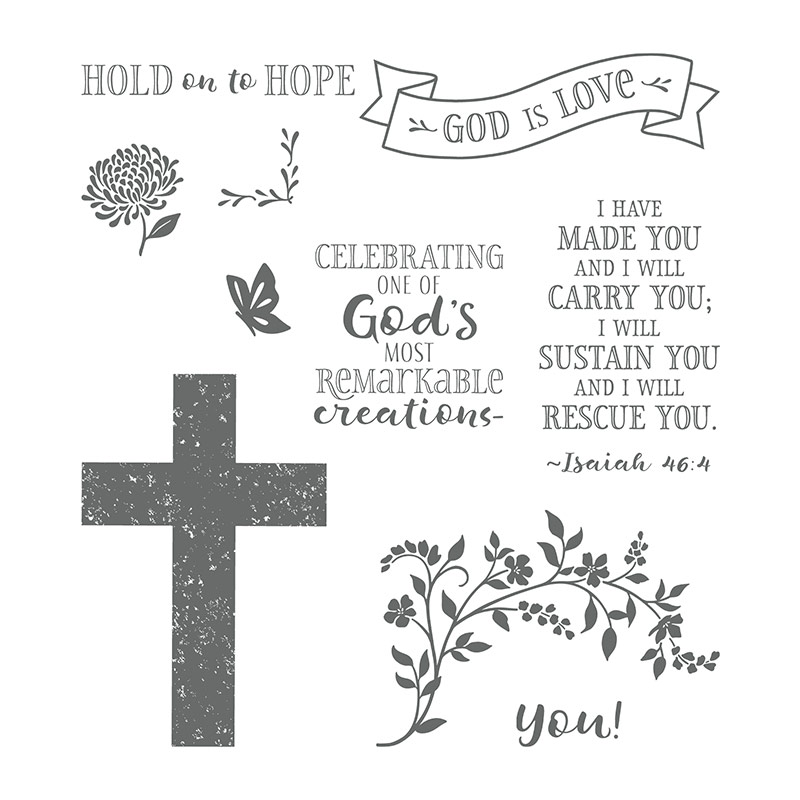

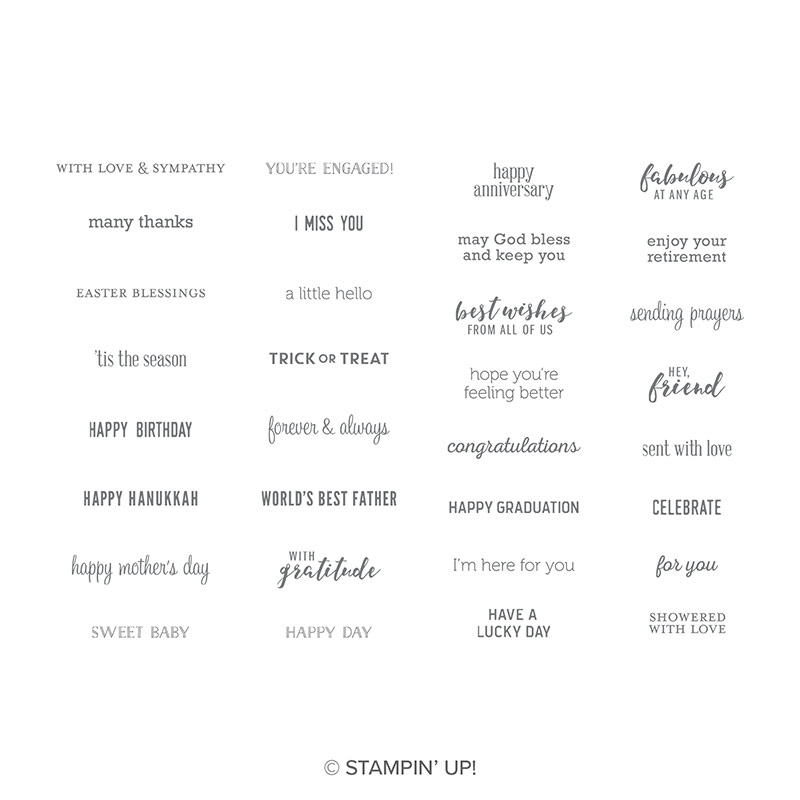
CROSS OF HOPE DIESpink lipstick cardstock
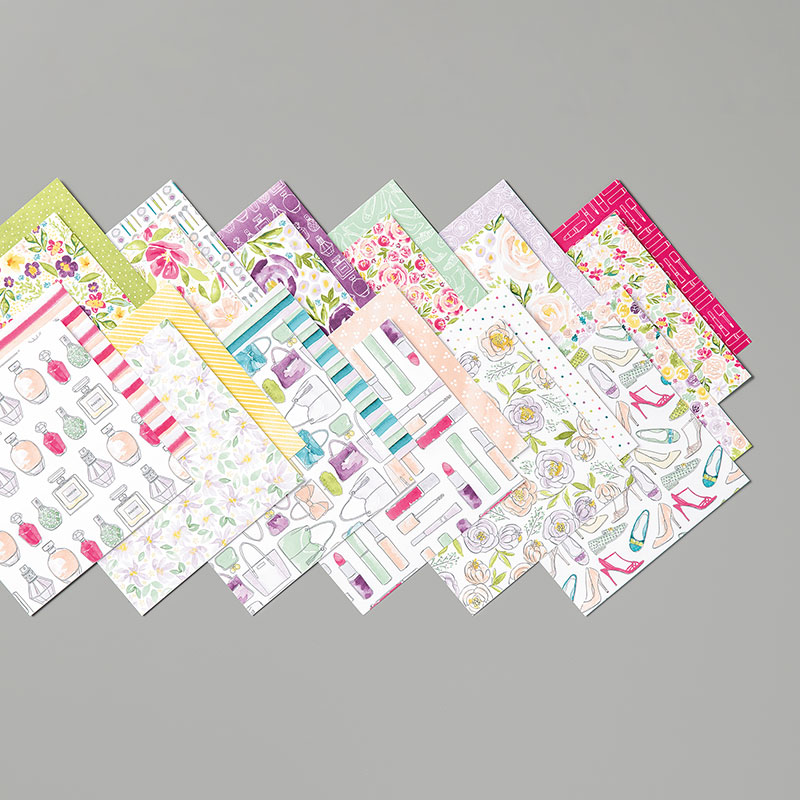
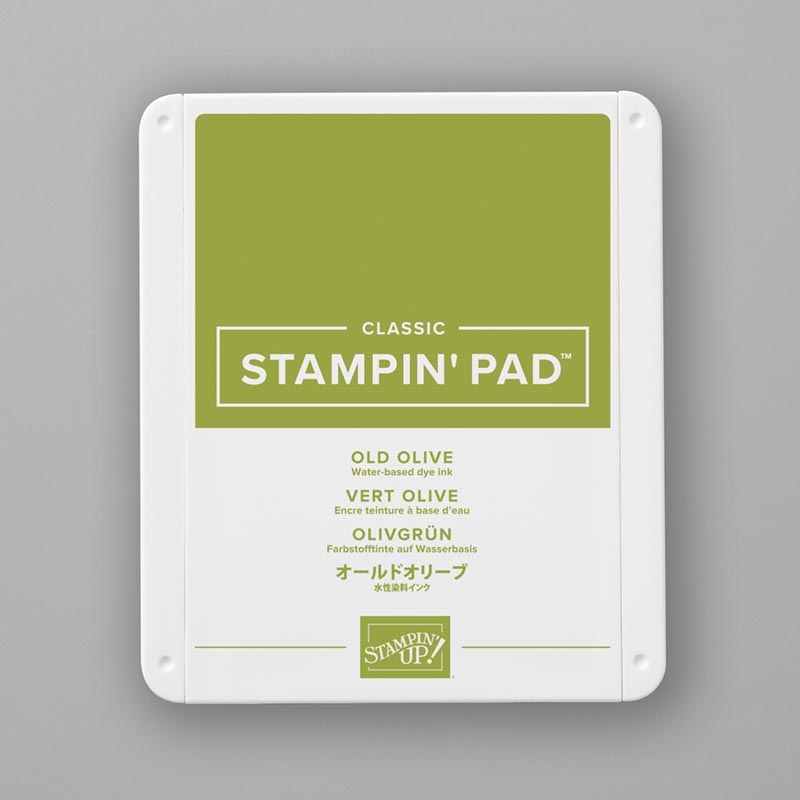
olive green paperwhite paperBEST DRESSED 6" X 6" (15.2 X 15.2 CM) DESIGNER SERIES PAPER
olive ink padSTITCHED SHAPES DIESLAYERING OVALS DIESWELL WRITTEN DIESItty Bitty Greetings Cling-Mount Stamp Setclear rhinestone jewels

CLICK HERE to see the products for making the original card that I posted on Friday.

If you have any questions or need more information, please CONTACT ME.

CLICK HERE to visit my online store.

Please follow my FACEBOOK PAGE, PINTEREST BOARDS, and YOU TUBE channel.


Thanks for stopping by!
Kathy


Friday, April 10, 2020

Hold on To Hope

 I put several of these cards in the mail this week.  I made this card using the "Hold on to Hope" stamp set and Crosses of Hope dies from Stampin' Up!

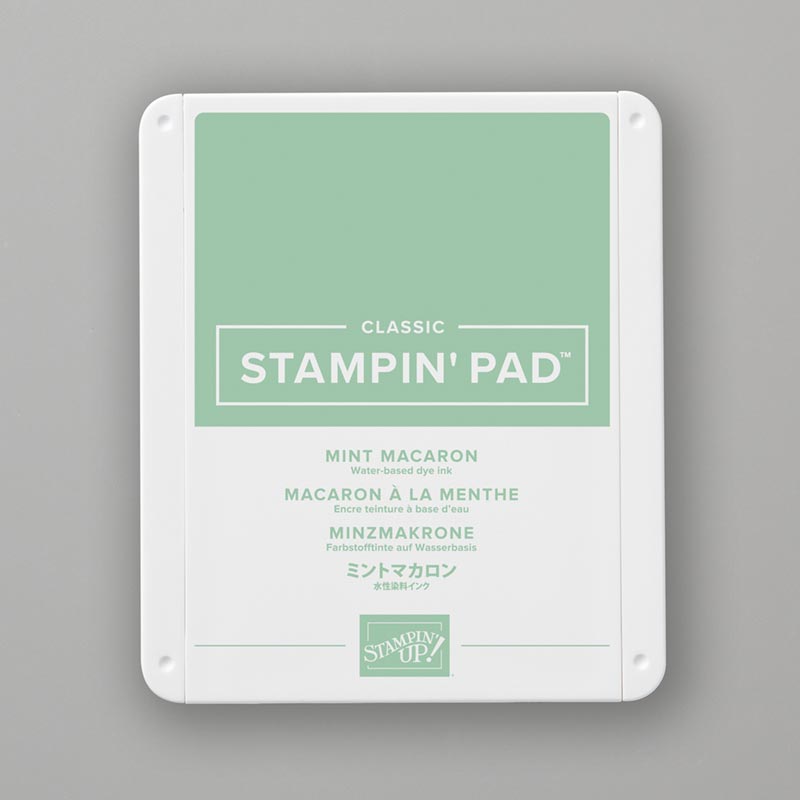
The colors I used on this card are Highland Heather (card stock)and Mint Macaron (ink and small card stock embellishments.)  The Designer Series paper is from the 6 x 6 "Best Dressed" paper pack - in the January - June mini catalog.

Below is a side view - so you can see how it stands up.  The basic card is easy to make - and it folds up to fit into a regular Medium envelope.  This card took a little more work to die cut the cross and then glue it back into the "negative" space.


Below is a photo of the back of the card and the matching envelope. (No Naked Envelopes)  I like to write a note instead of stamping a greeting on my cards.  Wouldn't YOU rather see someone's handwriting - knowing they were "speaking "directly to you when writing the message?!

How to make this card: (all measurements are inches)

Card Base (Highland Heather) is cut at 4 1/4 x 8; score at 1 1/4, 2 1/2, 5 1/2, 6 3/4

Highland Heather strip: 1 x 5 1/2

Whisper Whiter: you will need two pieces, 2 3/4 x 4 ( 1 piece for the stamped leave/cross and 1 for the back of the card) 

The Designer Series Paper strips are 1 x 4 (you will need two of them)

The large ovals are cut using the Stitched Shaped dies (white/stamped piece) and Layering Ovals Dies (Highland Heather)

The small white oval is also cut from the Stitched Shapes dies  ("Easter Blessings" is from the Itty Bitty Greeting stamp set.)

The butterfly and "greens" behind the small oval are cut using the Well Written dies.

I added some rhinestones as a finishing touch

Below are some of the products I used to make this card.  Click on any image to add that item to your shopping cart!
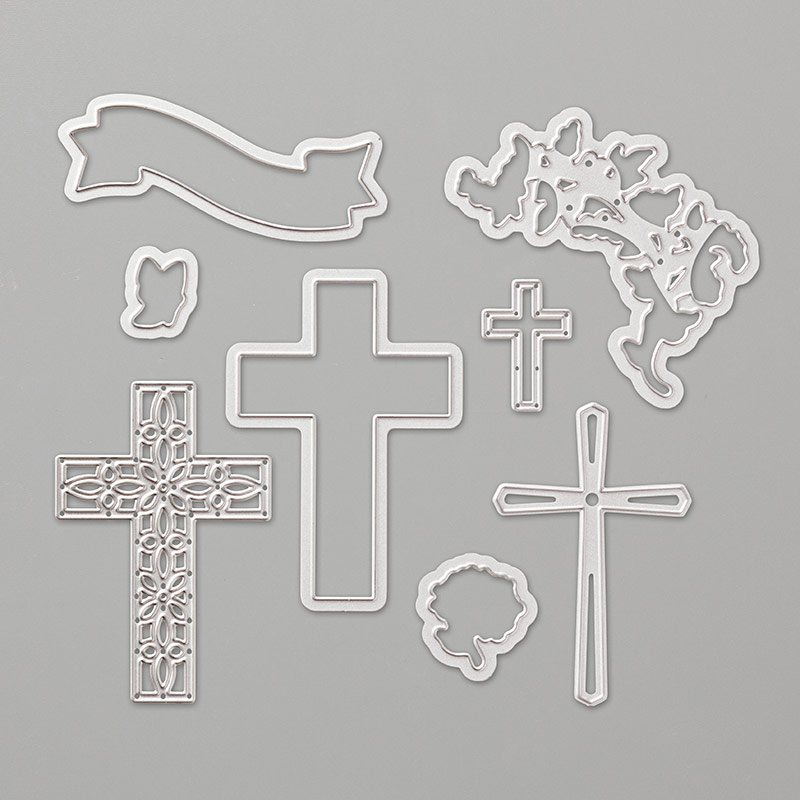

CROSS OF HOPE DIESlight purple paper
mint green paperwhite paperBEST DRESSED 6" X 6" (15.2 X 15.2 CM) DESIGNER SERIES PAPER
mint green stamp padSTITCHED SHAPES DIESLAYERING OVALS DIESWELL WRITTEN DIESItty Bitty Greetings Cling-Mount Stamp Setclear rhinestone jewels

If you have any questions or need more information, please CONTACT ME.

CLICK HERE to visit my online store.

Today is the last day to order April's Paper Pumpkin kit - learn how you can get a FREE KIT by CLICKING HERE.

Please follow my FACEBOOK PAGE, PINTEREST BOARDS, and YOU TUBE channel.


Thanks for stopping by!
Kathy

Sunday, March 31, 2013

Happy Easter!

Rejoice and be glad, for the promise of Jesus Christ has been fulfilled! Our Savior has risen from the dead.

Here is a card I made and actually sent to my mother and sisters in PA. I usually visit them during Spring Break, but wasn't able to do that this year.  This card has been in my file of favorites for a long time, but I don't know who the original designer was.
Products used to make this card:
Card stock: Certainly Celery, Perfect Plum, Whisper White
Ink: Certainly Celery, Perfect Plum
Stamp Sets: Elements of Style, Delightful Dozen, Crosses of Hope (retired)
Accessories: Framed Tulips Embossing Folder, Stampin' Dimensionals

This card was really quick and easy to make, so I also made a few extra for local friends.


Thanks for stopping by!
Wishing you a very Happy Easter!
Kathy

Wednesday, March 6, 2013

3x3 Easter Thanks

These are 3x3 cards that I made to stick in the bags with my customers' orders this month.
Supplies used to make the cards:
Whisper White or Very Vanilla card stock
Crosses of Hope (retired) and Teeny Tiny Wishes stamp sets
Designer Frames Folders
Perfect Plum ink

I tried two ways to make the card.  The first time I embossed the card and then stamped the cross inside the frame.  The second time I stamped the cross first and embossed second.  I was not very good at getting the cross in the center of the frame!  I was in a hurry because Mr. Brown will be delivering another Stampin' Up! order TOMORROW!!!

PLEASE CLICK HERE to see my club meeting dates/times for March.

Check back because I am trying to add another date, since this will be the last club meeting during Sale-a-bration.  I just have to find a time that doesn't conflict with my teaching/church/Ben's soccer commitments!

Thanks for visiting my blog today!
Kathy