Showing posts with label fun fold. Show all posts

Wednesday, March 19, 2025

For the Books part 2

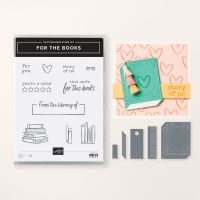
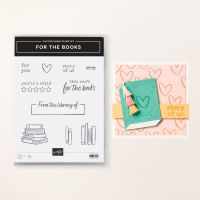
I had so much fun with the "For the Books" bundle from Stampin' Up!  It was one of the first sets I bought from the Jan/Apr 2025 mini catalog - mainly because both of my kids are book lovers - and I thought I could make some fun cards for them.  

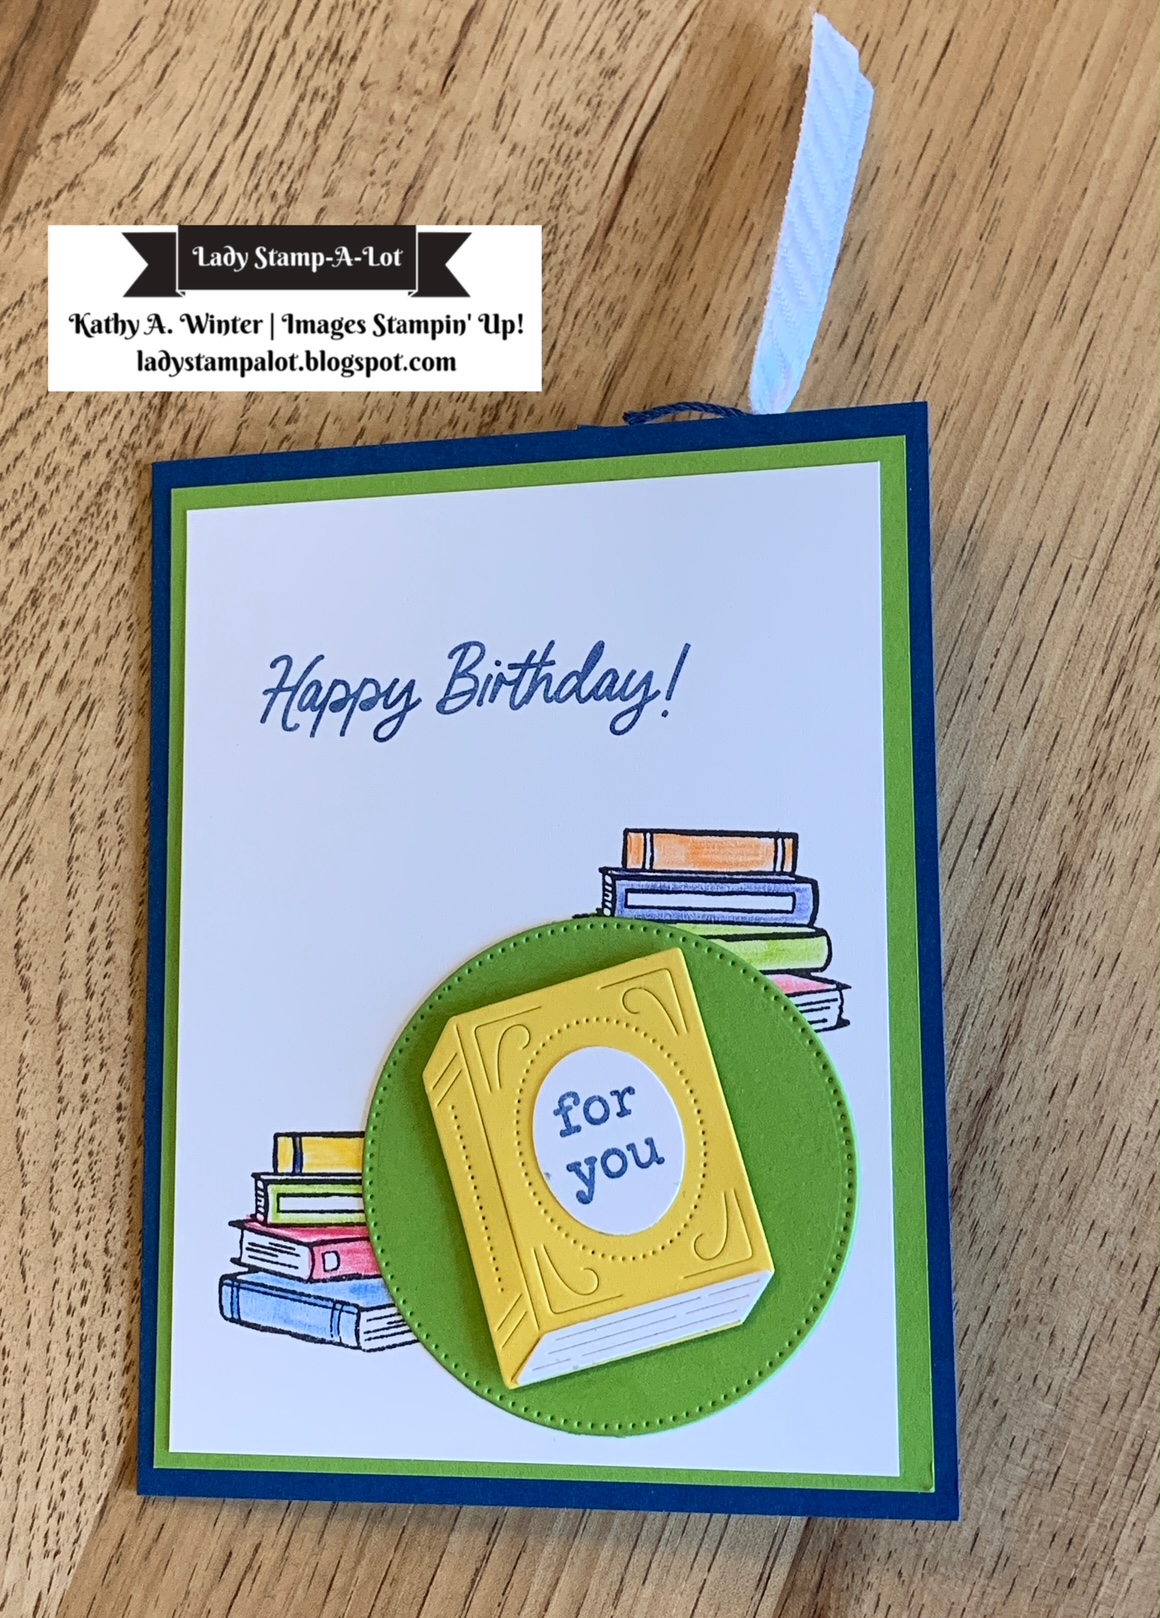
I shared several cards that I made with this set last week.  You can see that post HERE.  The card above is one of my favorites - its' a bookmark card.  Whoever receives the card can tear off the flap and use it as a book marker.

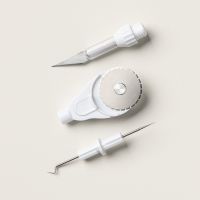
Here is a short video showing you how to make this card - using one of the Crafter's Tips for the Take Your Pick Tool.

Measurements to make the bookmark card:
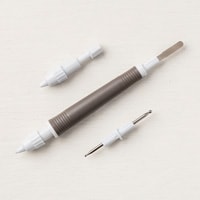
  • Card base 5-1/2 x 10-1/2; score at 4-1/4 and 8-1/2  (Use the Perforating Tip from the Take Your Pick Tool to go over the 8-1/2 score line)
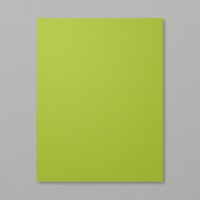
  • Granny Apple Green layer on card front: 4 x 5-1/4
  • White layer for stamping on front of card: 3-3/4 x 5
  • Stitched Circle Die for front of card (2-1/2")
  • White layer for inside card: 4 x 5-1/4
  • White piece for bookmark/stamped book images: 1-3/4 x 5-1/4


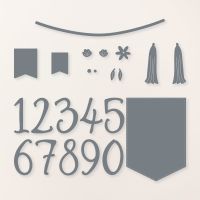
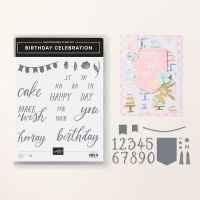
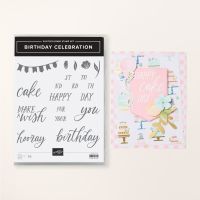
When I was making my first sample - I thought I stamped too many books on the book mark part of the card.  Well, I couldn't just throw it away - so I turned it into a bookmark to keep track of my reading goal for 2025 - which is 25 books.  I had to stamp a few more books on the back - and then I added the numbers using the Birthday Celebration Dies.


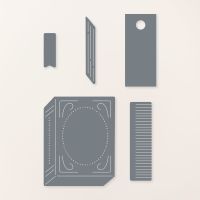
Below is an idea for an easier bookmark to make using the For the Books dies.  Stampin' Up!'s CEO, Sara Douglass, posted a reel showing how easy it is to make the bookmark - including the little tassles.  So I gave it a try.  


Wednesday, March 12, 2025

For the Books

I made all of these projects using the "For the Books" bundle from Stampin' Up!  It was one of the first sets I purchased from the Jan/Apr 2025 mini catalog - yet I hadn't inked it up!  I'm not sure why I waited so long!  Once I started I could not stop playing with this bundle!


Below is the card I featured on Saturday's blog post.  I made it following a sketch.  I stamped the books on a scrap of Basic White card stock - then cut them with scissors and attached them to a piece of Country Woods desigenr paper.  The other patterned paper on this card is from Timeless Plaid, another product from the Jan/April 2025 mini.


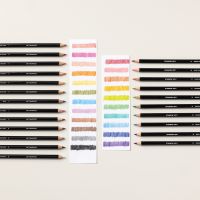
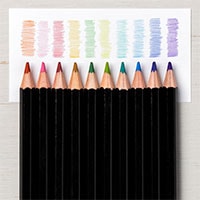
Next I made this quick and easy card.  I cut a strip of Country Woods designer paper to make a shelf - then stamped each of the book images directly on the white card base.  I colored the books using water color pencils. Don't you just love the addition of the eyeglasses?  That stamp is inlcuded in this stamp set.


Next I made another quick and easy card.  I stamped one of the book images on the Melon Mambo card base using Versamark ink.  This gives it the "tone on tone" look and adds interest to the card front.  I matted a piece of Full of Life.designer series paper, stamped a greeting, and added the die cut book to the front.


The cards below have the same layout but I used different colors of card stock and designer paper - to make one more masculine and one more feminine. For the one on the left, I stamped the books on a scrap of white, colored with pencils, fussy cut and attached to the card front.  For the card on the right I used the coordinating dies to add a book.  I punched out a scrap of designer paper to add to the book cover.


The project below is probably my favorite - a bookmark card.  I used one of the extra crafter's tips for the Take Your Pick tool - to make a perforated line - which will make the bookmark easy to detach and use.  What fun!


Finally, the last card is a Christmas card!  I saw this idea on Pinterest and thought it was so clever -  I had to give it a try!  I just stamped the book images in a tree shape, and colored them with three shades of green using colored pencils.


If you have any questions about these cards - please CONTACT ME.  I will share the 3D projects that I made with this bundle next week - so please check back to see them!

Shop my online store here:

https://kathywinter.stampinup.net/

 Follow me on Face Book:

https://www.facebook.com/ladystampalot

 Join my Facebook Group:

https://www.facebook.com/groups/907793999735887

 Follow me on Pinterest:

https://www.pinterest.com/karwinter/

 Follow me on You Tube:

https://www.youtube.com/channel/UCaChD48Der0nBykH6cEstvw

Thanks for stopping by!

Kathy

Wednesday, January 22, 2025

Pop Up Gift Bag card


This is a card that I made with new products from Stampin' Up!  Look at the fun surprise inside this card - a gift bag that pops up when the card is opened!  A gift card will easily fit inside the bag.


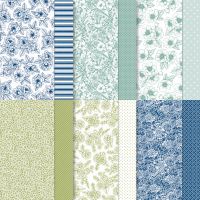
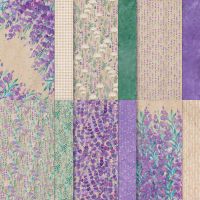
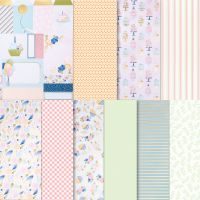
The Designer Series Paper that I used to make this card,Wildflower Birthday, is absolutely gorgeous.  I love the mix of bright and pastel colors and I especially love the dies cut sheets that are included in the pack of paper. 

Below is another card that I made using the same supplies, with a little fun fold.  I even pulled out my embossing powders and heat tool to make this one.


You can put a pop up gift bag in any card - it doesn't have to be as fancy as the first two cards above.  The card below is very quick and easy.  I featured it on an earlier blog post HERE.


Watch the video below to see how to make this pop up gift bag.

Here are the measurements for how to cut and score the paper to make this pop up gift bag.

Below are some of the products I used to make this card.  Add them to you shopping cart and give this card a try!

Please contact me if you have any questions!


Thanks for stopping by!

Kathy