Showing posts with label 3D item. Show all posts

Wednesday, March 19, 2025

For the Books part 2

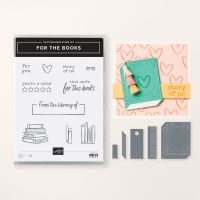
I had so much fun with the "For the Books" bundle from Stampin' Up!  It was one of the first sets I bought from the Jan/Apr 2025 mini catalog - mainly because both of my kids are book lovers - and I thought I could make some fun cards for them.  

I shared several cards that I made with this set last week.  You can see that post HERE.  The card above is one of my favorites - its' a bookmark card.  Whoever receives the card can tear off the flap and use it as a book marker.

Here is a short video showing you how to make this card - using one of the Crafter's Tips for the Take Your Pick Tool.

Measurements to make the bookmark card:
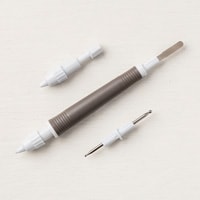
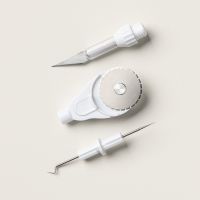
  • Card base 5-1/2 x 10-1/2; score at 4-1/4 and 8-1/2  (Use the Perforating Tip from the Take Your Pick Tool to go over the 8-1/2 score line)
  • Granny Apple Green layer on card front: 4 x 5-1/4
  • White layer for stamping on front of card: 3-3/4 x 5
  • Stitched Circle Die for front of card (2-1/2")
  • White layer for inside card: 4 x 5-1/4
  • White piece for bookmark/stamped book images: 1-3/4 x 5-1/4


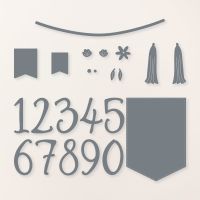
When I was making my first sample - I thought I stamped too many books on the book mark part of the card.  Well, I couldn't just throw it away - so I turned it into a bookmark to keep track of my reading goal for 2025 - which is 25 books.  I had to stamp a few more books on the back - and then I added the numbers using the Birthday Celebration Dies.


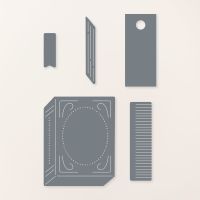
Below is an idea for an easier bookmark to make using the For the Books dies.  Stampin' Up!'s CEO, Sara Douglass, posted a reel showing how easy it is to make the bookmark - including the little tassles.  So I gave it a try.  


Saturday, November 13, 2021

Christmas Countdown - 7 weeks until Christmas

Here is a cute and very inexpensive gift that you can make for just about anyone on your list.  It is a coaster made using a miniature wooden pallet from the Dollar Tree, Designer Paper, and Mod Podge. I used some retired Stampin' Up! paper with a craft theme - since I made these coasters for several of my Stampin' Up! friends who are attending #OnStage At Home with me this weekend.

I cut the DSP to fit on each of the slats of the pallet. I used a foam brush and applied a thin layer of Mod Podge to the pallet.  (I was lucky enough to find a bottle at the Dollar Tree.)  Then I carefully applied each piece of DSP to the pallet, rubbed it to make sure it was glued down well and to remove any air bubbles.  I applied another thin coat of Mod Podge on top of the paper, making sure to cover the top of the coaster completely.  I allowed it to dry well - and then applied another layer of Mod Podge.  I let it dry and repeated the process several more times.  If I hadn't waited until the last minute to make these gifts - I would have applied a few more more layers of Mod Podge.

If you have any questions about how to make this project, please do not hesitate to CONTACT ME.

To see other ideas from my Christmas Countdown list click on the links below:


Be sure to come back to see more gift ideas, as well as Christmas card and other project ideas.

If you are ready to shop CLICK HERE to visit my online store.

Thanks for stopping by!

Kathy


Monday, December 21, 2020

Popcorn Snowmen


Here is a quick and easy last minute gift to make for someone on your list.  NO STAMPING required!  This video is several years old - but it is such a cute project I had to share again.  As I mention in the video, you can make this same gift using a pair of gloves or mittens in place of the socks.  (If you are viewing this in your email - you may need to click on the title to load the video.)


This will be a short post today - like most of you I am busy getting those last minute things completeted before Christmas.  I am also busy working on the VIRTUAL CATALOG LAUNCH with my sister, Donna.  We are so excited to showcase several bundles and suites from the January - June 2020 mini catalog.  You will have a hard time deciding what to buy first! 

We will open our new Facebook group, 2 Sisters Stamping, on Sunday December 27.  We will have a few days of getting to know each other - and then the party begins on December 31st and ends with a live zoom party on Janurary 8.  CLICK HERE for more details - and get ready to join the fun.  Please feel free to invite your friends to join you!


CONTACT ME if you have any questions!

Please follow my FACEBOOK PAGEMY FACEBOOK GROUPPINTEREST BOARDS, and YOU TUBE channel so you won't miss a thing!

Be sure to sign up for my monthly newsletter, as well - the form is on the right side of this page.


The YEAR END CLEARANCE SALE is going on through January 4th.  Visit my Stampin' Up! website to see what's on sale and what's retiring from the August - December mini catalog.

Thanks for stopping by!
Kathy


Friday, February 28, 2020

A Little Box for you to Make


We made this sweet little box at my stamp classes last weekend.  The photos below show the box when it is open.


This box holds several 3 x 3 cards and envelopes and stays closed using Velcro dots from the Dollar Tree.  You could also put a small gift such as jewelry or sweet treats inside.  Watch the video below to see how to make this cute box.


Cutting directions for this box:

Box: 5 1/4 x 5 1/4; scored at 1" on all four sides
Wrap: 10 1/4 x 3 3/4; score the long side at 2 7/8, 4, 7 1/4, 8 1/4
DSP piece for top of box: 3 1/2 x 2 1/2

Below are some of the supplies I used to make the box.  Click on any image to add it to your shopping cart.  Earn free Sale-a-bration items with a qualifying purchase through March 31, 2020

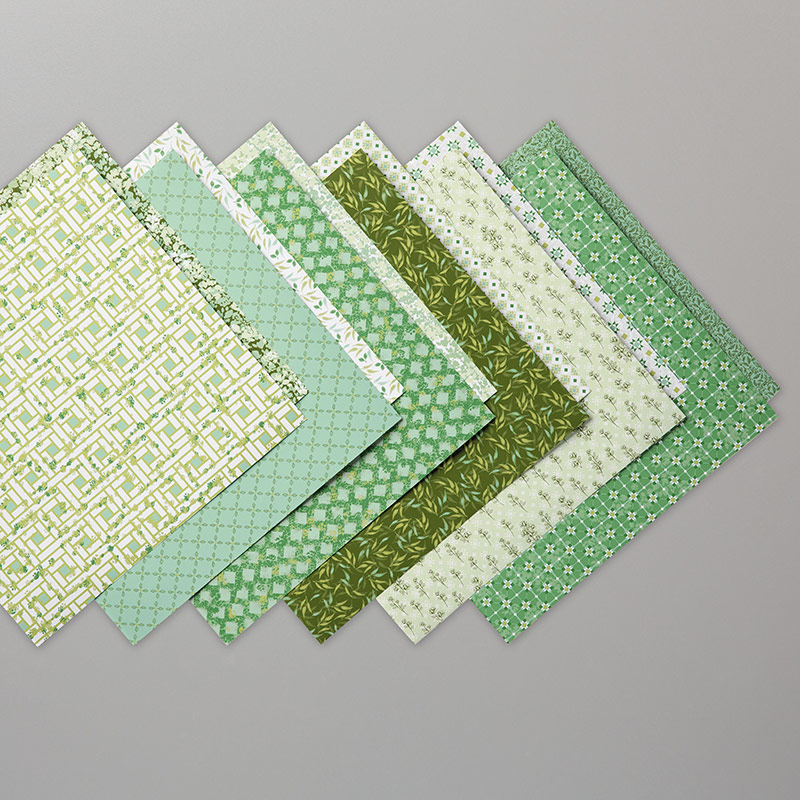
mint green paperGARDEN LANE DESIGNER SERIES PAPERfine tip liquid glue


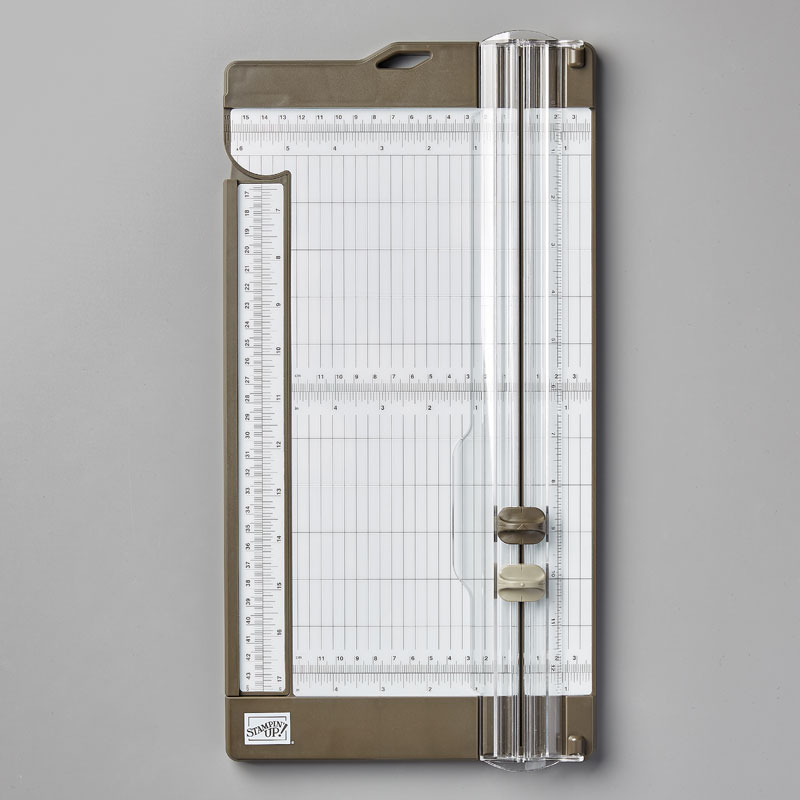
PAPER TRIMMERSTITCHED SO SWEETLY DIESwhite paper

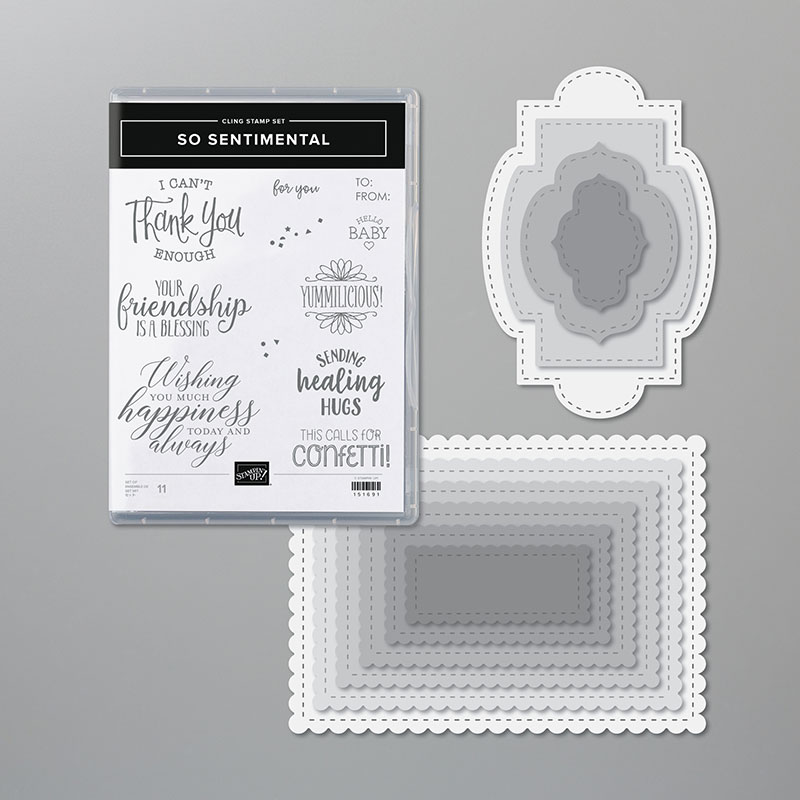
SO SENTIMENTAL CLING STAMP SET (ENGLISH)SO SENTIMENTAL BUNDLE (ENGLISH)


CONTACT ME if you have any questions or need additional information.

CLICK HERE to visit my Stampin' Up! website.  Shop, see current specials, RSVP for a class!

CLICK HERE to see the great special you can get during Sale-a-bration when you join my team!

Please follow my FACEBOOK PAGEPINTEREST BOARDS and YOU TUBE channel.


Come back on Monday for another video tutorial - I'll show you how to make the cards below.


Thanks for stopping by!


Kathy
Tuesday, July 23, 2019

Do Something Creative


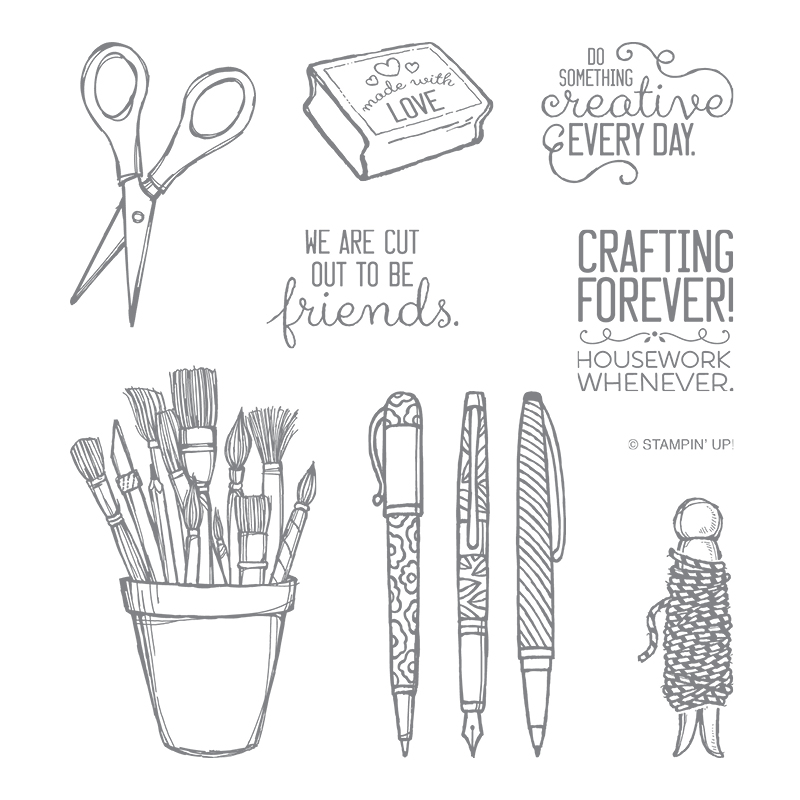
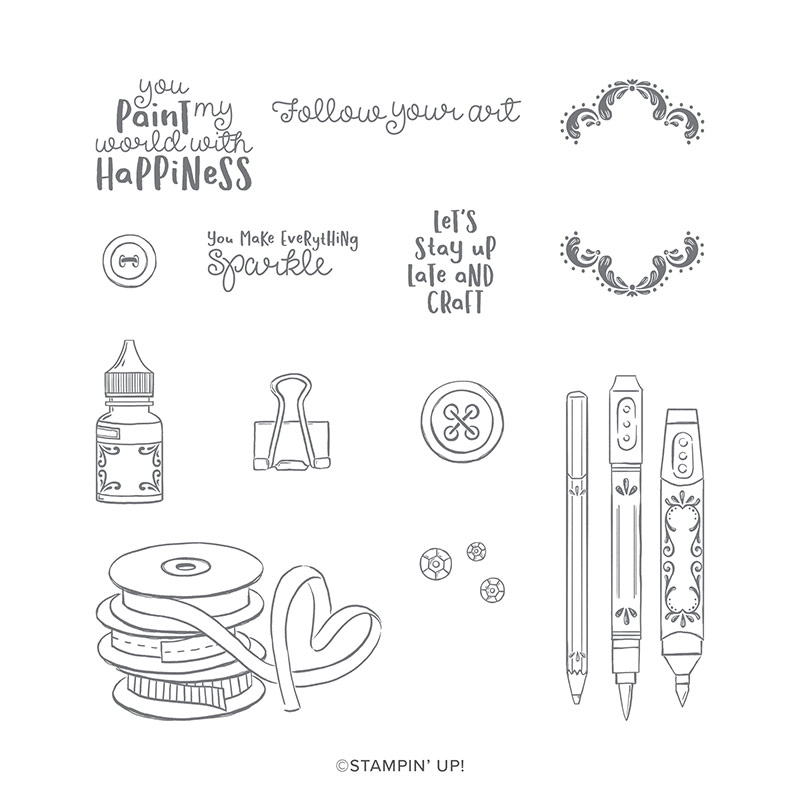
These are post it note holders that I made for everyone at the scrapbook retreat I went to over the weekend.  They were made using the Follow Your Art Designer Series paper and coordinating card stock from Stampin' Up!  The greeting on the front is from the Crafting Forever stamp set and inside I stamped a greeting from the new stamp set, It Starts with Art.

These post it note holders are super easy to make.  I cut the card stock 3 1/8 inches by 6 1/2 inches.
Score on the long side at 3 1/8  and 3 3/8 inches.

My post it note pads are 3"x 3"  about 1/4 inch thick.  If your pads are a different size - then you may have to adjust these measurements a little bit.  For the front cover, I cut the DSP at 2 3/4" square and the card stock mat is 2 7/8 inch square.

I am glad that I made one of these for myself - because I used the post it notes to mark the places on my scrapbook pages where I need to add journaling to the pages.

CLICK HERE to visit my online store.  See the current promotions including how to earn a $5 coupon on your AUGUST order.

Below are some of the products I used to make the Post It Notes holder.

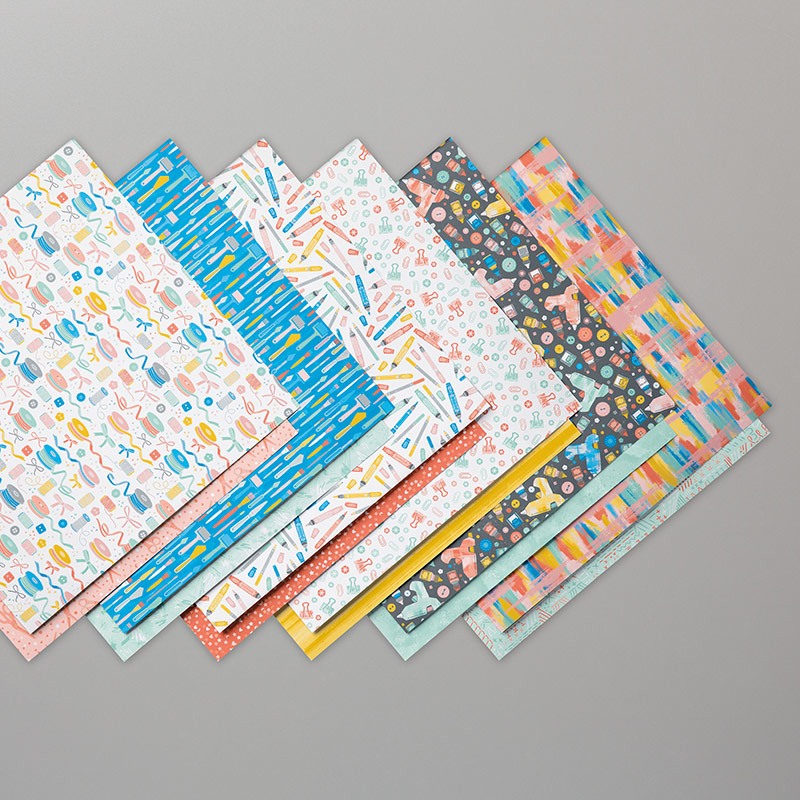
FOLLOW YOUR ART DESIGNER SERIES PAPERbright blue papermint green papergold yellow papersoft coral paperCrafting Forever Cling-Mount Stamp SetIT STARTS WITH ART CLING STAMP SET

CONTACT ME if you have any questions.

Thanks for stopping by!
Kathy

Saturday, December 30, 2017

December Stamp Club Projects

We made these projects at my December stamp club classes.   Many of the products used on these cards will be discontinued on January 2.

CLICK HERE to shop the Year End Sales event and get some of these products before they are gone!

CONTACT ME if you would like information about my stamp club classes.  We usually make at least two cards and one 3D item, like the little treat box below.

But as you can tell from the first photo - we often make more than two cards.  Class fee is only $10 - or the class is FREE if you place a minimum $25 order at the class.  There is no obligation to buy - and no commitment to attend our monthly meetings. BUT if you do attend class and make a purchase - you will earn FREE Stampin' Up! merchandise! I am always looking for new stampers! 

CLICK HERE to see my scheduled events for January and CLICK HERE to see February's events.

Thanks for stopping by!
Kathy
Saturday, July 8, 2017

The 6th Card

This is the 6th card we made at Bingo! Stampin' Up! Style in June.  You can see the other cards, and read about that fun event BY CLICKING HERE.  This card was made using the "Crafting Forever" stamp set from Stampin' Up!  I received this stamp set for FREE when I attended Centre Stage in April. That is a special event for Stampin' Up! leaders - before the main event of OnStage the following day (open to all demonstrators.)

The card uses all the brand new In Colors - those strips of card stock behind the stamped image and the colors (markers) used to color in the pens.

CLICK HERE to visit my online store, to see my calendar of events and RSVP, and to see the current promotions from Stampin' Up!  There are two great ones going on right now!

Thanks for stopping by!
Kathy

Wednesday, January 11, 2017

Popcorn Snowmen


We had about 6 inches of snow on Saturday and - we are on our third day of no school here in Chesapeake Virginia!  Yes, that amount of snow just shuts down everything around here.  Only the main roads get cleared - and we just wait for it to melt off the neighborhood roads.  I thought I'd better share this short video I made of the Popcorn Snowmen I made for the children in my preschool class for Christmas - before everyone is sick of the snow.  (I may be too late!)

Please CLICK HERE to visit my online store.  There's a new catalog and it's that special time of year when you can earn FREE products with every $50 purchase.  Who doesn't love free?

While you are there please view my CALENDAR OF EVENTS and RSVP to join the fun!

Thanks for stopping by!
Kathy
Friday, December 16, 2016

A Treat For You!

These are little treats  boxes that we made at one of my stamp club classes.  I'm trying to go back and catch up on the projects that I never got around to posting!  These are big enough to hold two Hershey's Nuggets.  Something quick and easy if you want to give someone a little treat/  They also make nice favors for a party.  You could stamp Initials on them and use them at your holiday dinner table.

 Thanks for stopping by today!
Kathy