Showing posts with label Wildly Happy. Show all posts

Monday, April 5, 2021

My Favorite Things #1

 I hope everyone had a Blessed Easter.  It was a beautiful spring day here.  After dinner, we took a walk around the neighborhood and it was so nice to see all neatly manicured lawns and lots of blossoms and blooms.


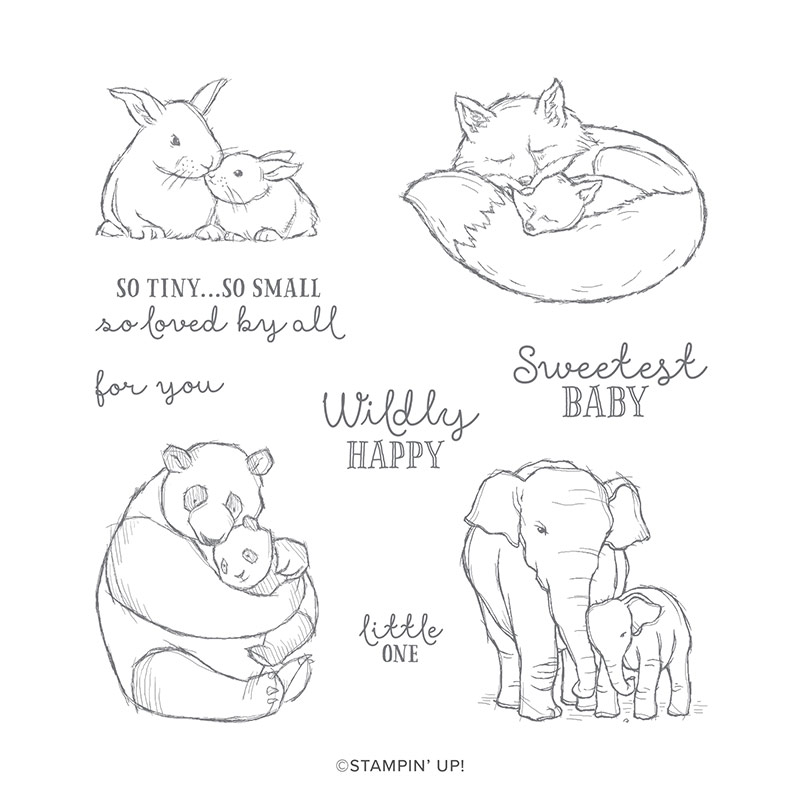
I only made two Easter cards this year.  The card above features the Wildly Happy stamp set that is retiring.  It's a cute set, mainly designed for welcoming a new baby.  But I thought the bunnies were perfect for an Easter card.  This card could not be easier to make.  It is actually a note card, a layer of (retired) designer paper, and then the image stamped on a Stitched Shape oval.  I added the "Happy Easter" from a retired stamp set.  

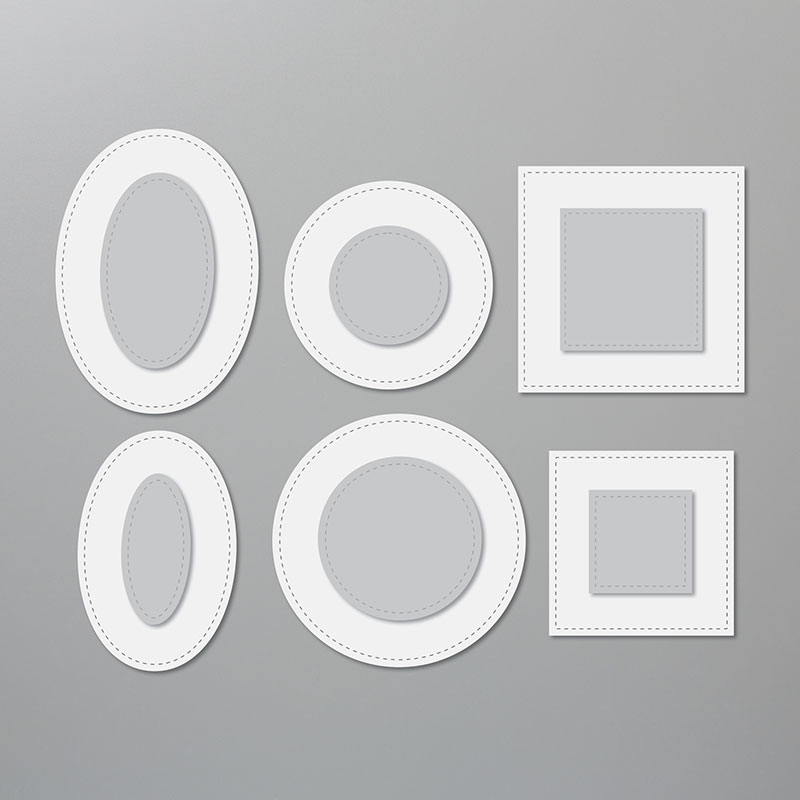
The Stitched Shapes dies are the #1 thing I will miss from the current annual catalog.  These dies are so versatile - and my "go to" set of dies. Sadly, they are only available through May 3, 2021 - while supplies last.  They will definitely stay in my collection - and I would encourage you to grab a set before they sell out, if you don't already own them.  The set includes 4 oval dies, 4 circle dies, and 4 square dies.  They also coordinate perfectly with the Layering Ovals and Layering Squares dies, both which are also retiring. 

Click on any image below to add this item to you wish list or to your shopping cart!


The cute card pictured above, was made with several circle punches, the retired bird builder punch, and other retired punches.  I am so sad to see that several of the circle punches are retiring from the current annual catalog.  Yes, there are circle dies - but punches are so much quicker and so much easier!  I will never give them up!

You can see all of the products that are retiring from the current annual catalog BY CLICKING HERE.

CONTACT ME if you have any questions.  I am here to help you.

Please follow my FACEBOOK PAGEMY FACEBOOK GROUPPINTEREST BOARDS, and YOU TUBE channel so you won't miss a thing!


Thanks for stopping by!
Kathy


Wednesday, April 22, 2020

Tips for Using and Storing Thin Dies


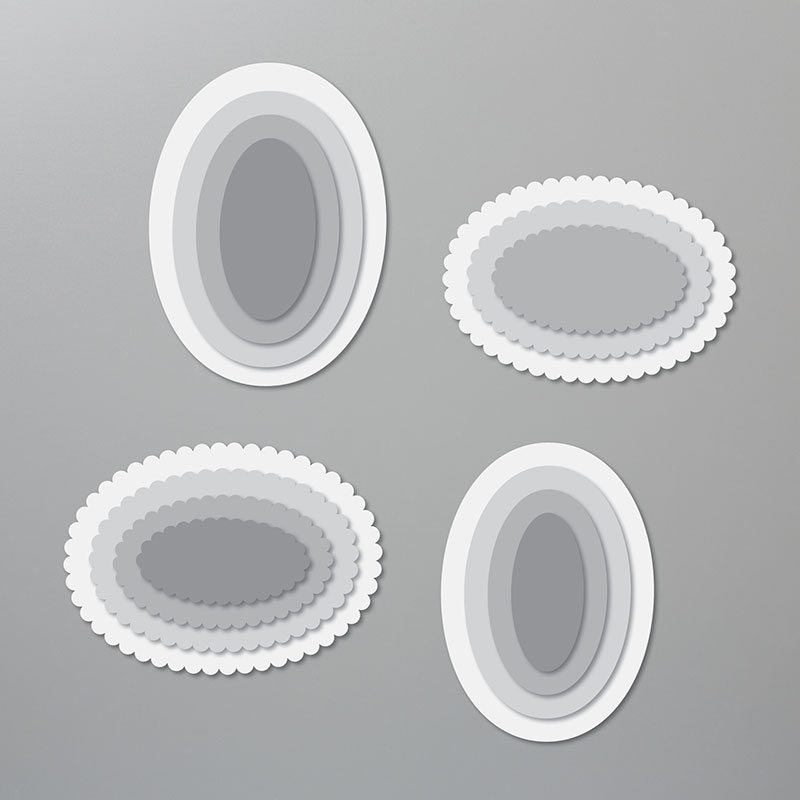
I made these cute cards using the Stitched Shapes dies and the Layering Ovals dies from Stampin' Up!  I posted a video on Monday showing how easy it easy to make these sweet cards.  You can see the video and close up photos of each card BY CLICKING HERE.

Today I wanted to explain how I store my dies and label them for easy use.  Below are photos of the dies.  Before I use them, I make a copy of them on regular (or colored) copy paper.  The main reason I make a copy is to make sure all the dies get back in place when I am done using them.  This is especially important when using dies with lots of small pieces.

I glue the copy paper to a magnetic sheet and glue that to the thin cardboard piece that the dies were originally taped to.  I get my magnetic sheets at Lowe's - they are really vent covers.  I keep everything in the original package. I add Velcro dots to make the plastic envelope easier to close.  I also add a larger label with the names of the dies - which just makes it easier for me to find when looking through all my dies.


If you look carefully at the dies in the photo below, you will see that I have numbered each of the dies.  The smallest oval is #1, the next one (which is in the group on the left) is #2, and I continue numbering them from smallest to largest.  This helps me when I write notes and tutorials - I can just tell you which number die I used to cut the piece - instead of measuring the dies each time.


I store all the dies in their original plastic envelopes in a basket that sits near my die cutting machine.  The basket on the right are the dies that are current - which means the dies on the left are all retired.  Believe it or not, I have sold quite a few retired dies - but these are ones that I still use and love - and can't part with - yet!


I hope this has been helpful to you.  I know everyone has their own way of storing their supplies - but this works well for me.  Some people like to keep the dies with a coordinating stamp set - but I find that I often use the dies alone or with other stamp sets.  If they were tucked away in a case with the stamp set, I would be less likely to use them.  This way I can quickly look through the dies to find something that might work for a project I am trying to complete,


CONTACT ME if you have any questions.

CLICK HERE to visit my online store.

CLICK HERE to see my April 2020 class to go.  This is a project that I designed.for the beginner: all you need to complete the 20 cards is your favorite adhesive!

CLICK HERE  to see my other classes to go - which are still available.

Please follow my FACEBOOK PAGEPINTEREST BOARDS, and YOU TUBE channel.


Thanks for stopping by!
Kathy


Monday, April 20, 2020

Wildly Happy - Quick & Easy Cards with video tutorial


I used the Wildly Happy stamp set from Stampin' Up! to make this cute set of cards.  The stamp set is perfect for welcoming new babies into the world. (With the current Stay at Home order - we may need A LOT of these cards in 9 months!) The stamps can also be used to just keep in touch or to tell someone that you are "Wildly Happy" for them - for almost any reason!  I even used a greeting from another set (Itty Bitty Greetings) to make an Easter card.

Watch the video below to see how easy it is to make the cards.  If you are viewing this in an email,  please click on the name of the blog post above to load the video.


Of course you could color those cute animals - but as you can see, they look great using black ink only!  Below is the card that I made in the video.


When I was filming the video - I was a little confused about the pieces I attached inside the card.  Afterwards, I realized that I should have cut them differently - as shown in the photo below.  This will make it look better - but honestly, I don't think the person receiving the card would even notice the difference.


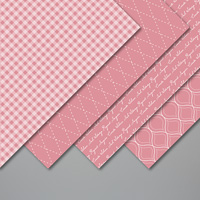
Below are other versions of the card - using different stamps from the set and different Designer Series Paper.  The paper I used for the card below is from the 6x6 Brights Collection - which sadly has sold out.  But the paper is available in all of the other color collections, including current In Colors.  This is the time of year when many products are selling out and will be available "while supplies last."   We are approaching the end of the catalog year - and a new catalog will be available in early June.


Click on any item below to go to my online store.  See more detailed information about each product and start shopping!
WILDLY HAPPY CLING STAMP SET2019–2021 IN COLOR 6 X 6 (15.2 X 15.2 CM) DESIGNER SERIES PAPERnote cards and envelopeswhite paperCardstockSTITCHED SHAPES DIESLAYERING OVALS DIESblack markerblack stamp ink padclear stamp mounting blocksimply shammy stamp cleaning clothadhesive foam dotssnail sticker adhesivesticker refillfine tip liquid glue


CONTACT ME if you have any questions or if you would like me to place your order for you.

CLICK HERE to see my April 2020 class to go.  This is a project that I designed for the beginner: all you need to complete the 20 cards is your favorite adhesive!

CLICK HERE  to see my other classes to go - which are still available.

Please follow my FACEBOOK PAGEPINTEREST BOARDS, and YOU TUBE channel.


Thanks for stopping by!
Kathy