Showing posts with label card set. Show all posts

Friday, June 14, 2024

Thoughtful Journey


Here are 14 cards I made using the Thoughtful Journey Designer Series Paper from Stampin' Up!  It is part of the Thoughtful Journey Suite found on page 47 in the 2024-2025 Annual Catalog from Stampin' Up!

I am giving away all 14 of these cards as a "thank you" to people who commented on a video post in one of my two private Facebook groups.  To see more projects and special offers, please be sure to join one or both of those groups:  "Let's Stamp A Little" and/or "2 Sisters Stamping."

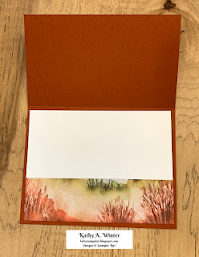
Below are photos of the different cards I made.  It is so easy to make beautiful cards using this paper.  It has been very popular and has sold out several times - but as I write this, it is still available to purchase from my online store!  

Purchase this gorgeous paper from my online store - and I will send you the basic cutting measurements for making these cards.



Thanks for stopping by!
Kathy

EMAIL ME with any questions:


Friday, February 26, 2021

Quick and Easy Cards using Designer Series Paper


Watch the video to see some quick and easy cards that I made using the double sided Designer Series Paper from Stampin' Up!  In the video, I feature two of the Jan/Feb 2021 Sale-a-Bration papers.  You only have a few days to earn these products for FREE with a qualifying purchase.  This special promotion ends on Sunday February 28, 2021.  But you can make the cards using almost any patterned paper.  (If you are viewing this in your email - you may need to click on the title to load the video.)


Here are the cards that I made using the Paper Blooms Designer Series Paper.  You could choose this paper as your FREE item, with a qualifying order.


Below are the cards made using the Flower & Field Designer Series Paper, another pack of paper that you can choose for free with a qualifying order.  But remember - the last day to place an order to receive free products is Sunday February 28, 2021.


CLICK HERE to learn more about Sale-a-Bration, and to see all the products that you can get for FREE with a qualifying order.

CLICK HERE to place your order.


Here is the card I made in the video.  You may notice that I added a mat behind the greeting, to help it stand out a little more.


Supplies needed to make this card:
  • Night of Navy card stock base: 5-1/2 x 7-1/2; scored at 4-1/4
  • Playing with Patterns DSP: 4 x 5-1/4; cut off 1 x 5-1/4 piece and flip it over to glue on right inside of card
  • Purple Posy card stock scrap to stamp greeting
  • Seaside Notions stamp set (for greeting)
  • Night of Navy stamp pad
  • Tailored Tag punch
  • Adhesive, including Stampin' Dimensionals
  • 3 x 5-1/4 piece of Basic White card stock for inside card


Please CONTACT ME if you have any questions 

CLICK HERE to visit my Stampin' Up! website.  See all the new products in the January - June 2021 mini catalog.  

Please follow my FACEBOOK PAGEMY FACEBOOK GROUPPINTEREST BOARDS, and YOU TUBE channel so you won't miss a thing!


Thanks for stopping by!
Kathy

Monday, June 29, 2020

Easy One Sheet Wonder - video tutorial

Do these cards look familiar?  I featured them on an earlier blog post HERE   We made these cards during my first ZOOM class.  In the stamping world we call this a "One Sheet Wonder" because you make the cards (and in this case coordinating envelopes) using one sheet of Designer Series Paper (Stampin' Up!'s word for patterned paper.)

The class was a success - and everyone's cards looked different because everyone had a different patterned paper that they used to make the cards.  I planned to record the zoom class - but in my excitement I forgot to hit the record button.  So I finally got around to recording a new video showing you how easy it is to make these cards.

In the video below (Part 1)  I show you how to cut the patterned paper and the coordinating card stock (which is used for mats, borders and die cuts.  If you are receiving this blog post in your email - you may need to click on the blog title to load the video.


In the video below (Part 2) I show you how to put the pieces on Whisper White card bases to make the 6 cards - and I include a lot of tips and offer suggestions of how to make the cards suit your needs.

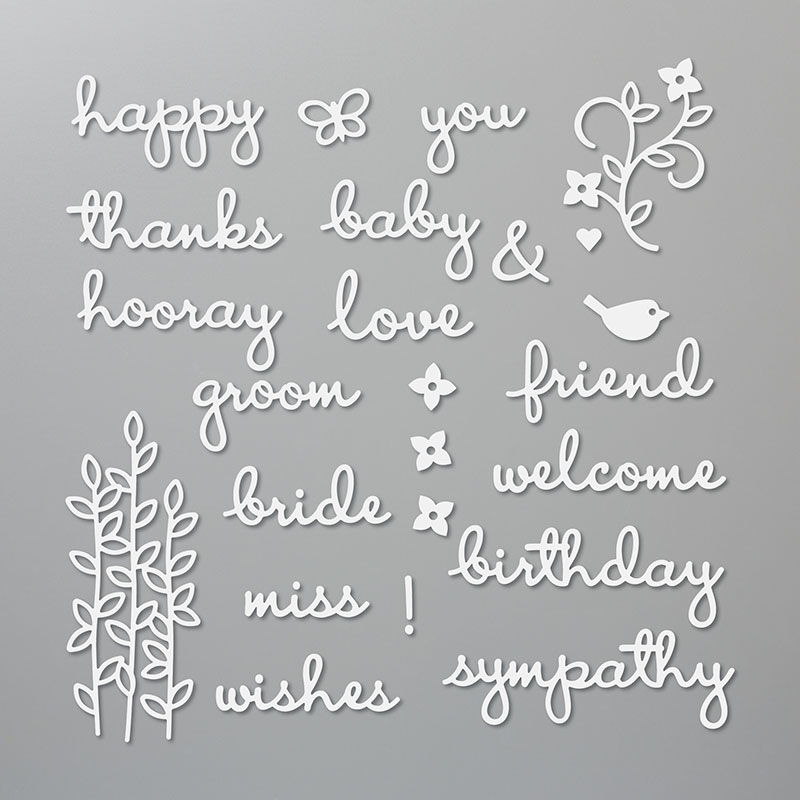
These cards were all made with NO STAMPING!  Shocking, right?  Instead, I included die cut words and images to complete the cards.  I used adhesive sheets when cutting out the die cuts - which made it easy to adhere those pieces to the cards (as long as you have fingernails or a sharp pointy tool like the Take Your Pick tool!)

One set of dies is retired and all of the Designer Series Paper I used in the video is retired, but below are some of the current products I used on the cards. Click on the image for more information about the product and to add it to your shopping bag in my online store.
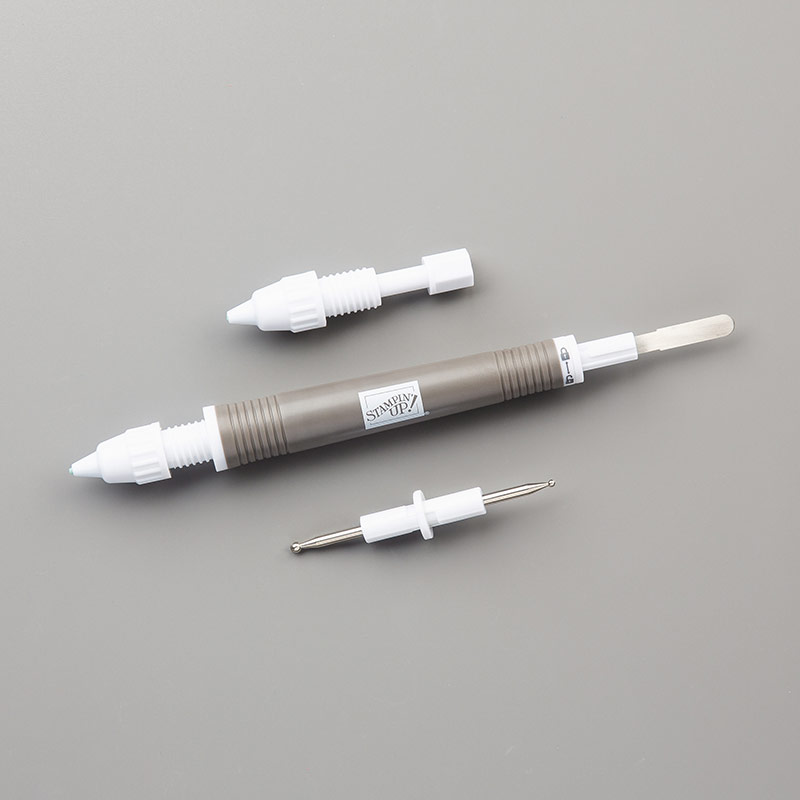
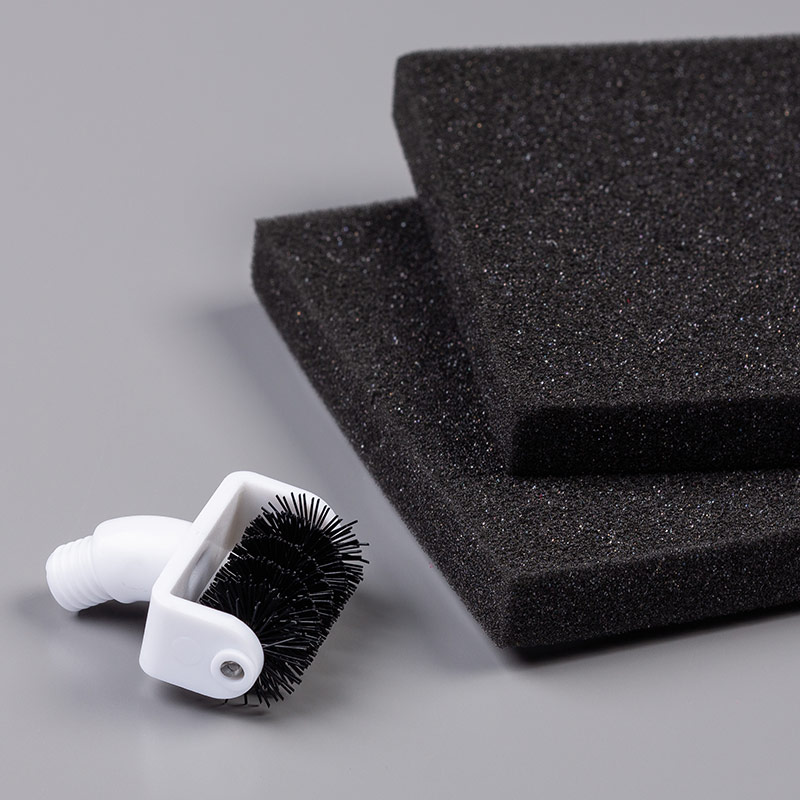
WELL WRITTEN DIESWhisper White 8-1/2 X 11 Thick CardstockWhisper White Medium EnvelopesADHESIVE SHEETSmultipurpose precision toolTAKE YOUR PICK DIE BRUSH TIP
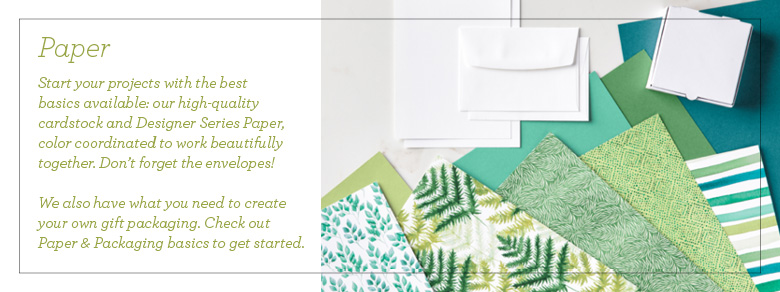
You can see the current selection of designer series paper by clicking on the image below:

Paper

If you have any questions about how to make these cards, please EMAIL me.

Please consider signing up for my monthly newsletter using the link on the side of this blog post.

Please follow my FACEBOOK PAGEPINTEREST BOARDS, and YOU TUBE channel.

Thanks for stopping by!
Kathy