Monday, April 13, 2020

Hold on to Hope fancy fold card


Here is a video that shows how to make the card that I posted on my blog on Friday.  I had several people ask me how to make the card.  The video will show you how easy it is to put the card together.  Below are photos of the card I posted Friday - and the one I made in the video, using different card stock and patterned paper.


How to make this card: (all measurements are inches)

Card Base is cut at 4 1/4 x 8; score at 1 1/4, 2 1/2, 5 1/2, 6 3/4

Card stock strip: 1 x 5 1/2

Whisper Whiter: you will need two pieces, 2 3/4 x 4 ( 1 piece for the stamped leave/cross and 1 for the back of the card) 

The Designer Series Paper strips are 1 x 4 (you will need two of them)

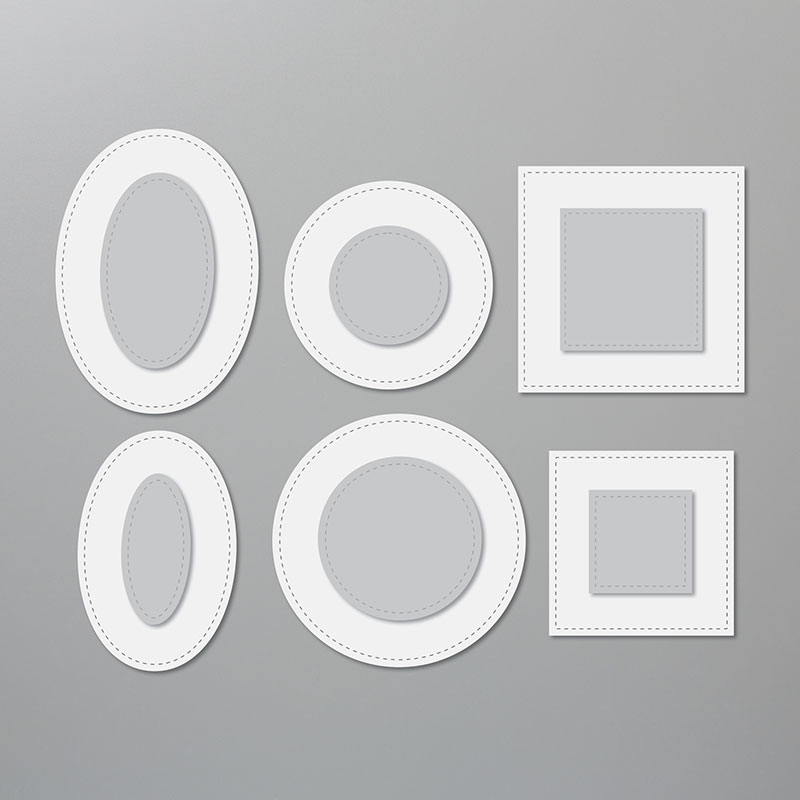
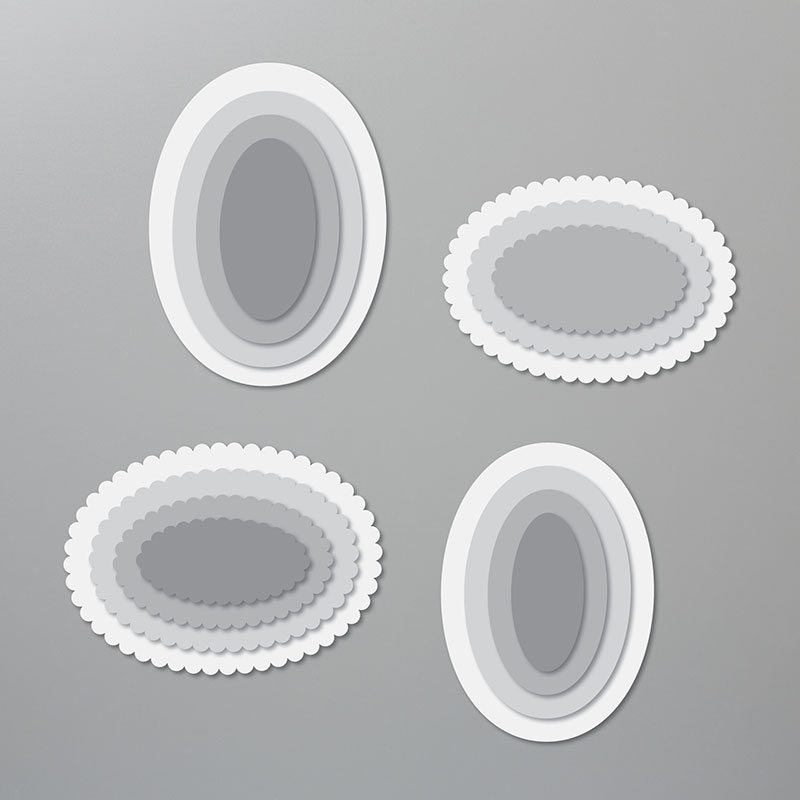
The large ovals are cut using the Stitched Shaped dies and Layering Ovals Dies

The small white oval is also cut from the Stitched Shapes dies.

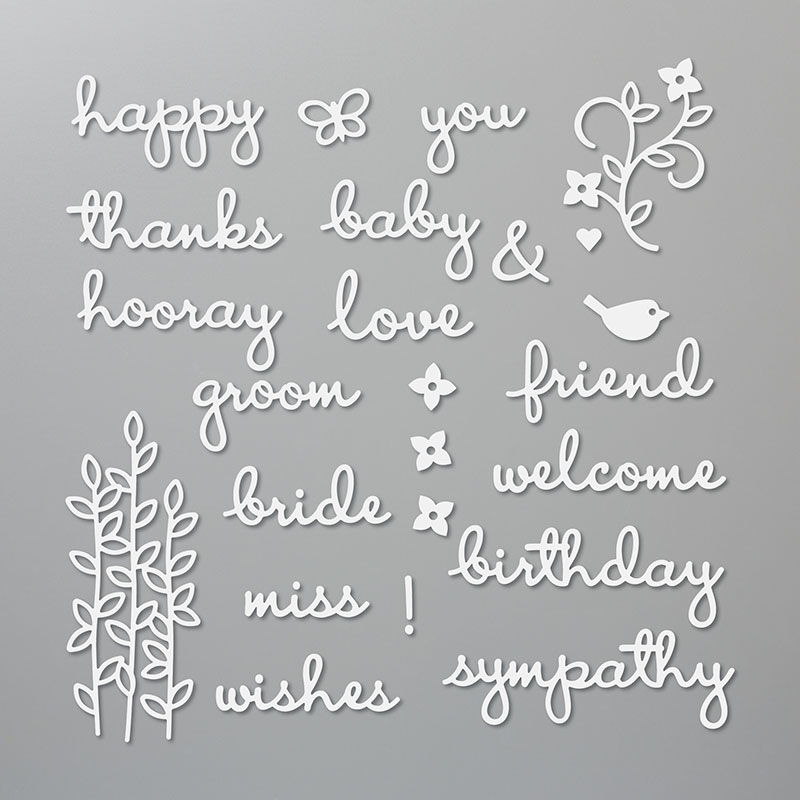
The butterfly and "greens" behind the small oval are cut using the Well Written dies.

I added some rhinestones as a finishing touch.

Below are some of the products I used to make the card in the video.  Click on any image to add that item to your shopping cart!
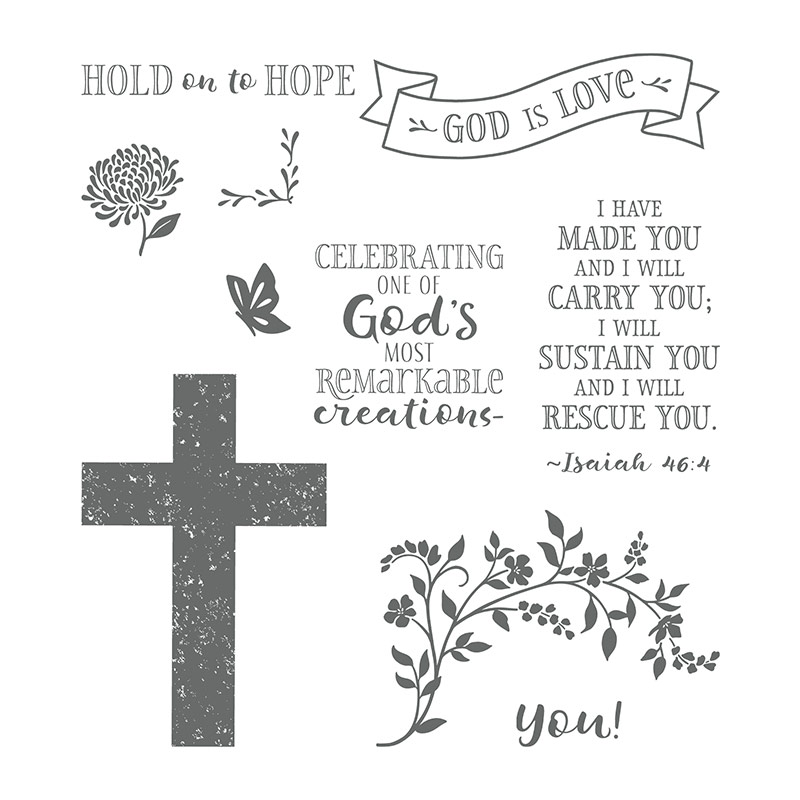

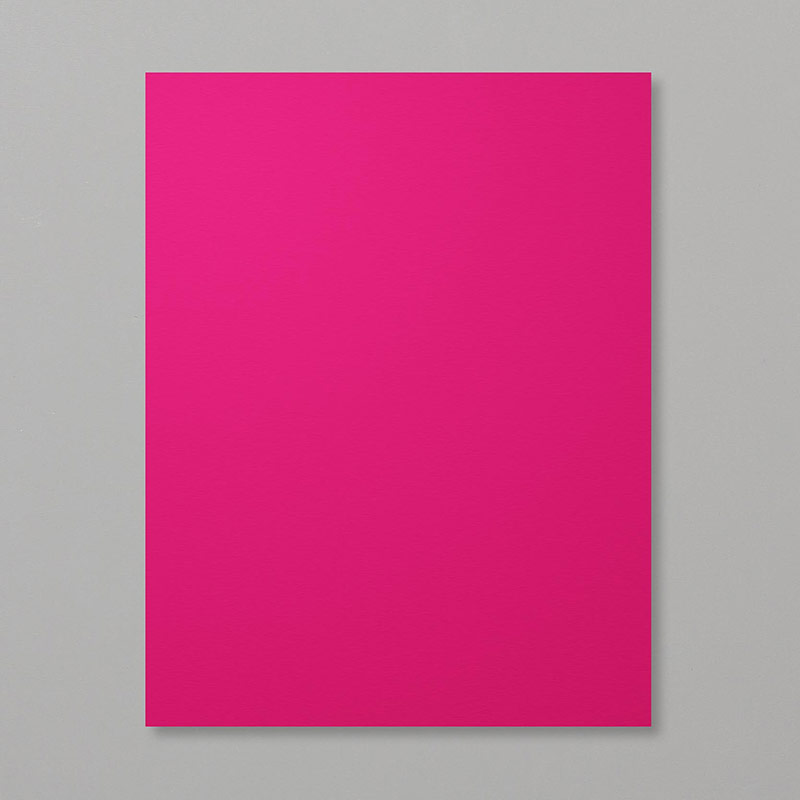
CROSS OF HOPE DIESpink lipstick cardstock
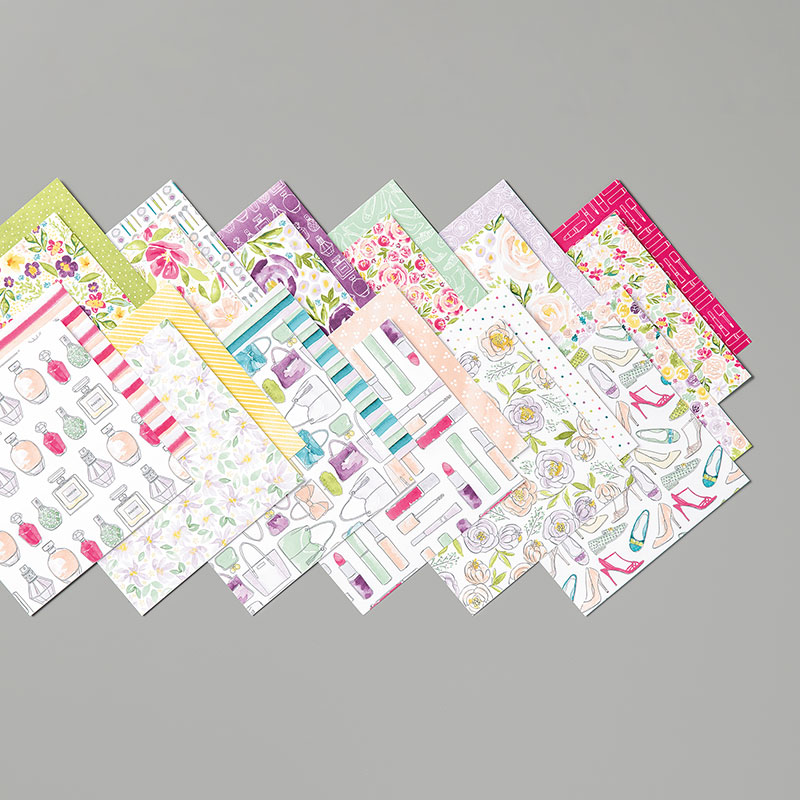
olive green paperwhite paperBEST DRESSED 6" X 6" (15.2 X 15.2 CM) DESIGNER SERIES PAPER
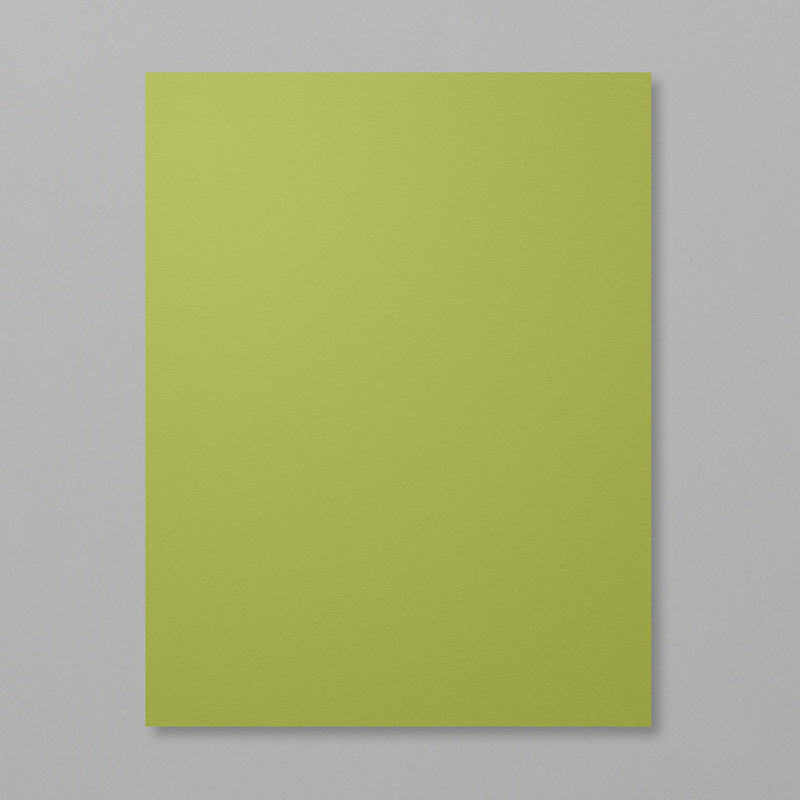
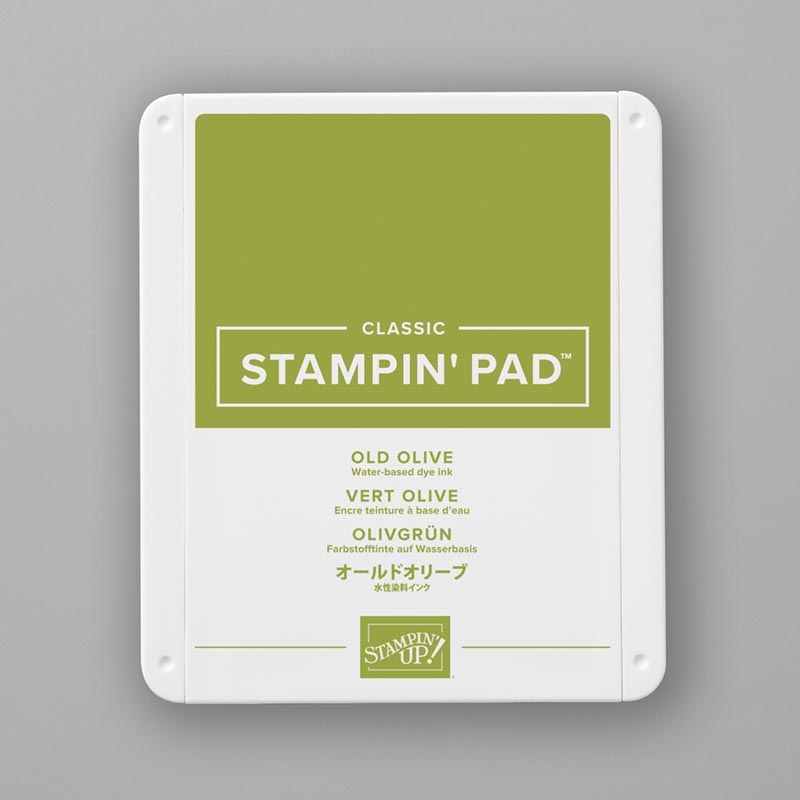
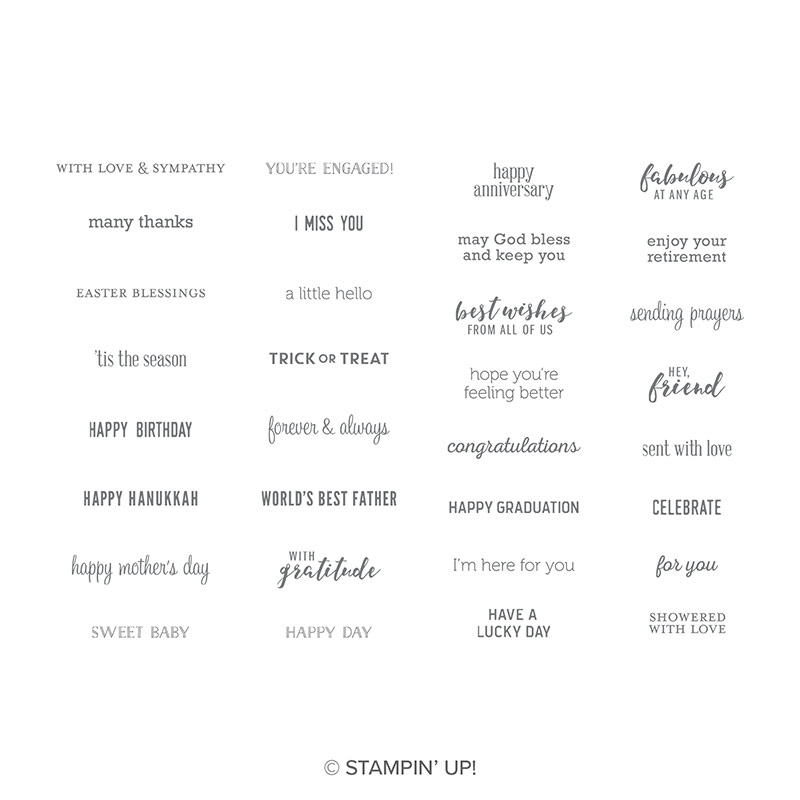
olive ink padSTITCHED SHAPES DIESLAYERING OVALS DIESWELL WRITTEN DIESItty Bitty Greetings Cling-Mount Stamp Setclear rhinestone jewels

CLICK HERE to see the products for making the original card that I posted on Friday.

If you have any questions or need more information, please CONTACT ME.

CLICK HERE to visit my online store.

Please follow my FACEBOOK PAGEPINTEREST BOARDS, and YOU TUBE channel.


Thanks for stopping by!
Kathy


Friday, April 10, 2020

Hold on To Hope

 I put several of these cards in the mail this week.  I made this card using the "Hold on to Hope" stamp set and Crosses of Hope dies from Stampin' Up!

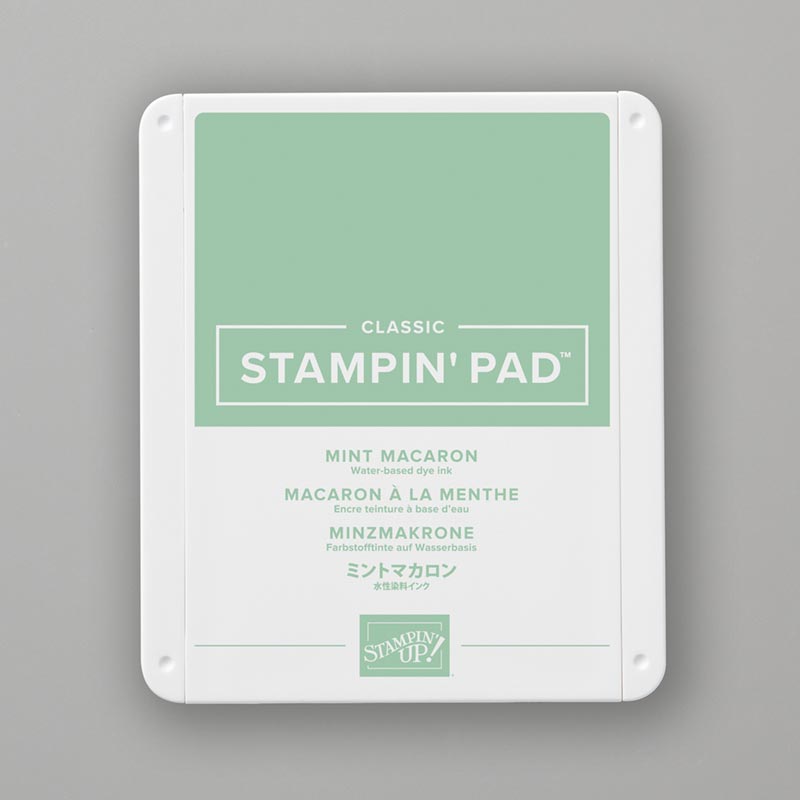
The colors I used on this card are Highland Heather (card stock)and Mint Macaron (ink and small card stock embellishments.)  The Designer Series paper is from the 6 x 6 "Best Dressed" paper pack - in the January - June mini catalog.

Below is a side view - so you can see how it stands up.  The basic card is easy to make - and it folds up to fit into a regular Medium envelope.  This card took a little more work to die cut the cross and then glue it back into the "negative" space.


Below is a photo of the back of the card and the matching envelope. (No Naked Envelopes)  I like to write a note instead of stamping a greeting on my cards.  Wouldn't YOU rather see someone's handwriting - knowing they were "speaking "directly to you when writing the message?!

How to make this card: (all measurements are inches)

Card Base (Highland Heather) is cut at 4 1/4 x 8; score at 1 1/4, 2 1/2, 5 1/2, 6 3/4

Highland Heather strip: 1 x 5 1/2

Whisper Whiter: you will need two pieces, 2 3/4 x 4 ( 1 piece for the stamped leave/cross and 1 for the back of the card) 

The Designer Series Paper strips are 1 x 4 (you will need two of them)

The large ovals are cut using the Stitched Shaped dies (white/stamped piece) and Layering Ovals Dies (Highland Heather)

The small white oval is also cut from the Stitched Shapes dies  ("Easter Blessings" is from the Itty Bitty Greeting stamp set.)

The butterfly and "greens" behind the small oval are cut using the Well Written dies.

I added some rhinestones as a finishing touch

Below are some of the products I used to make this card.  Click on any image to add that item to your shopping cart!
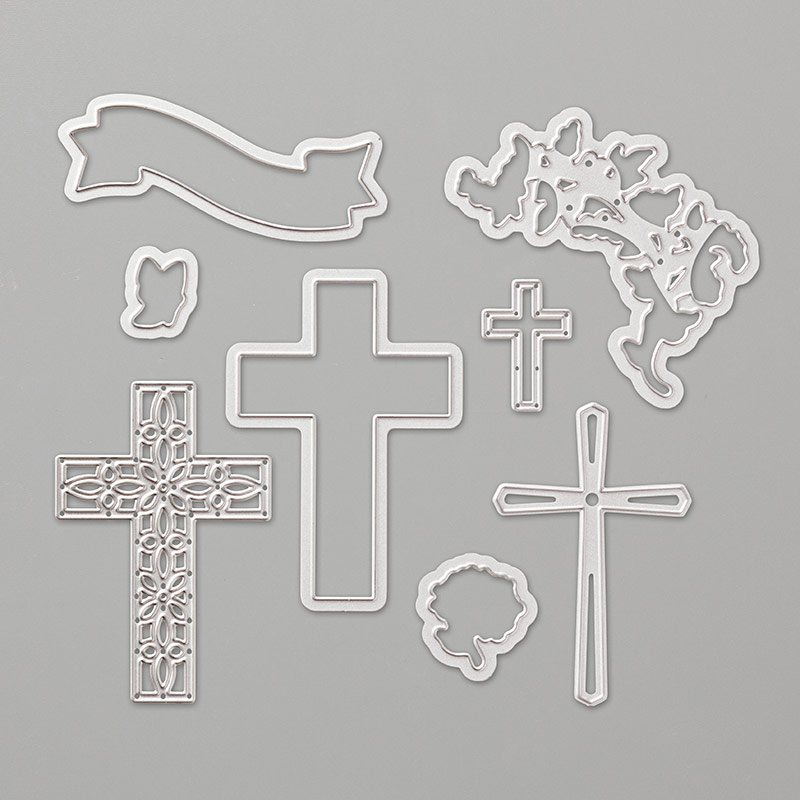

CROSS OF HOPE DIESlight purple paper
mint green paperwhite paperBEST DRESSED 6" X 6" (15.2 X 15.2 CM) DESIGNER SERIES PAPER
mint green stamp padSTITCHED SHAPES DIESLAYERING OVALS DIESWELL WRITTEN DIESItty Bitty Greetings Cling-Mount Stamp Setclear rhinestone jewels

If you have any questions or need more information, please CONTACT ME.

CLICK HERE to visit my online store.

Today is the last day to order April's Paper Pumpkin kit - learn how you can get a FREE KIT by CLICKING HERE.

Please follow my FACEBOOK PAGEPINTEREST BOARDS, and YOU TUBE channel.


Thanks for stopping by!
Kathy

Wednesday, April 8, 2020

Buy One Get One!

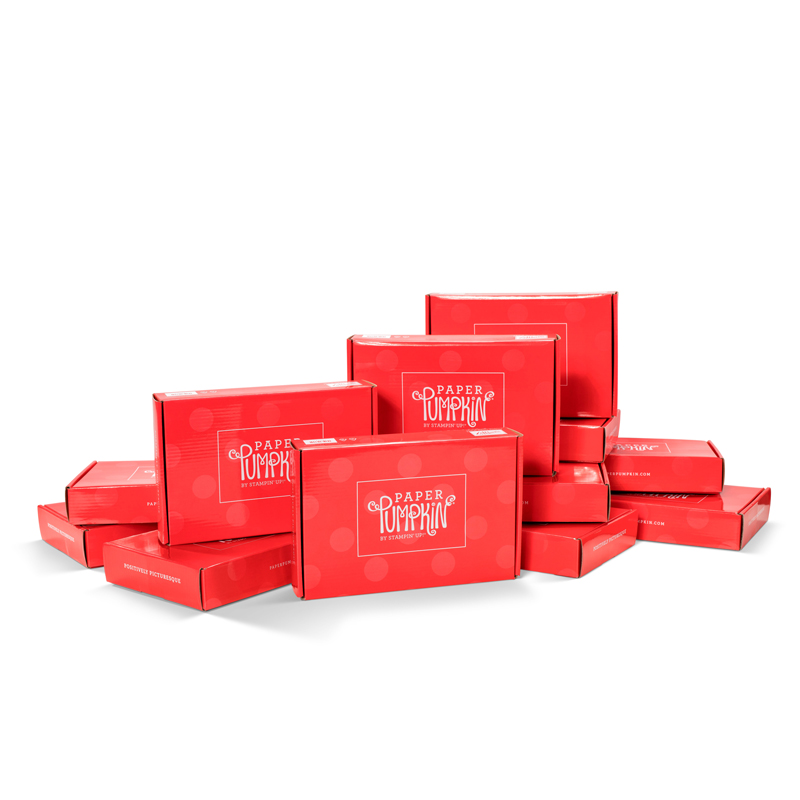
It's time to sign up for this month's Paper Pumpkin kit!  Watch the video above to see the kit I received in MARCH (not April like I said in the video) and how crafting is helping me during this difficult time of social isolation.  Crafting and being creative can help you, too!  Although, this kit is no longer available -I wanted to give you an idea about what comes in these awesome monthly kits.

The contents of each monthly kit is a surprise - but we were told that April's kit is for keeping in touch with family (and people who are like family to us) and that they would be perfect for Mother's Day and Father's Day!


In order to receive April's kit - you must sign up by Friday, April 10.  

Please CLICK HERE NOW to get started!

The first 6 people who sign up to receive April's kit will receive an additional FREE Paper Pumpkin kit from me.  This offer is good for new subscribers AND for past subscribers who have canceled.  If you are local - you can pick up your free kit from my porch or I will hold it until you feel safe to come get it.    If you are not local and I need to mail it - I will send you a $5 PayPal invoice to help with shipping costs. 


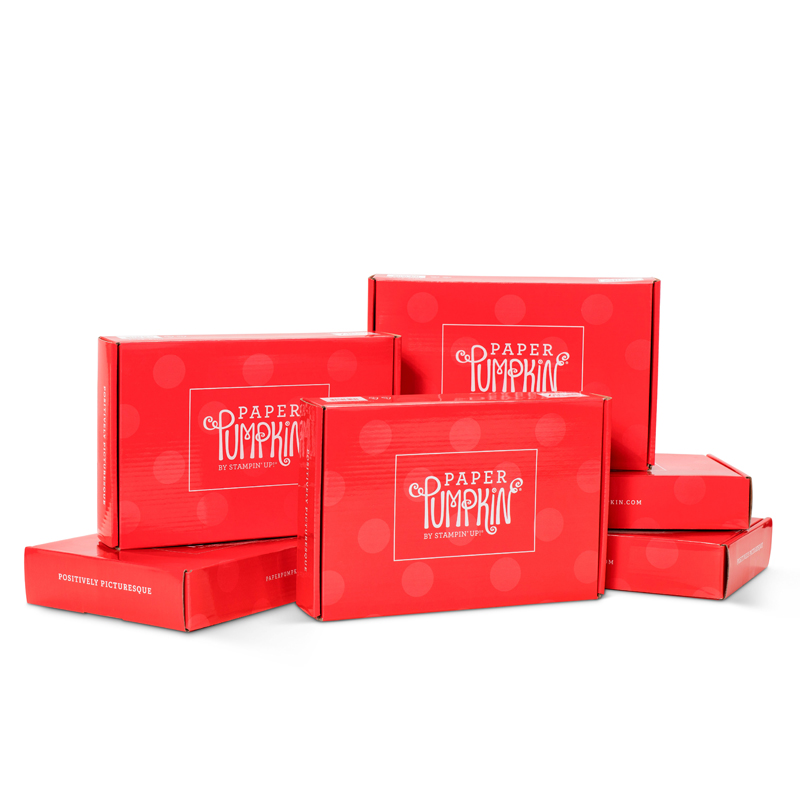
Let me know you will be signing up for April's kit - and you can choose one of the kit's below as your FREE kit.   FIRST COME FIRST SERVED.
1. Bone Appetit

2.Poppin' Birthday

3. Picnic Paradise

4. Love You A lot

5. Banner Surprise

6. Lovely Little Wreath


Be sure to name me, Kathy Winter from Chesapeake, VA, as your demonstrator when signing up. 
(Yes, there is another Stampin' Up! demonstrator with the same name!)

CLICK HERE to learn how Paper Pumpkin works and to sign up.

If you have any question, please CONTACT ME

CLICK HERE to visit my online store.  Maybe there is something else you would like to buy!

CLICK HERE to see my April Class to go - make 20 cards and 2 scrapbook pages for less than $25!

Thanks for stopping by!
Kathy


Monday, April 6, 2020

Catching up!


This is one of the Paper Pumpkin kits I put together over the weekend.  Paper Pumpkin is the name for Stampin' Up!'s subscription crafting kit.  The cards are just gorgeous the way they were designed - I didn't change a thing, except for the placement of the "lovely" sticker.  I had a hard time covering up that beautiful flower - so I attached the greeting and sticker towards the top of one of the cards.

You must sign up by THIS FRIDAY, April 10th to get the April kit

The April kit will be the PERFECT one for you to try now, while we are all staying home and many stores are closed.  The kit is designed for Mother's Day,  Father's Day and for sharing love with family members who live far away.  The kit will contain supplies for 8 cards and envelopes (4 1/4" x 5 1/2".)


You have two ways to purchase this kit:

  • The easiest way is to sign up HERE.   Enter all your information, and the kits will ship to you automatically each month .  You ALWAYS have to option to skip a month (or two or more.)  Just go into your account and put your kit on "hold" before the 10th of the month.  Being a subscriber is the only way to purchase past kits and refills.  SHIPPING IS INCLUDED when you sign up directly on the website.   The price of each kit is $22 - a great value, considering each kit contains a stamp set and ink spot and lots of extra supplies that you can use to make even more projects.


  • Another way to get the kit is to purchase a pre- paid subscription. You can order these by clicking on the appropriate link below.  Once you purchase the subscription - you will be emailed a code with instructions for starting your subscription.  Shipping and tax is added to the price of the prepaid subscriptions.

subscription boxcraft subscription boxpaper craft boxyear subscription
You can get additional information about Paper Pumpkin on my website by CLICKING HERE

Please contact me if you have any questions. 

Please follow my FACEBOOK PAGEPINTEREST BOARDS, and YOU TUBE channel.


Thanks for stopping by!
Kathy


Wednesday, April 1, 2020

Come Sail Away - 20 easy cards and 2 scrapbook pages

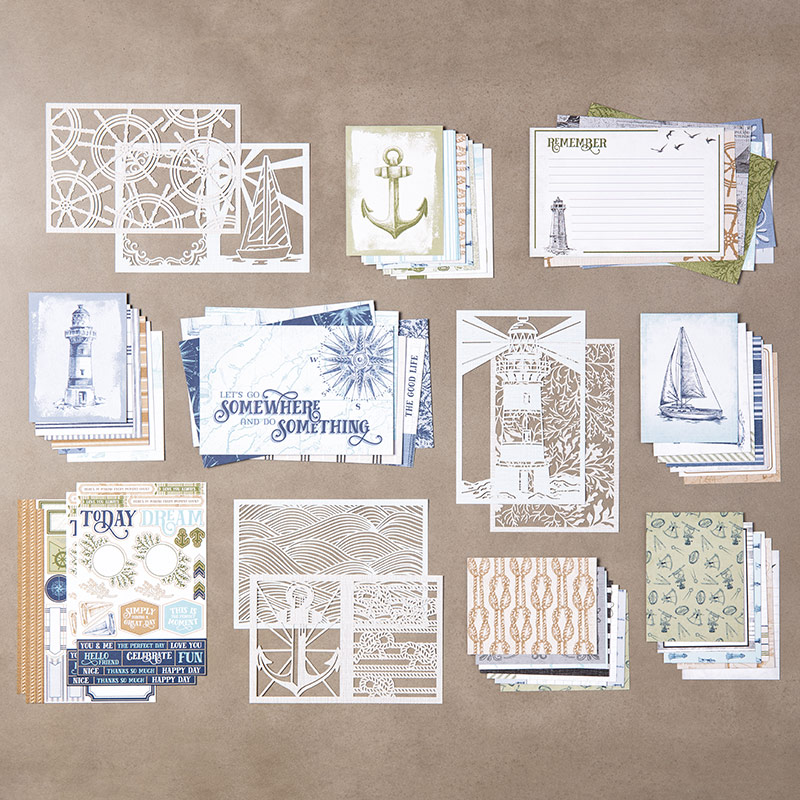
I have two videos for you today.  In the first video below - I show you all the products in the Come Sail Away Suite.  If you are familiar with the products - skip ahead to 3:15 to see the contents of the Memories &  More card pack.  I used these cards to make 20 cards and 2 scrapbook pages which I feature in my April 2020 Class to Go.


The video below shows the 20 cards and 2 scrapbook pages I made.  If you purchase the Memories &More pack and the Assorted Memories & More cards and envelopes from my online store, then  I will send you a free packet of goodies.  Watch the video for the details.

edited 4/21/2020 to add: 
The Come Sail Away Memories & More cards are currently 30% off - only $7.70.  WOW!!!  What a bargain - they are sure to sell fast at that price - so order while they are still available!


Below are photos of the cards and scrapbook pages that I feature in the video.  This would be a great project to complete while you are stuck at home.  You can make all these projects - or use the cards in a different way to create your own cards.  All you will need is some sort of adhesive - even a good glue stick would work!


Below are the free die cuts that I will send you after you place your order for the Memory & More card pack and assorted cards and envelopes.  You can use these to add to your projects - or to design new ones!  I will also send you the card stock pieces that I used on the scrap book pages.

Click on any image below to add the item to your shopping cart:

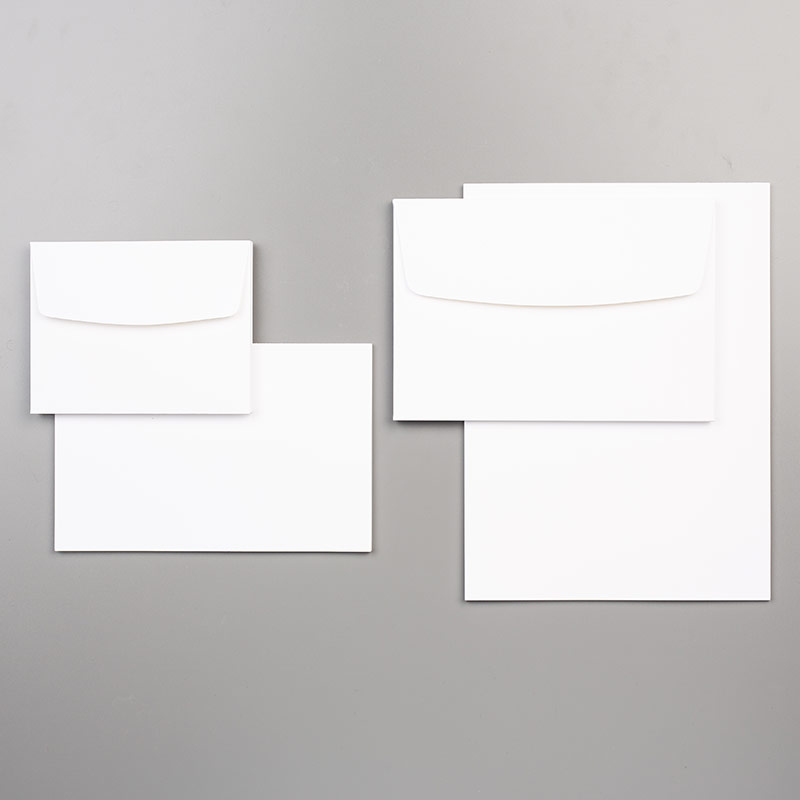
COME SAIL AWAY MEMORIES & MORE CARD PACKASSORTED MEMORIES & MORE CARDS & ENVELOPES

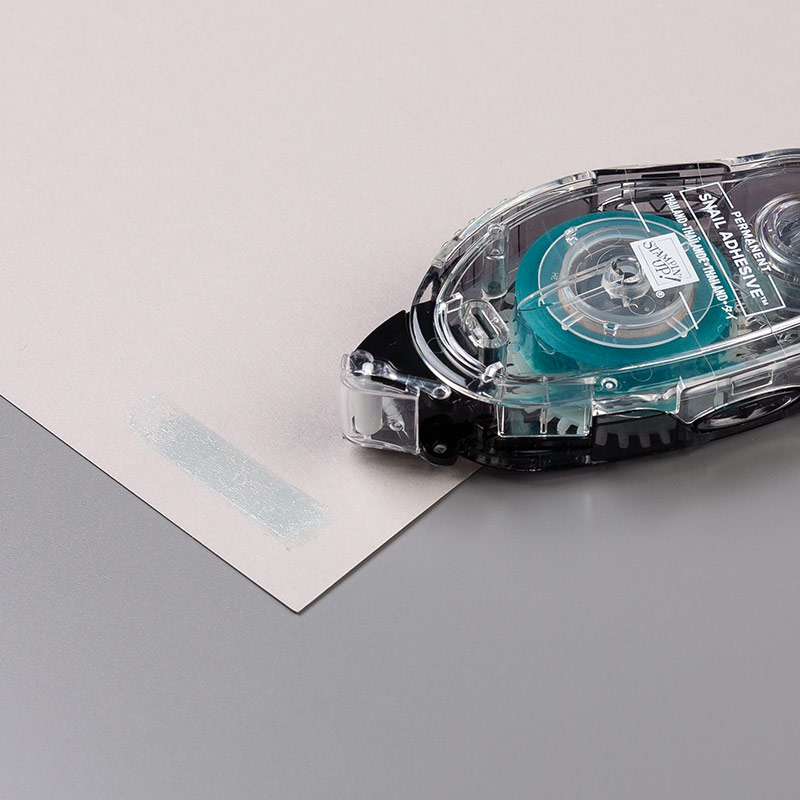
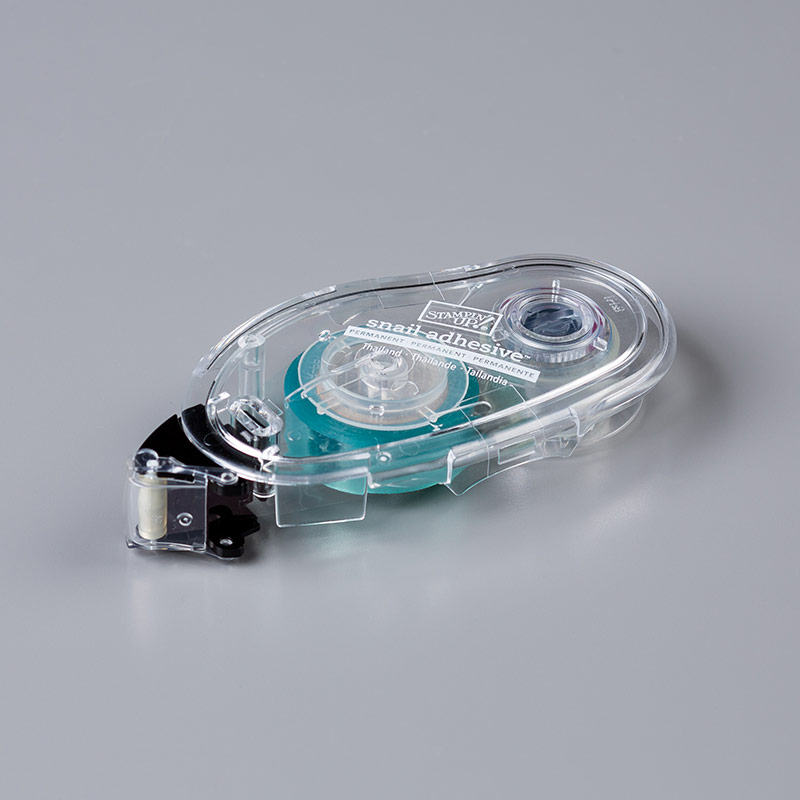
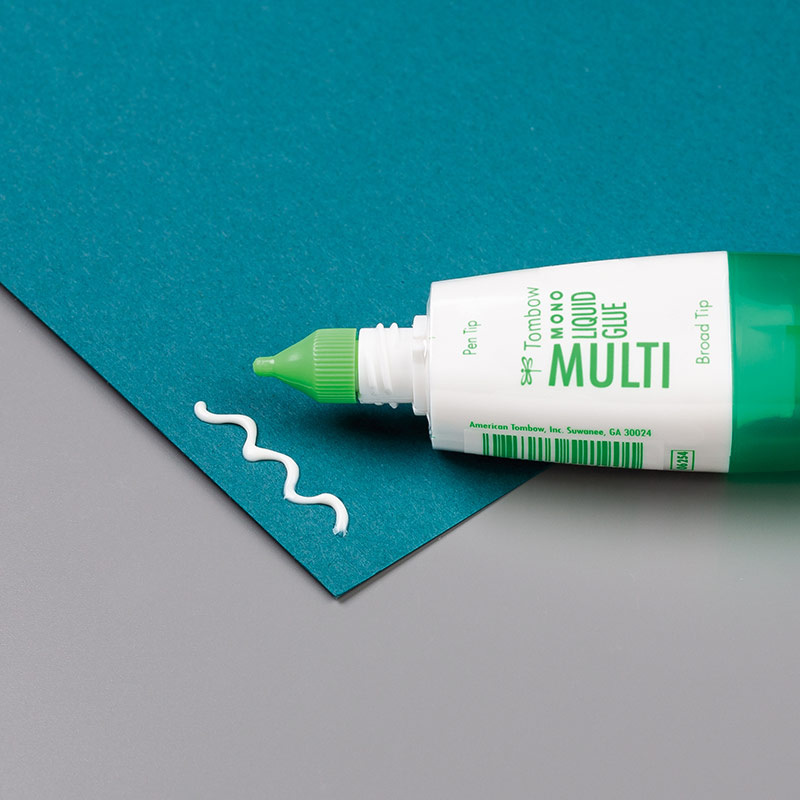
You will also need adhesive to complete your projects.  Below are my two favorites!

snail sticker adhesivesticker refillfine tip liquid glue


CONTACT ME if you have any questions or if you would like me to place your order.

Need some other ideas for projects to keep you (and the kids) busy?  Check out my other Classes to Go. - all are still available.

Thanks for stopping by!
Kathy