Showing posts with label Seaside Notions. Show all posts

Friday, April 16, 2021

Sentimental about Sentiments


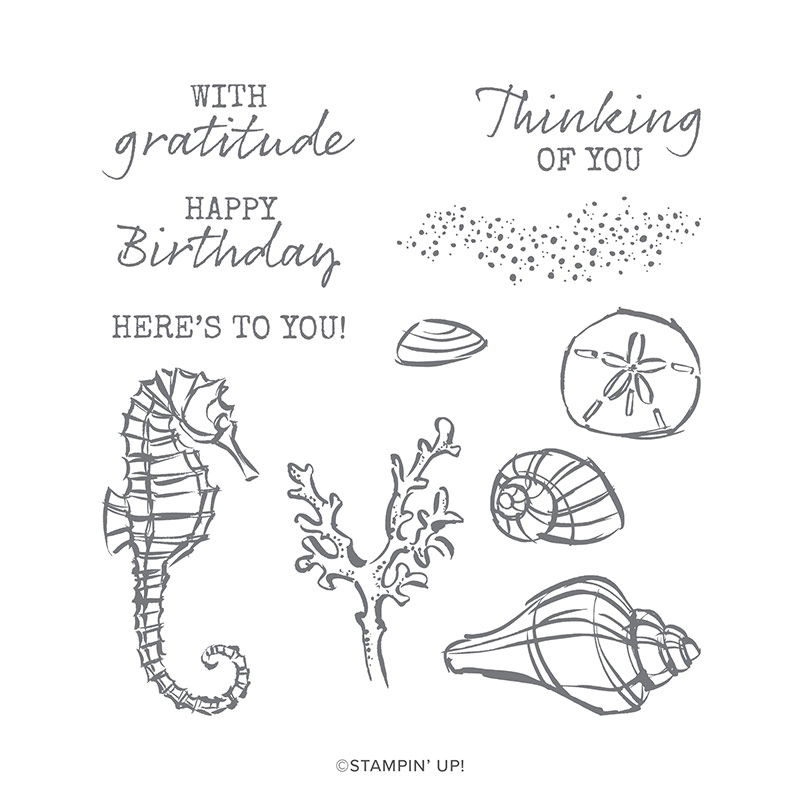
Here are two cards that I made using the Hydrangea Hill Designer Series Paper.  The sentiments I stamped on these cards are from two of my favorite stamp sets that are about to retire from the Stampin' Up! annual catalog: Seaside Notion and So Sentimental.  These stamp sets are guaranteed to be available through April 23, 2021 only - so don't miss out on these great sets.  Click on the image below to add the item to your shopping bag in my online store.


Measurements for these cards:
  • Rococo Rose or Seaside Spray card base 5-1/2 x 8-1/2
  • Misty Moonlight or Basic White mat layer 3-3/4 x 5
  • Hydrangea Hill Designer Series paper (3 pieces) 1-1/2 x 3-1/2
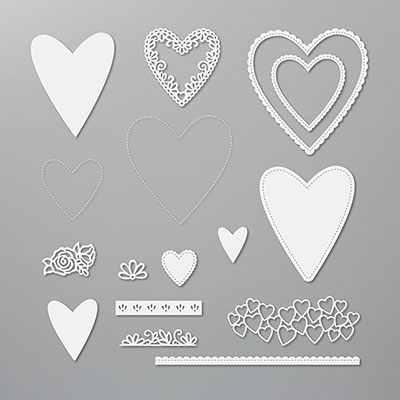
  • Labels for Sentiment cut from Stitched So Sweetly dies or Tasteful Labels dies
 
Below are two more cards that use stamps from the Seaside Notions and So Sentimental stamp sets.  

.

CLICK HERE to  see the 14 cards that I made using products from the Hydrangea Hill Suite.


Be sure to check out the items that will be retiring from the current annual catalog.  Some products are up to 75% off - while supplies last - through May 3.  You can see them all  BY CLICKING HERE.

If you have any questions please do not hesitate to CONTACT ME.  I am here to help.

Please follow my FACEBOOK PAGEMY FACEBOOK GROUPPINTEREST BOARDS, and YOU TUBE channel so you won't miss a thing!


Thanks for stopping by!
Kathy


Monday, April 12, 2021

14 Hydrangea Haven cards - video overview

Watch the video to see 14 cards that I made using the Hydrangea Haven stamp set and coordinating products.  (If you are viewing this in your email - you may need to click on the title to load the video.)

I was happy to see this stamp set, coordinating dies, ribbon, and pearls in the 2021-22 Annual Catalog (which will be available on May 4.)  But sadly, the Hydrangea Hill Designer Series paper is NOT in the new catalog.  So if you like the first 7 cards that I made - make sure you purchase the DSP while it is still available.

Below is an extensive list of the products that I used to make these cards.  Many are on the last chance list - which you can view by CLICKING HERE.   I will be featuring several of these cards later this week - so stop by for measurements and tips for making them!

If you have any questions in the meantime - just CONTACT ME with your questions.  I am here to help!

Thanks for stopping by!
Kathy
Product List

Monday, March 8, 2021

Million Dollar Fun Fold Card

I made this card for my Stampin' Up! team leader, Susan Elise.  She recently achieved a milestone in her Stampin' Up! business -  life time sales of ONE MILLION DOLLARS!!!  This is such an awesome achievement that I had to make her a special card.  I went searching through Pinterest - and found a pin from 2016 for the Fun Fold Card you see in the photo above.  The original idea was from Lyssa Zwolanck.  You can see her card HERE.  I made a few slight adjustments to her measurements.  

The photo below shows the front of the card and the envelope. The products used on this card are from the Hydrangea Hill suite of products, which is in the current January- June 2021 mini catalog.


(#156251  Hydrangea Haven stamp set and coordinating dies  $52)


Below are the stamp sets that I used to stamp additional greetings inside Susan Elise's card:


Watch the video below to learn how to make this kind of card.  It is not difficult and it is perfect for showing off the beautiful Designer Series Papers from Stampin' Up!  The greetings are all from the Hydrangea Haven stamp set.

Here is the card that I featured in the video.  

Basic Directions for making this card:
(watch video for better explanation)
  • Card stock  card base is 5- 1/2 x 11- 1/2; score at 1/4, 3- 3/4, 7- 1/4
  • Turn card stock and cut 5/8" off the long side of the card; from the edge with the 1/4" flap to the last score mark
  • Accordian fold the card base
  • Attach a 2 -3/4 x 4 - 1/4 piece of card stock to the 1/4" flap, making sure the piece is flush to the bottom of the card base: snip off the extra 1/4" flap
  • Decorate the panels, using the dimensions in the photo below

Please E-MAIL me if you have any questions or if you notice an error in the directions or measurements.


This week I will be celebrating my 13th year as a Stampin' Up! demonstrator.  I joined on March 5, 2008.  It all started with a workshop, which I hosted so that I could get the supplies for making my Christmas cards for FREE (with hostess rewards.) After the workshop, Susan Elise talked to me about joining her Stampin' Up! team.  It took a while for me to say "YES" but I am sure glad that I did!  I have made so many friends and have had fun traveling to Salt Lake City, Orlando, Atlantic City, and other places to attend Stampin' Up! events.  For information about joining MY team - just CLICK HERE.

I will be offering specials all week in my private Facebook Group, LET'S STAMP A LITTLE.  Be sure to join that group so you can take advantage of several specials, including deep discounts on retired Stampin' Up! products/ Help me get rid of some of the stuff I have hoarded over the past 13 years!  Much of it has never been used - or is very gently used.


Thanks for stopping by!
Kathy

Wednesday, September 30, 2020

World Card Making Day - One Card, Three Ways


Watch the fun video from Stampin' Up! to see 3 cards made 3 different ways.  That's 9 ideas in less than 5 minutes.  Below are the stamp sets featured in the video.   (If you are viewing this in your email - you may need to click on the title to load the video.)


Click on any image to get more information about the stamp set - and to add it to your shopping bag!


See more cards made with the Seaside Notion stamp set HERE and HERE.


 World Card Making Day is Saturday, October 3.  If you are local to Chesapeake, VA it is not too late to get your FREE card kit from me - with porch pick up. Just let me know you want one by SENDING ME AN EMAIL.  Join my Facebook Group, Let's Stamp A Little - then CLICK HERE for more information.  If you already have your kit - please be sure to post a picture of your card after you make it. 

If you didn't get a kit - you can still join my FB group and watch the video.  Maybe you will be inspired to make a card - once you see how easy it can be.  And be ready to sign up for the next FREE kit!

Please follow my FACEBOOK PAGEPINTEREST BOARDS, and YOU TUBE channel so you won't miss a thing!


Thanks for stopping by!
Kathy


Wednesday, August 26, 2020

Seaside Notions - Quick & Easy

Monday night was my Seaside Notions stamp class on Zoom.  You can see the cards we made by CLICKING HERE.  In addition - everyone also made two fun fold birthday cards that you can see HERE.

I made the cards in the photo above - using the same stamp set and ink colors that we used in class.  If you would like the supplies to make these cards - you can purchase the card kits for only $10.  You will get the card bases, envelopes, card stock pieces, and ribbon/twine to make the 6 cards in the photo.  In addition, you will receive a written tutorial with measurements and step by step directions  You will need the Seaside Notions stamp set (or a set with similar sized images), stamp pads, blocks, and adhesive to complete the cards.

Below are two more cards that I made using the same stamp set,  They can be made using any color of ink and coordiniating patterned paper.  These cards are made using Calypso Coral products.  The Seaside Notions stamp set does NOT have coordinating dies -but the images are pretty easy to cut out using Stampin' Up!'s paper snips.


CONTACT ME if you would like me to send you a Pay Pal invoice or to make other arrangements for payment.

CLICK HERE to visit my online store and to see my calendar of events.  Join the fun!


Thanks fot stopping by!

Kathy

Monday, July 13, 2020

Quick and Easy Fun Fold Card - Video Tutorial

I posted these cards on my blog earlier this month.  You can see the post HERE.  The video below will show you how easy it is to make this fun fold card.

Measurements for making this card (inches):
Card base is 4 1/4 x 11 and scored at 2 3/4 & 8 1/4
Designer Series Paper: 1 5/8 x 5
Coordinating card stock: 1 7/8 x 5 1/4
White for inside of card: 4 x 5 1/4
*In the video I added a strip of patterned paper to the inside of the card.  This piece measures 1/2 x 5 1/4.  I gave the wrong measurement in the video.*

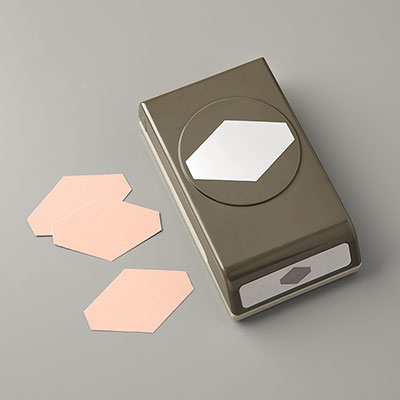
Tailored Tag punch was used to punch the label for "Happy Birthday" greeting
1/2 strip of Designer Series paper was placed behind the label  (Did you watch long enough to see how I used the Tailored Tag punch to make the flags on the ends of the paper?)


You can make TWO of these cards as a BONUS if you are one of the first 6 people to sign up for my August zoom class.  The class will use the Seaside Notions stamp set.  You can see the stamp set below.  Get information about that class BY CLICKING HERE.

SEASIDE NOTIONS CLING STAMP SET

Please EMAIL ME if you have any questions.  I hope to ZOOM with you in August!  Invite a friend or family member - from anywhere in the country -  to join the fun!

Please consider signing up for my monthly newsletter using the link on the side of this blog post.

Please follow my FACEBOOK PAGEPINTEREST BOARDS, and YOU TUBE channel 

Thanks for stopping by!
Kathy

Friday, July 3, 2020

Seaside Notions - Virtual Class Details


You are invited to join my virtual Seaside Notions stamp class on Monday, August 24 at 7:00 pm LIVE on ZOOM. 

We will make the 3 cards in the photo above - plus TWO Bonus cards if you are one of the first 6 people to sign up and pay by August 1.  Click on the image  below for more details about this stamp set - or to purchase it now.
SEASIDE NOTIONS CLING STAMP SET


Option 1 - $30     (add $5 if the kit needs to be shipped to you)

Includes the Seaside Notions Cling Stamp Set and the supplies to make the 3 cards in the photo, including envelopes. 

You will also need the following supplies to complete the cards:
·         Clear Block D
·         Balmy Blue ink pad
·         Crumb Cake ink pad
·         Adhesive
·         Scissors

Option 2 - $10     (add $3 if the card kit needs to be shipped to you)

You will receive the supplies only to make the 3 cards in the photo, including envelopes.

You will also need the Seaside Notions stamp set (or another similar set with similar sized images and words) and the additional products listed for Option 1 above.

--------------------------------------------------------------------------------------------------------------------------

  • Be one of the first 6 people to sign up (for either option) and prepay by August 1 and you will receive the supplies to make TWO BONUS FUN FOLD BIRTHDAY CARDSYou can see the bonus cards BY CLICKING HERE


  • Can’t make the class at that time?  I will record the class so you can watch later at your convenience.  Or I would love to schedule a private (zoom) class with you and your friends.


Please RSVP to kathy.winter@hotmail.com with the information listed below.  I will send you a Pay Pal invoice, or you can send a check to arrive by August 1.  I will order the supplies on August 2 and send out the kits around August 13.  I will contact local stampers to arrange delivery.

  • Name 
  • Email for link to Zoom Meeting
  • Address for mailing or delivery
  • Which option you wish to purchase:
o                                               Option #1 Stamp set + supplies $30 ($35 shipped)
o                                               Option #2  Supplies only $10 ($13 shipped)
o                  
  • Let me know if you want to add on any of the following items needed to complete the cards.


o   118485 Clear Block D $8.50
o   147105 Balmy Blue Ink Pad $7.50
o   147116 Crumb Cake Ink Pad $7.50
o   Balmy Blue & Crumb Cake ink spots ($3 each or both for $5)
o   152813 Stamping’ Seal adhesive $8
o   152814 Stamping’ Seal refill $5.50
o   110755 Multipurpose liquid glue $4
o   104430 Stampin’ Dimensionals $4
o   103579 Paper Snips $10


Please EMAIL ME if you have any questions.  I hope to ZOOM with you in August!  Invite a friend or family member - from anywhere in the country -  to join the fun!

Please consider signing up for my monthly newsletter using the link on the side of this blog post.

Please follow my FACEBOOK PAGEPINTEREST BOARDS, and YOU TUBE channel 

Thanks for stopping by!
Kathy

Wednesday, July 1, 2020

Fun Fold Birthday Card


This is a fun fold card that I made for two friends who had birthdays in June.  I copied the idea from a card that I received from my sister - I will show that card at the end of this blog post.

I have seen similar cards on Pinterest - and even though it may look difficult - this card is actually quite easy to put together.  I used that adorable paper from the last mini catalog which is sadly no longer availabe to purchase.  I hope my friends didn't think it was too childish - I like bright and cheery birthday cards, and we are all young at heart. 

This card would work with any coordinating papers and could be used for any occasion.  The "Happy Birthday" greeting is from the Seaside Notions stamp set - which I will be featuring in my August ZOOM class.  Details about that class will be posted soon!  This will be a BONUS card you will make it that class, with a minimum purchase.

In the photo above - you can see how this card opens and below is a photo of the card fully opened.  It is a regular sized card (4 1/4 x 5 1/2) and fits into a Stampin' Up! medium sized envelope. Do you see that I used the scalloped edge die from Stitched Be Mine dies to create the bottom border on the white piece?   I stamp two retired greetings for the inside.

Measurements for making this card (inches):
Card base is 4 1/4 x 11 and scored at 2 3/4 & 8 1/4
Designer Series Paper: 1 5/8 x 5
Coordinating card stock: 1 7/8 x 5 1/4
White for inside of card: 4 x 5 1/4

Tailored Tag punch was used to punch the label for "Happy Birthday" greeting
1/2 strip of Designer Series paper was placed behind the label  (I punched the edges on that strip using the Tailored Tag punch.  Can you figure out how I did it?!)

Below are some of the products I used to make the cards.  Click on any image for more information or to add it to your shopping bag in my online store.

SEASIDE NOTIONS CLING STAMP SETSTITCHED BE MINE DIEStailored straight edge tag punch

And here is the card that Donna sent me - for no particular reason except to brighten my day.  Which it did!

If you have any questions about how to make this cards, please EMAIL me.

Please consider signing up for my monthly newsletter using the link on the side of this blog post.

Please follow my FACEBOOK PAGEPINTEREST BOARDS, and YOU TUBE channel 

Thanks for stopping by!
Kathy