The class was a success - and everyone's cards looked different because everyone had a different patterned paper that they used to make the cards. I planned to record the zoom class - but in my excitement I forgot to hit the record button. So I finally got around to recording a new video showing you how easy it is to make these cards.
In the video below (Part 1) I show you how to cut the patterned paper and the coordinating card stock (which is used for mats, borders and die cuts. If you are receiving this blog post in your email - you may need to click on the blog title to load the video.
In the video below (Part 2) I show you how to put the pieces on Whisper White card bases to make the 6 cards - and I include a lot of tips and offer suggestions of how to make the cards suit your needs.
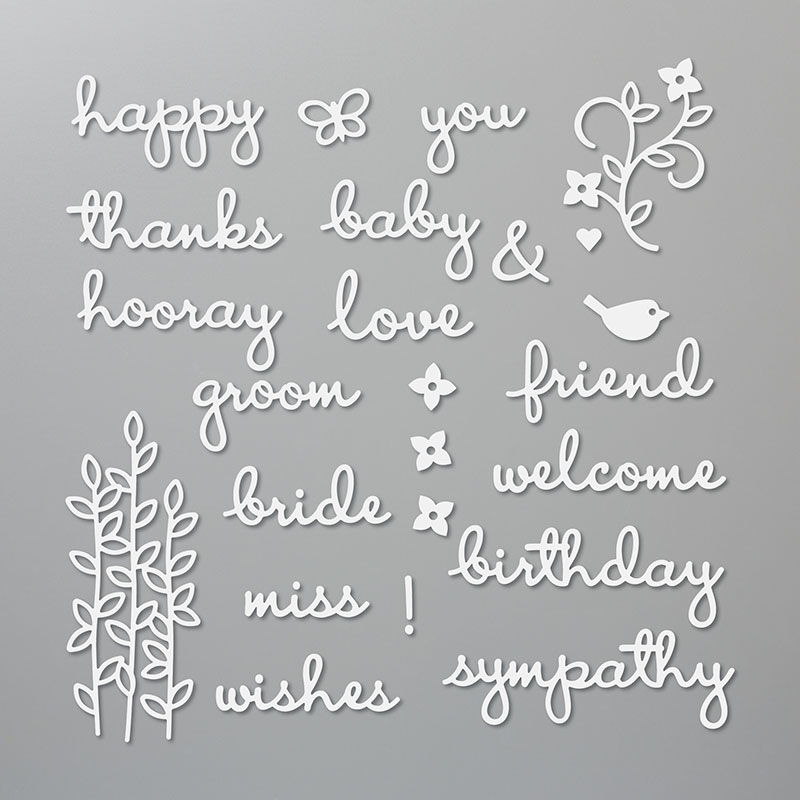
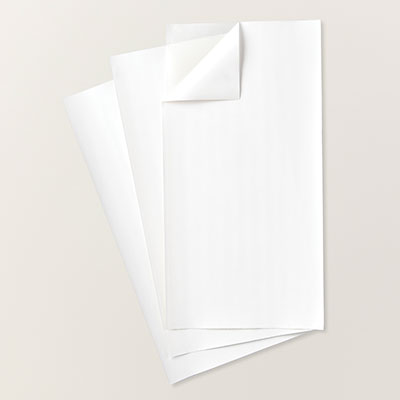
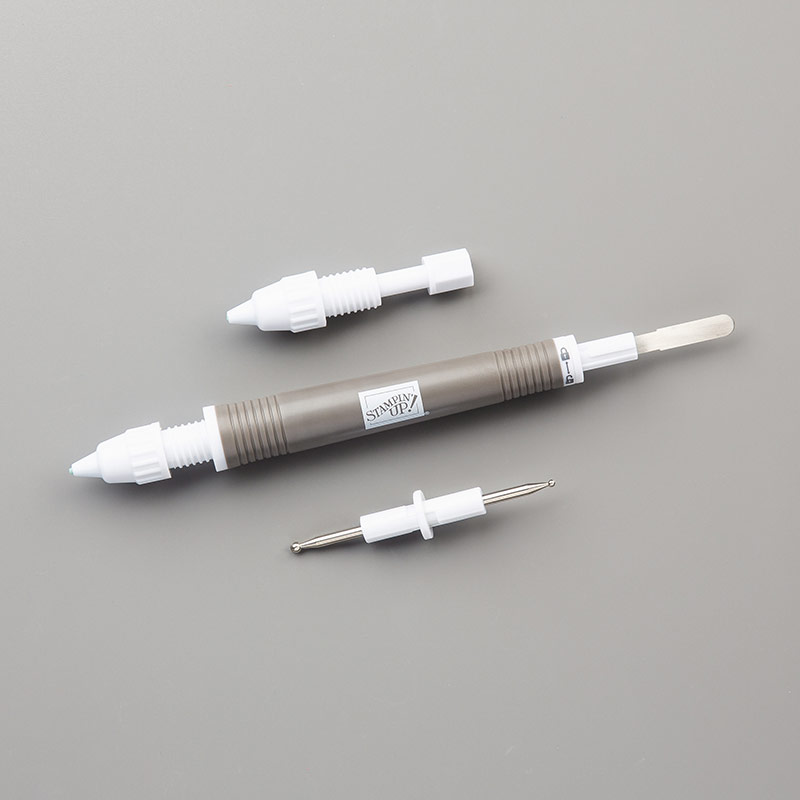
These cards were all made with NO STAMPING! Shocking, right? Instead, I included die cut words and images to complete the cards. I used adhesive sheets when cutting out the die cuts - which made it easy to adhere those pieces to the cards (as long as you have fingernails or a sharp pointy tool like the Take Your Pick tool!)
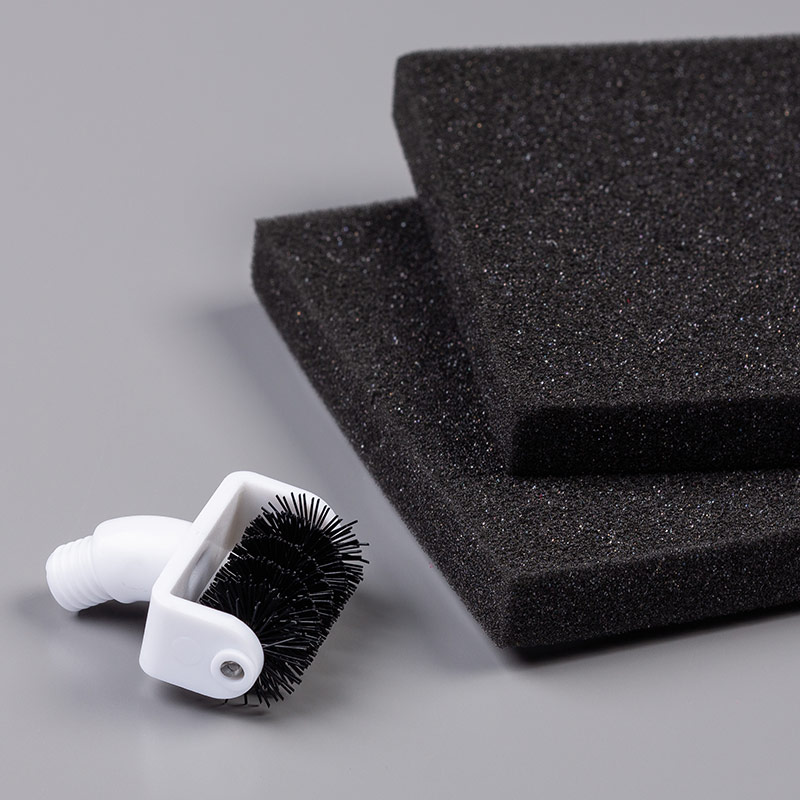
One set of dies is retired and all of the Designer Series Paper I used in the video is retired, but below are some of the current products I used on the cards. Click on the image for more information about the product and to add it to your shopping bag in my online store.
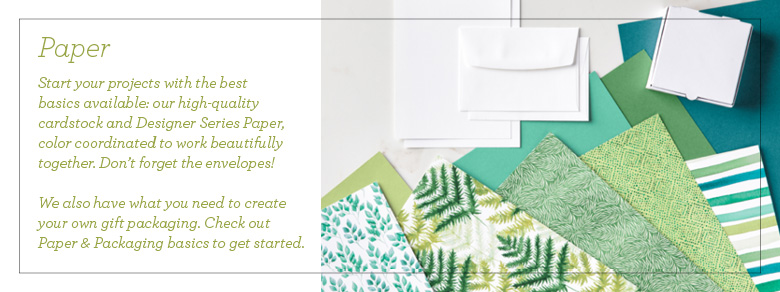
You can see the current selection of designer series paper by clicking on the image below:
If you have any questions about how to make these cards, please EMAIL me.
Please consider signing up for my monthly newsletter using the link on the side of this blog post.
Thanks for stopping by!
Kathy


