Monday, May 11, 2020

Piece of Cake Bench Card - Video Tutorial


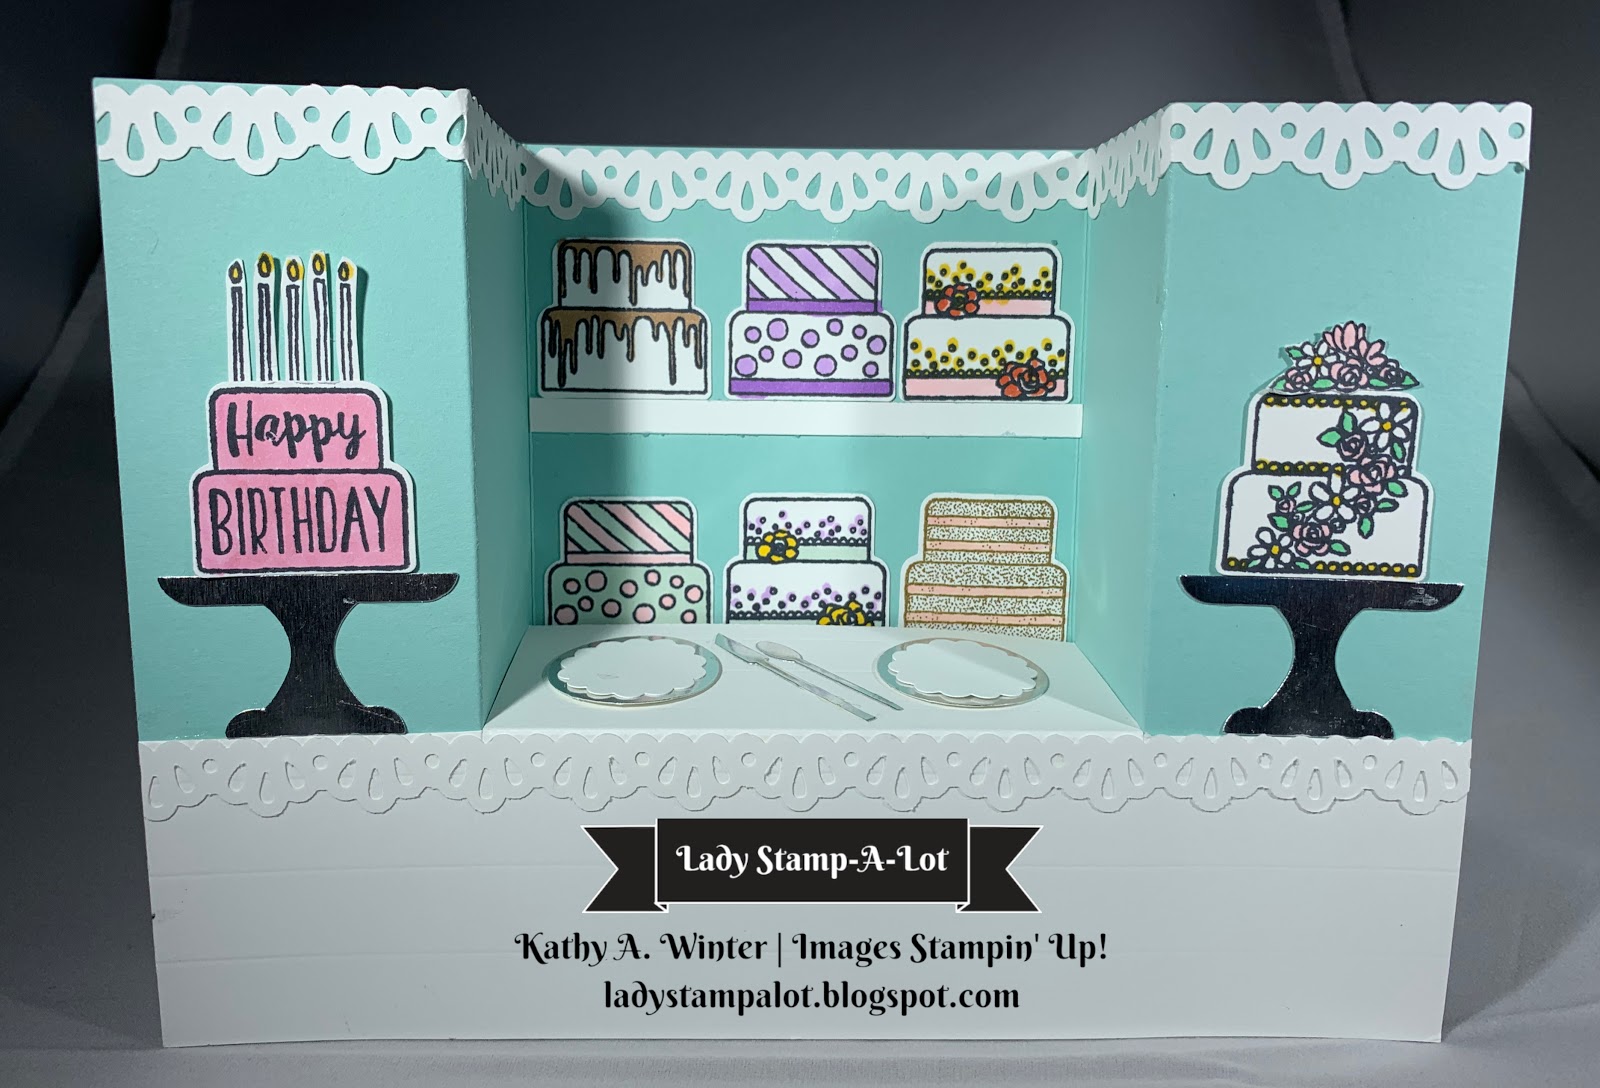
Here is the video showing how to make a bench card like the one I shared on FRIDAY'S BLOG POST.  It is not as hard to make as you might think!  Please note that the finished size of this card is 5 x 7, which is larger than a typical card. It will not fit in a medium Stampin' Up! envelope, but it is a standard size that you can purchase - or you can make one yourself.  If you are viewing this blog post in an email - be sure to click on the title of the blog post to load the video.


Basic measurements for the card (inches):

Card Base is cut 5 x 10  Score at 1 3/4, 3 1/4, 6 3/4, 8 1/4

Support Piece is cut 1 3/4 x 5 1/2  Score 1" from each end  (or 1 and 4 1/2)

Front/bench piece (white) is cut 3 1/4 x 7  See diagram below or watch video for how to score and cut this piece.


To decorate my card, I used the Piece of Cake stamp set from Stampin' Up!  This stamp set and coordinating punch is retiring at the end of May 2020 - so if you want to make a card like this, be sure to purchase these products ASAP.  

The punch is actually discounted from its regular price. (Now $10.80  Originally $18)

Click on the image below to see more information on these products and/or add them to your shopping bag in my online store.
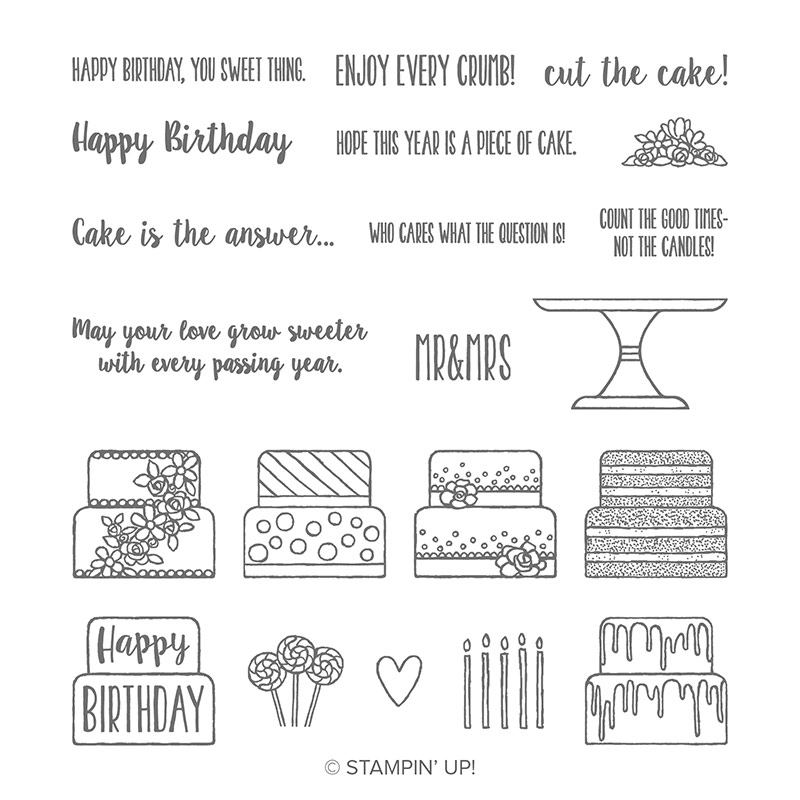
birthday cake stamp setmodern cake builder punch

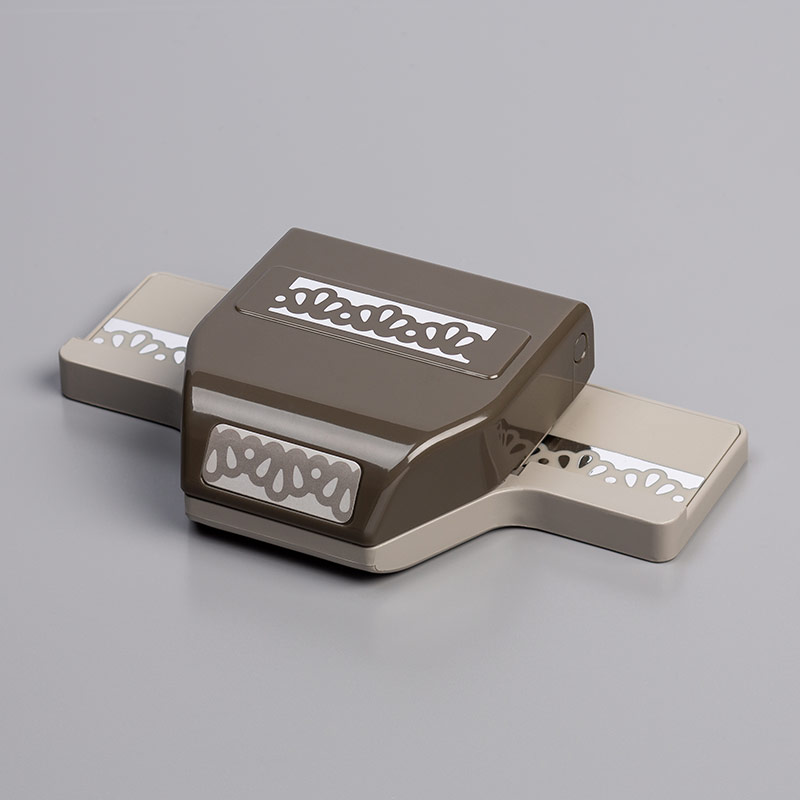
I used the Decorative Ribbon Border Punch to decorate the top edge of the card, as well as the edge of the white bench piece.  This punch is also retiring at the end of May 2020 and is also on sale!

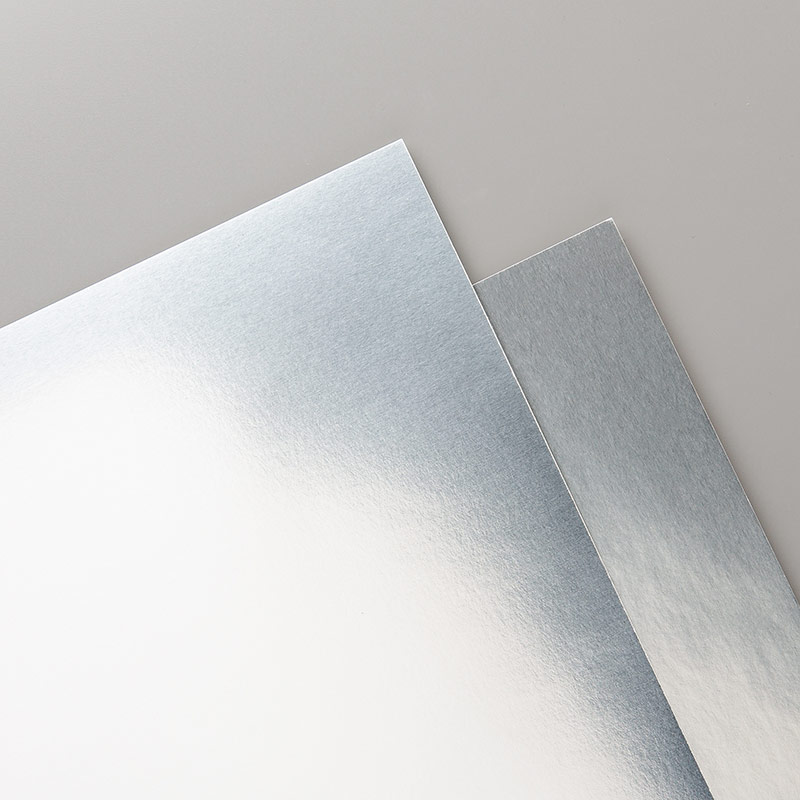
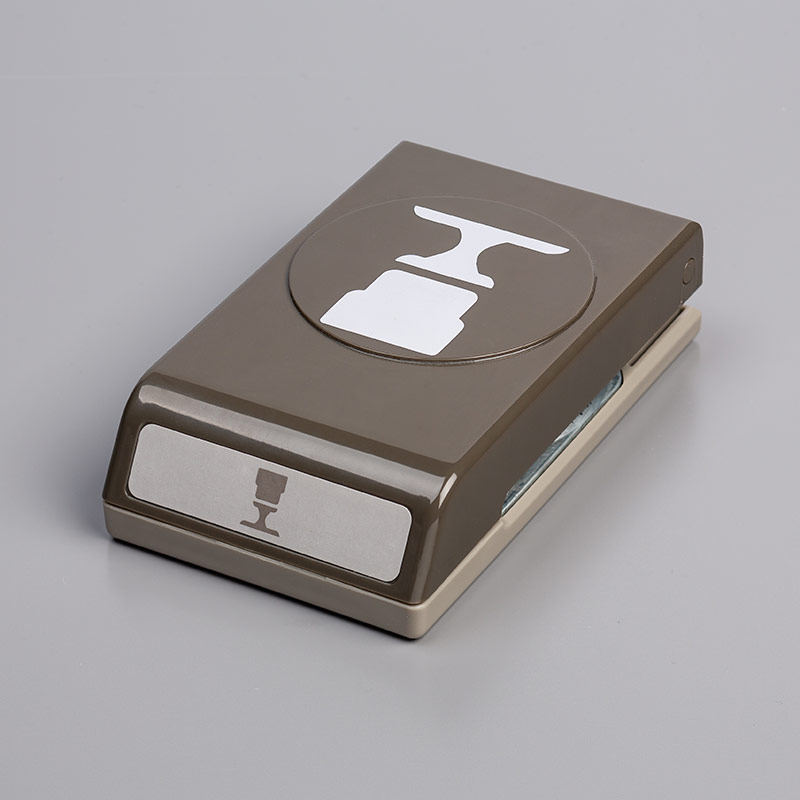
I cut the cake stands from Silver Foil Paper for the two cakes on the outside panels.   I also cut silver serving plates for the table top using a 1 inch circle punch, and a silver knife and spoon using dies from the Apron Builder Framelits (retired.)  The doilies on the plates are cut from Whisper White card stock using a 7/8' scallop punch (retired.) 

Click on the images below for more info on the punch and silver foil paper.
lace ribbbon border punchsilver foil paper

To decorate the cake with candles, I cut between the candles using my paper snips - but left a solid piece at the bottom - to make it easy to attach the candles to the back of the cake. See photo below.
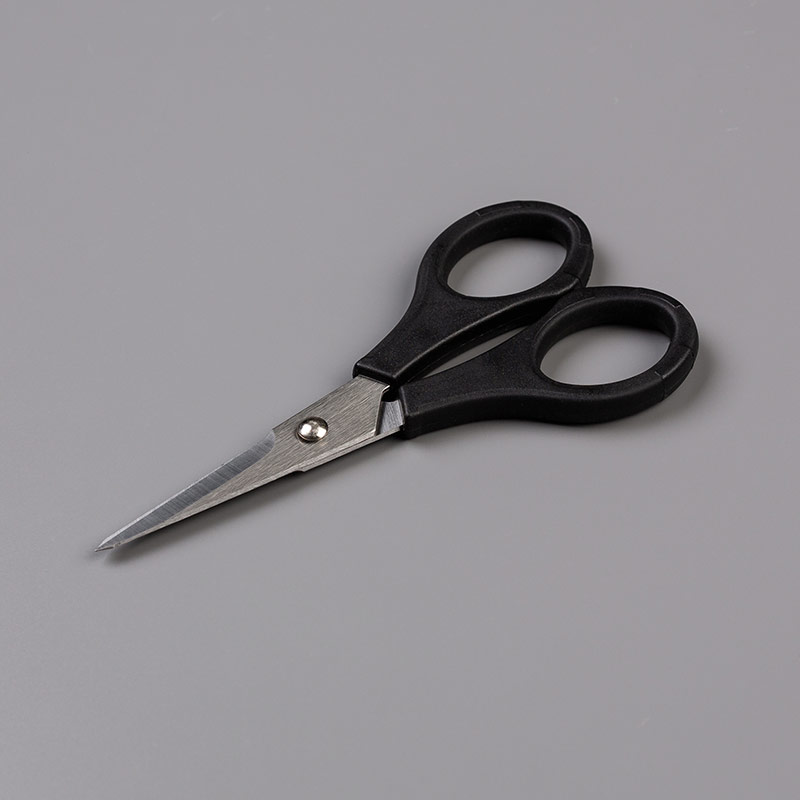
The flowers on top of the cake were also "fussy cut"  Paper snips are the perfect tool for cutting around small shapes.
steel paper scissors

I used various colors of Stampin' Blends to color the cakes.  The shelf for the top row of cakes is a 1/4 x 3 1/2 piece of Whisper White card stock.

Here is the back of the card.  The Whisper White card stock is cut at 3 1/4 x 4 3/4.

 This is where I would write a personal message - or you could stamp your greeting here.  It would be better to stamp or write - before adhering the piece to the card.

If you have any questions about how I made this card - please do not hesitate to CONTACT ME

CLICK HERE to check out the list of LAST CHANCE (retiring) products.  Stamp sets are guaranteed available through May 22.  Everything else is WHILE SUPPLIES LAST - through June 2.

CLICK HERE to see my May 2020 class to go.  This is a great class for kids who made need something to keep them busy!

CLICK HERE to see my April 2020 class to go.  This is a project that I designed.for beginners, but suitable for anyone: all you need to complete the 20 cards is your favorite adhesive!

CLICK HERE  to see my other classes to go - which are still available while supplies last.

Please follow my FACEBOOK PAGEPINTEREST BOARDS, and YOU TUBE channel.

I will be launching a monthly email newsletter beginning in June.  Please complete the form below to sign up for exclusive products and special deals!  I would love to send you a card on your birthday, too!

Thanks for stopping by!
Kathy

Sign up for my news letter here:

Subscribe

* indicates required

/ ( mm / dd )

Friday, May 8, 2020

Piece of Cake

Isn't this the cutest card?!  I have to say that it is mostly a direct CASE from a card I saw on Pinterest (Heejung Hunsberger) with a few modifications.  I hope to post a quick video on Monday showing how to make this kind of card.  It is called a bench card - and is not as hard to make as you would think!  It folds up to fit in an envelope!  This card is 5 x 7 - which is larger than the cards I usually make, so it would take a larger envelope.  I wanted the card large enough to fit the cake stands on the outer panels - and two layers of cakes inside.

It is hard to tell in the photo but the cake stands are cut from silver foil paper - using the Cake Builder Punch.  This is the first photo I took with my new light box - before I watched any You Tube videos about how to take good photos. Ha ha!   Hopefully I will get better with a little practice.

I made this card to feature the retiring stamp set, Piece of Cake.  I can not believe that I bought this set and coordinating punch over a year ago and never used it!!!  It is the cutest set and super easy to color the images!  You could even fussy cut the cakes with a scissors - you can see from the photo that the shape of the cake is very simple.  BUT this punch is on sale - so grab it while you can.  It is also retiring and will only be available while supplies last.

There are a lot of great greetings in this set - making it perfect for Birthdays, Weddings, Anniversaries, or anytime you want to celebrate with cake!

Click on the images below to get get more info about the products and to purchase them from my online store.
birthday cake stamp setmodern cake builder punch

lace ribbbon border punchThe Decorative Ribbon punch is also on sale and also retiring!

Be sure to check back on Monday to see how to make this card.

CONTACT ME if you have any questions.

CLICK HERE to check out the list of LAST CHANCE (retiring) products.  Stamp sets are guaranteed available through May 22.  Everything else is WHILE SUPPLIES LAST - through June 2.

CLICK HERE to see my May 2020 class to go.  This is a great class for kids who made need something to keep them busy!

CLICK HERE to see my April 2020 class to go.  This is a project that I designed.for beginners, but suitable for anyone: all you need to complete the 20 cards is your favorite adhesive!

CLICK HERE  to see my other classes to go - which are still available while supplies last.

Please follow my FACEBOOK PAGEPINTEREST BOARDS, and YOU TUBE channel.

I will be launching a monthy email newsletter beginning in June.  Please complete the form below to sign up for exclusive products and special deals!  I would love to send you a card on your birthday, too!


Thanks for stopping by!
Kathy

Sign up for my news letter here:

Subscribe

* indicates required

/ ( mm / dd )

Wednesday, May 6, 2020

Daisy Delight and Retiring In Colors

I made this set of cards using the Retiring 2018-2020 In Colors from Stampin' Up!  These are beautiful basic colors and I hate to see them go.  But Stampin' Up! will add 5 new colors to the new annual catalog (launcing June 3) and I'm sure I will love them just as much!

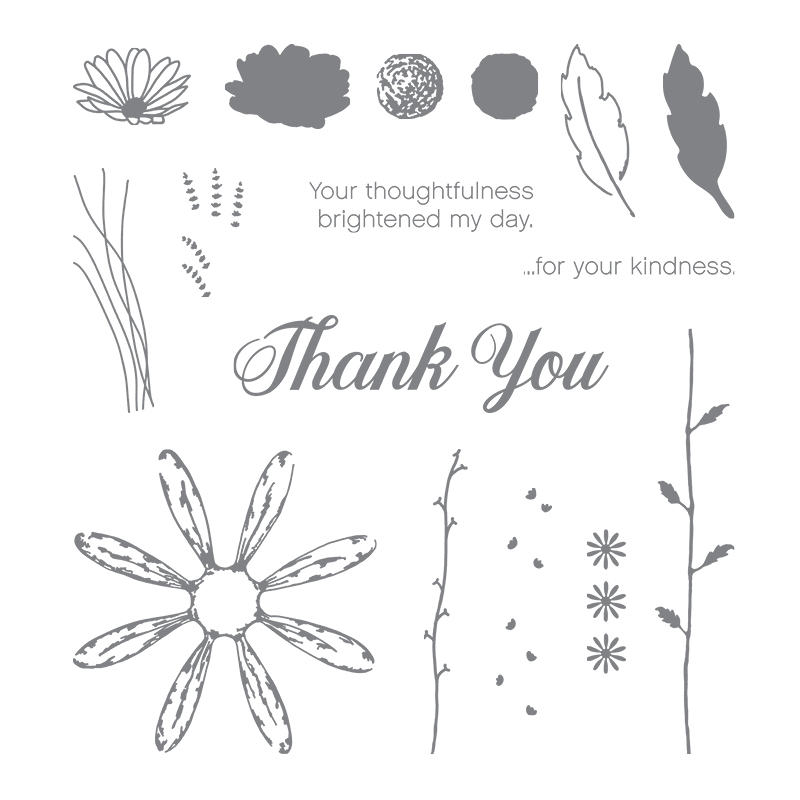
When I made this set of cards, I used two stamp sets that feature a large daisy flower. The two cards below are made using the retiring Daisy Delight stamp set.  This is photopolymer stamp set, and also includes the "Thank You" greeting used on the cards as well as the images and greetings in the graphic below.  (Click on the graphic to add it to your shopping bag in my online store.)  This stamp set is retiring and is guaranteed to be available through May 22.
daisy flower stamps


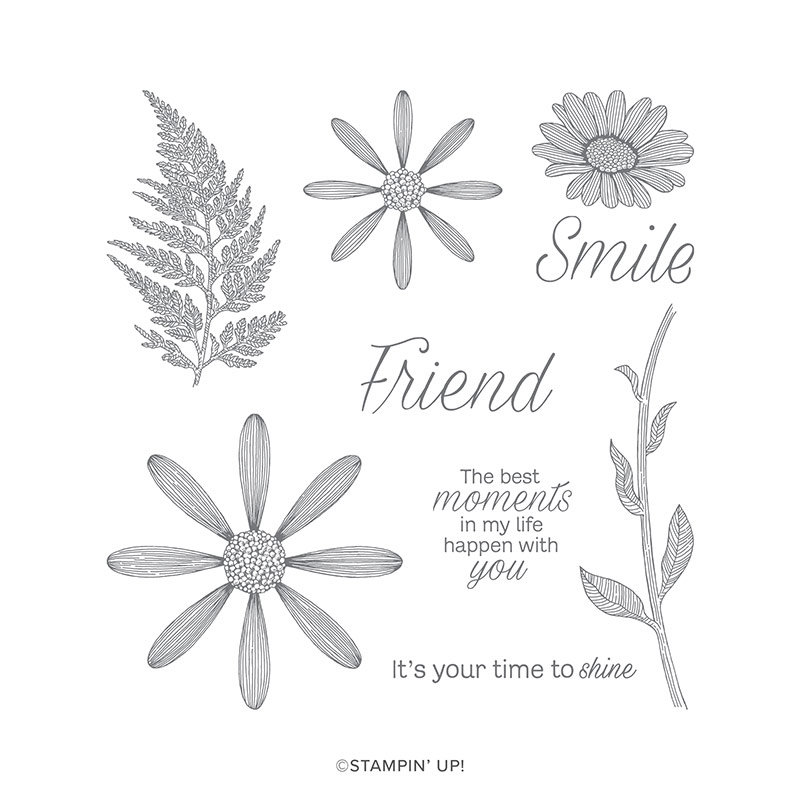
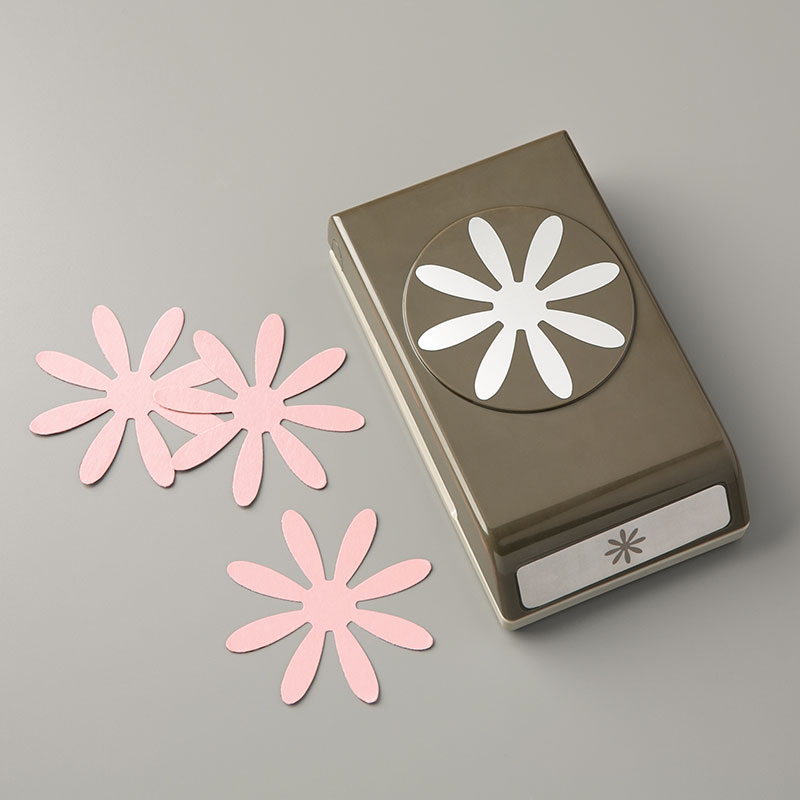
For the cards below, I used the Daisy Lane stamp set.  This is a red rubber cling mount stamp set, that also has a medium daisy stamp and coordinating punch. It is pictured below.  Click on the image to add the stamp set to your shopping bag in my online store.
DAISY LANE CLING STAMP SET

When making the daisies for my cards - I stamped the image two times on a piece of scrap paper, then punched the images out, and used a glue dot to attach them to each other.  For the blue card, I used both sizes of the daisy.  You can also use the stamp with out the punches - you will need to stamp the second image by turning the stamp slightly and stamping the petals between the petals of the first stamped image.  (This is easier to do with the photopolymer, Daisy Delight set, because you can see through the stamps.)


Below are some of the other supplies I used to make the cards.  Click on any image to go to my online store - to add to your shopping bag and to get more details about the product.
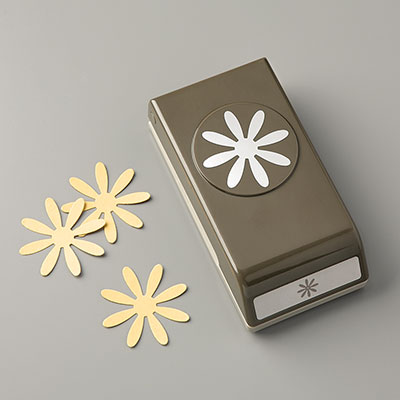
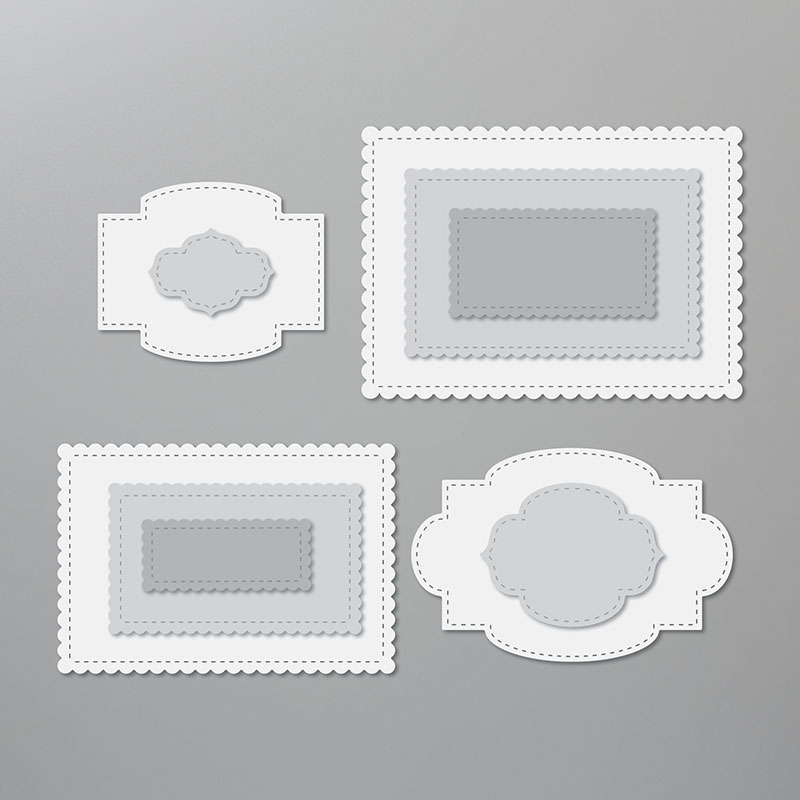
single daisy punchMEDIUM DAISY PUNCHSTITCHED SO SWEETLY DIES
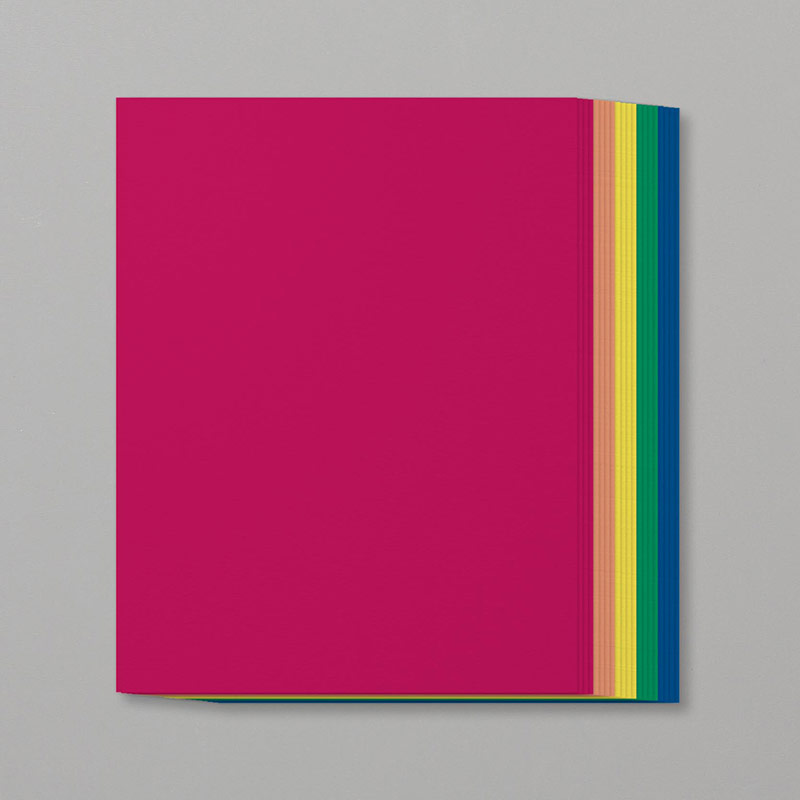
primary color cardstockwhite paperblack stamp ink pad

CLICK HERE to check out the list of LAST CHANCE (retiring) products.  Stamp sets are guaranteed available through May 22.  Everything else is WHILE SUPPLIES LAST - through June 2.

CLICK HERE to see my May 2020 class to go.  This is a great class for kids who made need something to keep them busy!

CLICK HERE to see my April 2020 class to go.  This is a project that I designed.for beginners, but suitable for anyone: all you need to complete the 20 cards is your favorite adhesive!

CLICK HERE  to see my other classes to go - which are still available while supplies last.

Please follow my FACEBOOK PAGEPINTEREST BOARDS, and YOU TUBE channel.

I will be launching a monthy email newsletter beginning in June.  Please complete the form below to sign up for exclusive products and special deals!

Sign up for my news letter here:

Subscribe

* indicates required

 /  ( mm / dd )


Thanks for stopping by!
Kathy
Monday, May 4, 2020

Hoot Hoot Hooray - May 2020 Class to Go


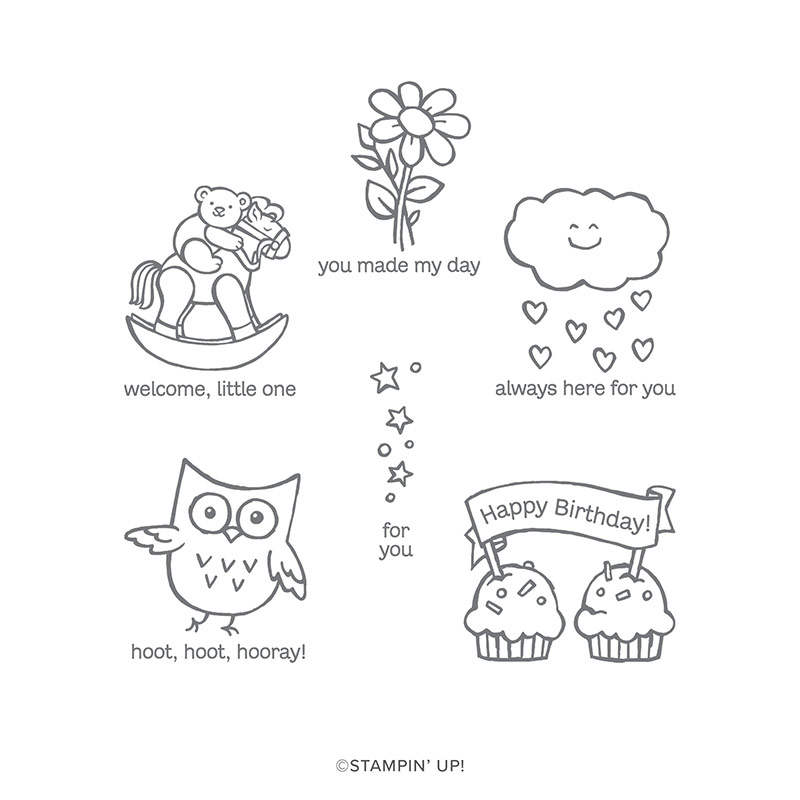
Watch the short video to hear the details about my May 2020 class to go - and watch until the end to see 4 additional cards that you could make with this stamp set and a few additional supplies.  This class features the adorable Hoot Hoot Hooray stamp set from Stampin' Up!  If you are reading this blog post in an email and can't see the video - you may need to click on the post title at the top.

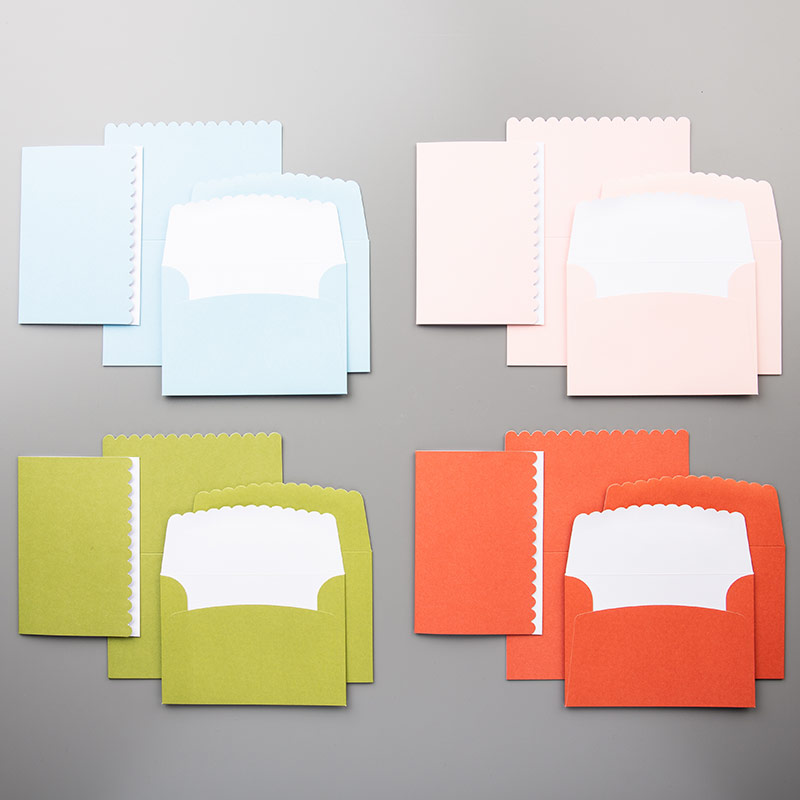
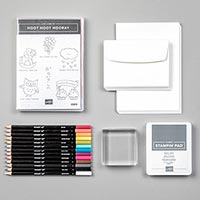
When you purchase the stamp set and a package of Scalloped note cards & envelopes, I will send you the supplies needed to make 20 cards like the ones featured in the video.  This is a great class for beginners - and even for kids who like to color.  All you will need to complete the cards are a clear block, your favorite adhesive (a glue stick would work), black ink, and your favorite coloring tools.

Below are the photos featured in the video.  I will send you the supplies to make 20 cards like these - after you purchase the stamp set and note cards from my ONLINE STORE.  Be sure to leave your contact info/mailing address so I can send you those freebies.

Measurements for making these cards, in inches:
Patterned paper strip: 1 1/2 by 5
Whisper White Thick card stock: 2 1/2 x 2 1/2


Below are ideas for  other cards that you could make with the stamp set - using a few additional supplies.


Click on any image below to add the items to your shopping bag in my online store.  If you used the host code AHR6YVUV and purchase by May 22 - I will add some sequin embellishments to your pack of goodies!

HOOT HOOT HOORAY CLING STAMP SETSCALLOPED NOTE CARDS & ENVELOPESclear stamp mounting blocksnail sticker adhesive


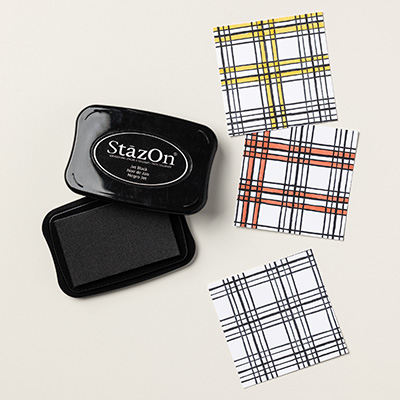
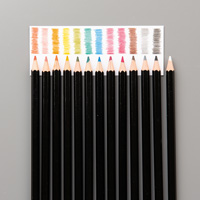
grey stamp padorblack ink padwithcolored pencils

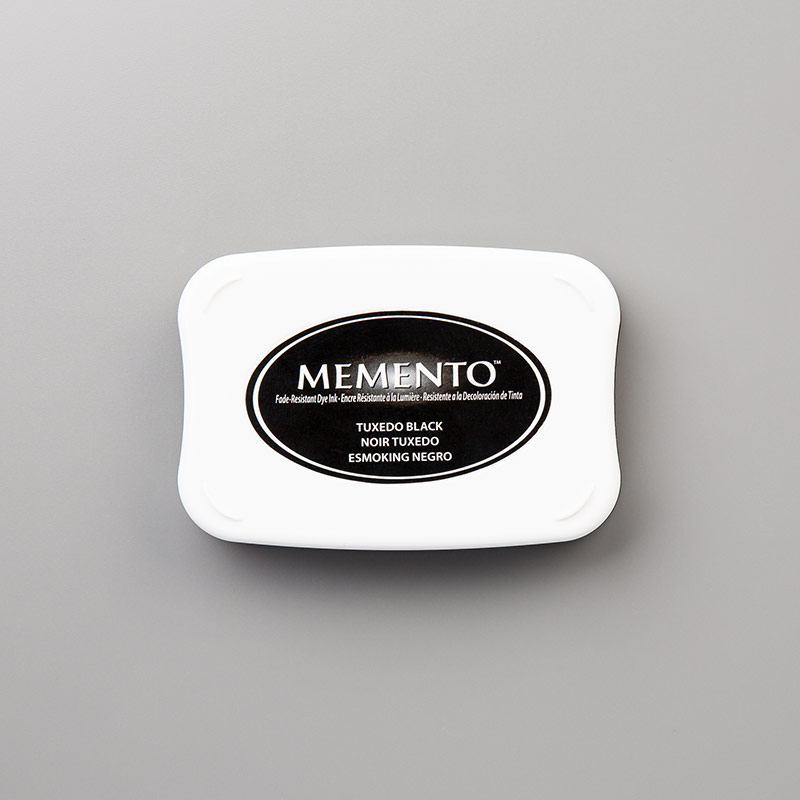
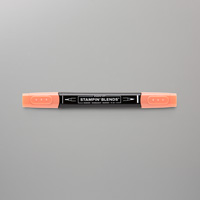
black stamp ink padlight orange markerUse Memento ink with Stampin' Blends

HOOT HOOT HOORAY CARDS BUNDLEThis is a product bundle with the regular note cards. Click on the photo and all the products will go in your shopping bag!


CONTACT ME if you have any questions or if you would like me to place your order.


CLICK HERE to visit my online store.

CLICK HERE to see my April 2020 class to go.  This is a project that I designed.for beginners, but suitable for anyone: all you need to complete the 20 cards is your favorite adhesive!

CLICK HERE  to see my other classes to go - which are still available while supplies last.

Please follow my FACEBOOK PAGEPINTEREST BOARDS, and YOU TUBE channel.


I will be launching a monthy email newsletter beginning in June.  Please complete the form below to sign up for exclusive products and special deals!

Sign up for my news letter here:

Subscribe

* indicates required

 /  ( mm / dd )

Thanks for stopping by!
Kathy
Friday, May 1, 2020
This Little Piggy

I sent these cards out to my team members and a few regular customers - who attend my in person classes.  I've attended several ZOOM meetings with my demonstrator friends - but I miss attending "in person" meetings and classes.  The card is a CASE (Copy And Share Everything) of one I saw on Pinterest (by Lorri Heiling.)  Below is the inside of the card:

Lorri put these words on the front of the card - but when I showed the cards to my kids (ages 25 & 21) they both thought the "....stayed home" should go inside the card.  And I agreed.  This card was a HUGE hit!  I received a thank you from almost every person who received this card - either a text, email, or shout on on Face Book. 

Below is the stamp set that I used to make this card - and it is on the RETIRING LIST!!!  So if you want this cute set - just click on the photo and add it to your shopping bag in my online store - before it is gone forever!

Here are two other cards I made with this adorable stamp set:


Below are some of the other products I used to make the featured cards.  Click on any photo to add it to your shopping bag.
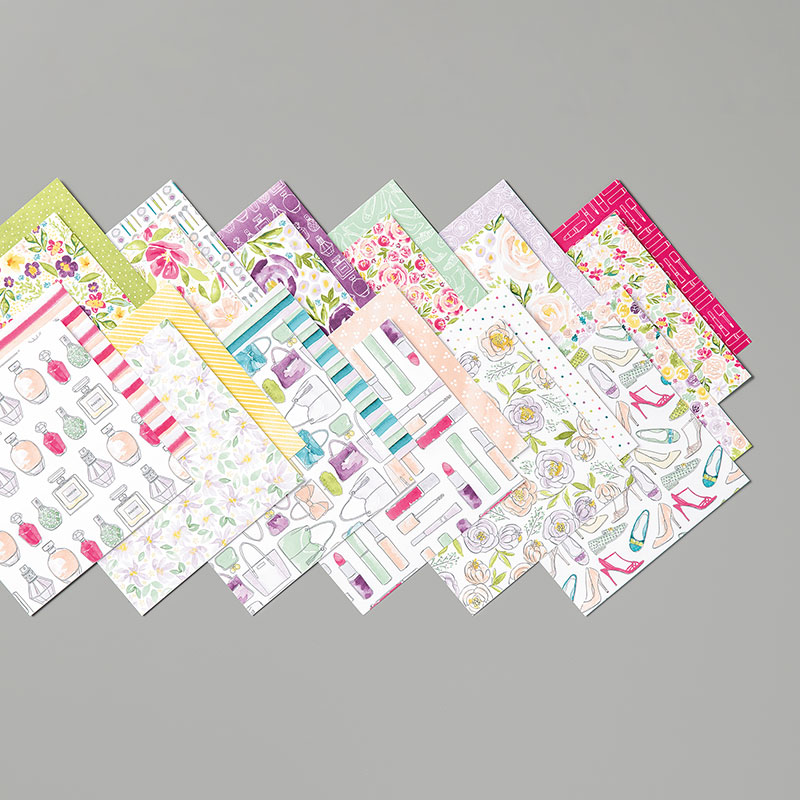
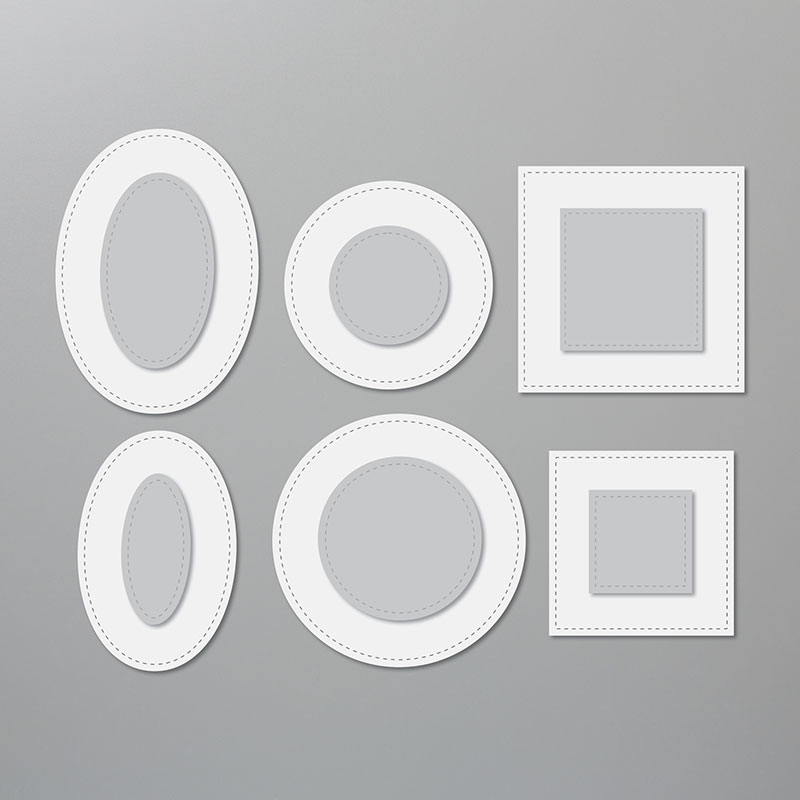
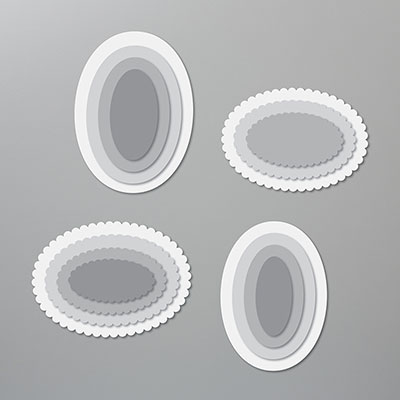
BEST DRESSED 6" X 6" (15.2 X 15.2 CM) DESIGNER SERIES PAPERpink lipstick cardstockPURPLE POSY 8-1/2" X 11" CARDSTOCKlight petal pink papermint green paperwhite paperSTITCHED SHAPES DIESLAYERING OVALS DIESblending markers in pinklight tan markerblack stamp ink padscoring lines tool

Cutting dimensions for making the card:

Card stock for card: 5 1/2 x 8 1/2; scored at 4 1/4
Designer Series Paper: 1 1/4 x 5 1/2
Scallop Oval Dies: largest scallop oval
Stitched Shapes Dies: largest oval

The head of the piggy is stamped a second time on a scrap of white card stock and "fussy cut."  The mask is put on the piggy head first - then attached to the original stamped image with a dimensional.

The mask  is approx 5/8 x 3/8;  I made 3 score lines 1/8 inch apart - then trimmed with my paper snips.  I glued two pieces of white baker's twine to the back of the mask - forming the letter x.  Adjust the twine from the front so it looks like straps.


CONTACT ME if you have any questions.

CLICK HERE to visit my online store.

CLICK HERE to see my April 2020 class to go.  This is a project that I designed.for beginners, but suitable for anyone: all you need to complete the 20 cards is your favorite adhesive!

CLICK HERE  to see my other classes to go - which are still available while supplies last.

Please follow my FACEBOOK PAGEPINTEREST BOARDS, and YOU TUBE channel.


Thanks for stopping by!
Kathy