
Here is the video showing how to make a bench card like the one I shared on FRIDAY'S BLOG POST. It is not as hard to make as you might think! Please note that the finished size of this card is 5 x 7, which is larger than a typical card. It will not fit in a medium Stampin' Up! envelope, but it is a standard size that you can purchase - or you can make one yourself. If you are viewing this blog post in an email - be sure to click on the title of the blog post to load the video.
Basic measurements for the card (inches):
Card Base is cut 5 x 10 Score at 1 3/4, 3 1/4, 6 3/4, 8 1/4
Support Piece is cut 1 3/4 x 5 1/2 Score 1" from each end (or 1 and 4 1/2)
Front/bench piece (white) is cut 3 1/4 x 7 See diagram below or watch video for how to score and cut this piece.


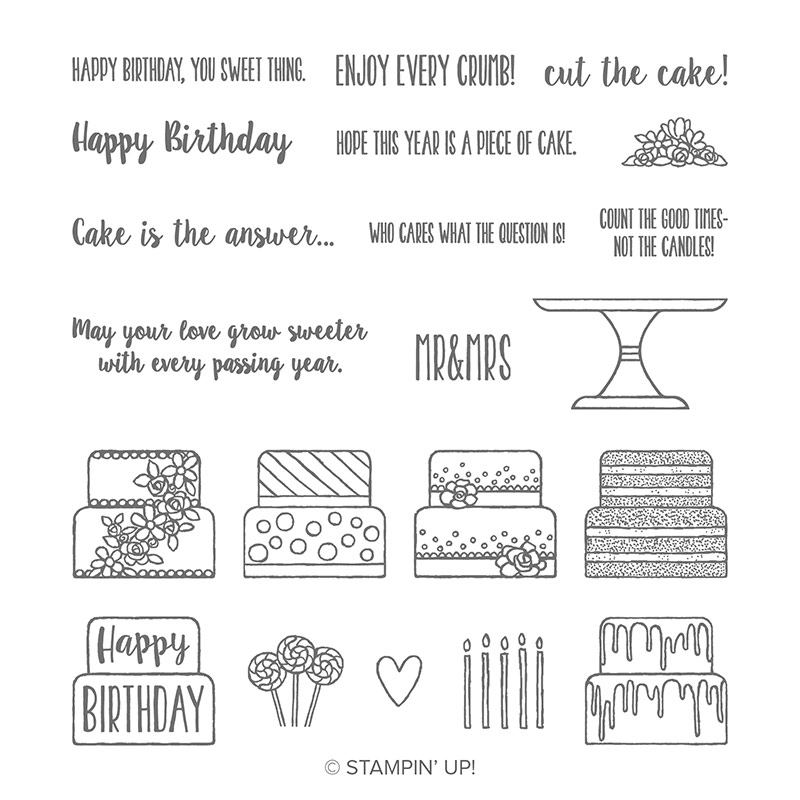
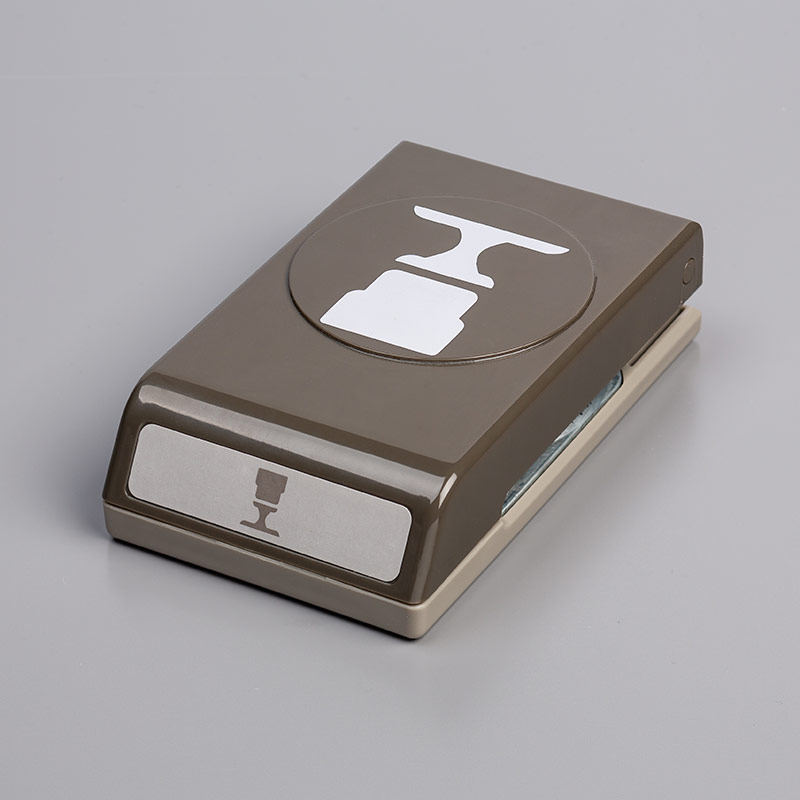
To decorate my card, I used the Piece of Cake stamp set from Stampin' Up! This stamp set and coordinating punch is retiring at the end of May 2020 - so if you want to make a card like this, be sure to purchase these products ASAP.
The punch is actually discounted from its regular price. (Now $10.80 Originally $18)
Click on the image below to see more information on these products and/or add them to your shopping bag in my online store.
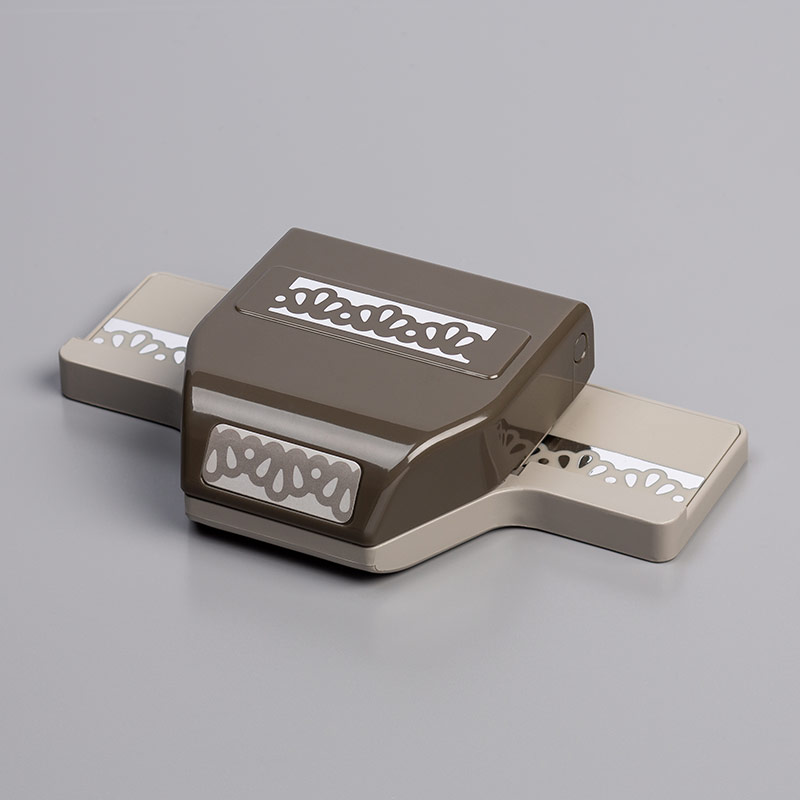
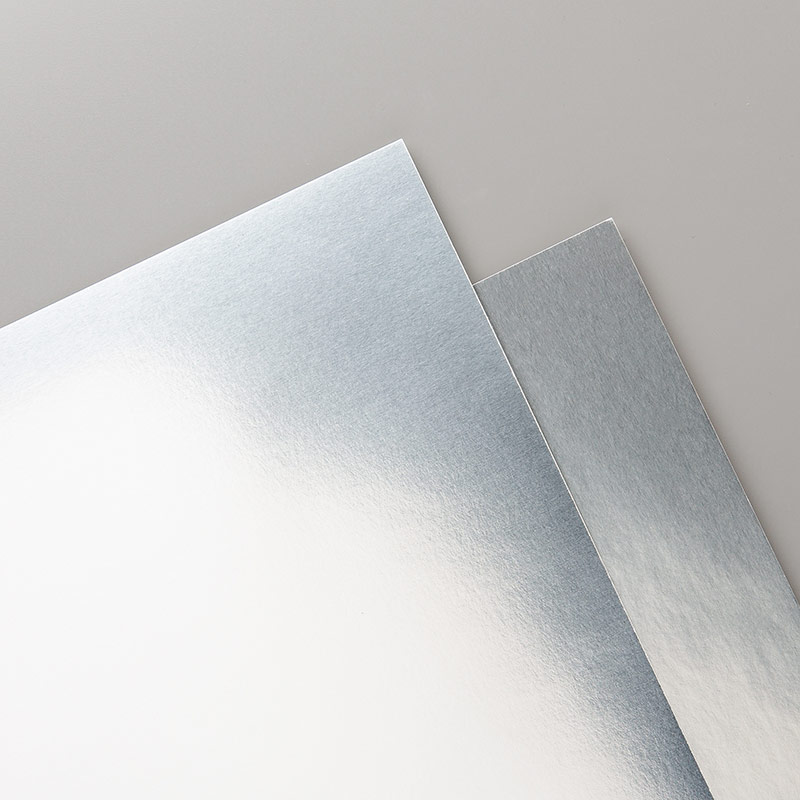
I cut the cake stands from Silver Foil Paper for the two cakes on the outside panels. I also cut silver serving plates for the table top using a 1 inch circle punch, and a silver knife and spoon using dies from the Apron Builder Framelits (retired.) The doilies on the plates are cut from Whisper White card stock using a 7/8' scallop punch (retired.)
Click on the images below for more info on the punch and silver foil paper.
To decorate the cake with candles, I cut between the candles using my paper snips - but left a solid piece at the bottom - to make it easy to attach the candles to the back of the cake. See photo below.
The flowers on top of the cake were also "fussy cut" Paper snips are the perfect tool for cutting around small shapes.

I used various colors of Stampin' Blends to color the cakes. The shelf for the top row of cakes is a 1/4 x 3 1/2 piece of Whisper White card stock.
Here is the back of the card. The Whisper White card stock is cut at 3 1/4 x 4 3/4.

This is where I would write a personal message - or you could stamp your greeting here. It would be better to stamp or write - before adhering the piece to the card.
If you have any questions about how I made this card - please do not hesitate to CONTACT ME
CLICK HERE to see my May 2020 class to go. This is a great class for kids who made need something to keep them busy!
CLICK HERE to see my April 2020 class to go. This is a project that I designed.for beginners, but suitable for anyone: all you need to complete the 20 cards is your favorite adhesive!
CLICK HERE to see my other classes to go - which are still available while supplies last.
I will be launching a monthly email newsletter beginning in June. Please complete the form below to sign up for exclusive products and special deals! I would love to send you a card on your birthday, too!
Thanks for stopping by!
Kathy
No comments:
Post a Comment