

I sent these cards out to my team members and a few regular customers - who attend my in person classes. I've attended several ZOOM meetings with my demonstrator friends - but I miss attending "in person" meetings and classes. The card is a CASE (Copy And Share Everything) of one I saw on Pinterest (by Lorri Heiling.) Below is the inside of the card:

Lorri put these words on the front of the card - but when I showed the cards to my kids (ages 25 & 21) they both thought the "....stayed home" should go inside the card. And I agreed. This card was a HUGE hit! I received a thank you from almost every person who received this card - either a text, email, or shout on on Face Book.
Below is the stamp set that I used to make this card - and it is on the RETIRING LIST!!! So if you want this cute set - just click on the photo and add it to your shopping bag in my online store - before it is gone forever!

Here are two other cards I made with this adorable stamp set:

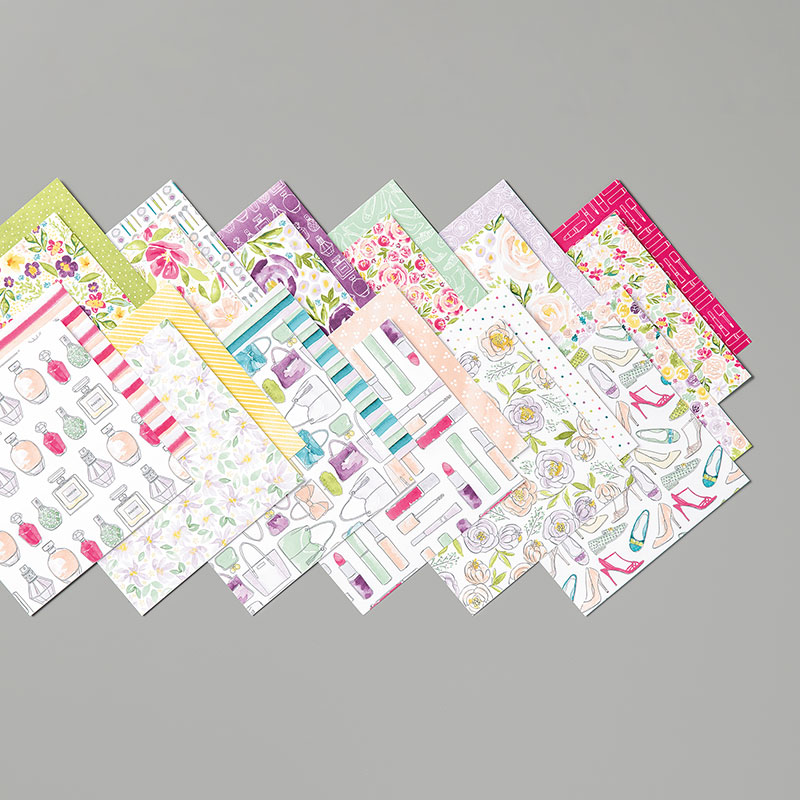
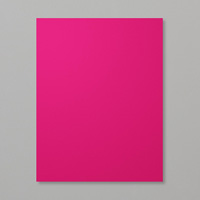
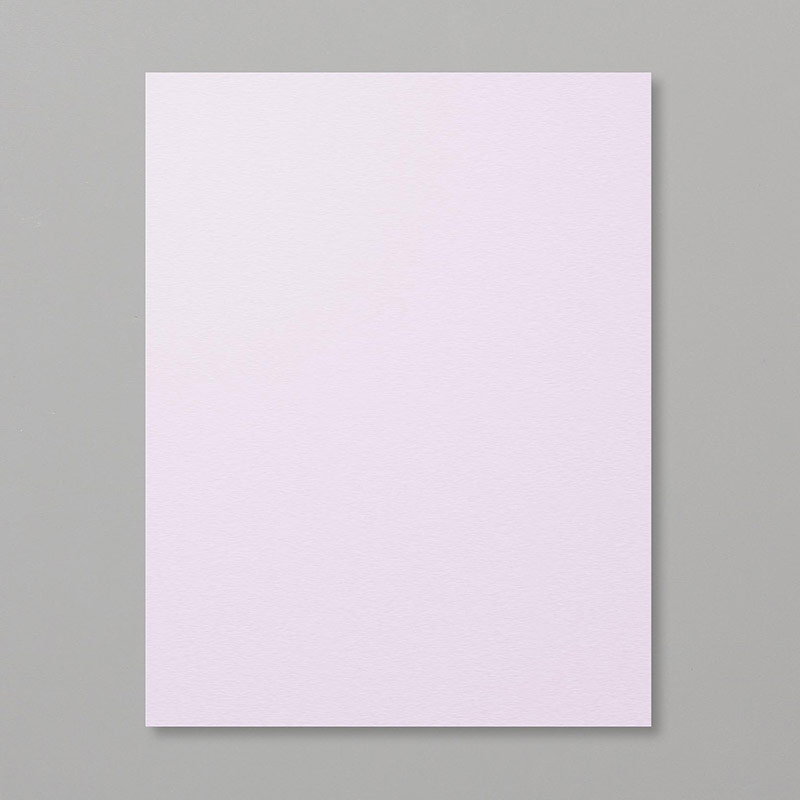
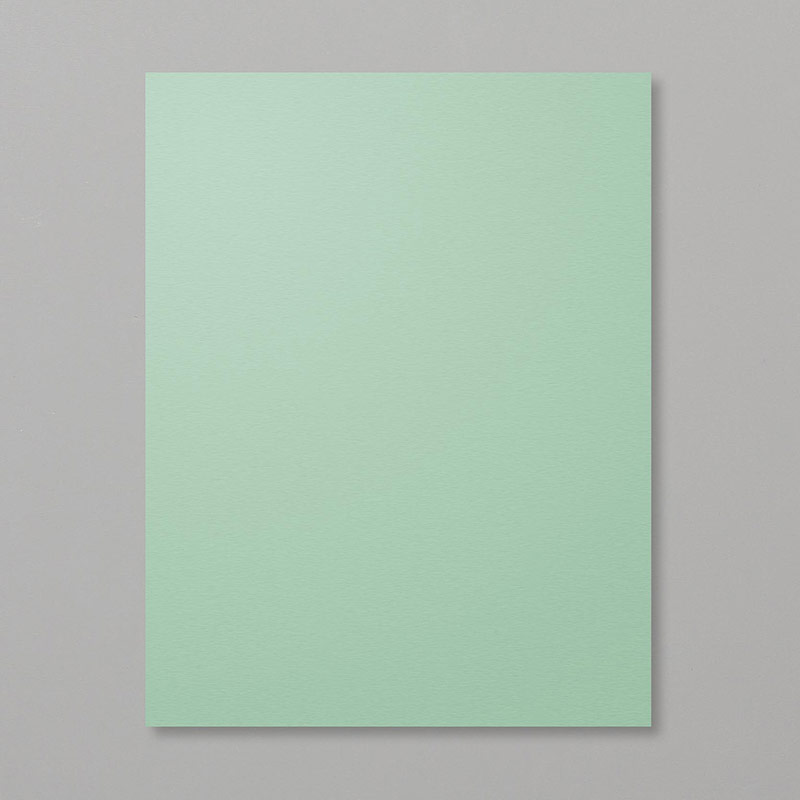
Below are some of the other products I used to make the featured cards. Click on any photo to add it to your shopping bag.


Cutting dimensions for making the card:
Card stock for card: 5 1/2 x 8 1/2; scored at 4 1/4
Designer Series Paper: 1 1/4 x 5 1/2
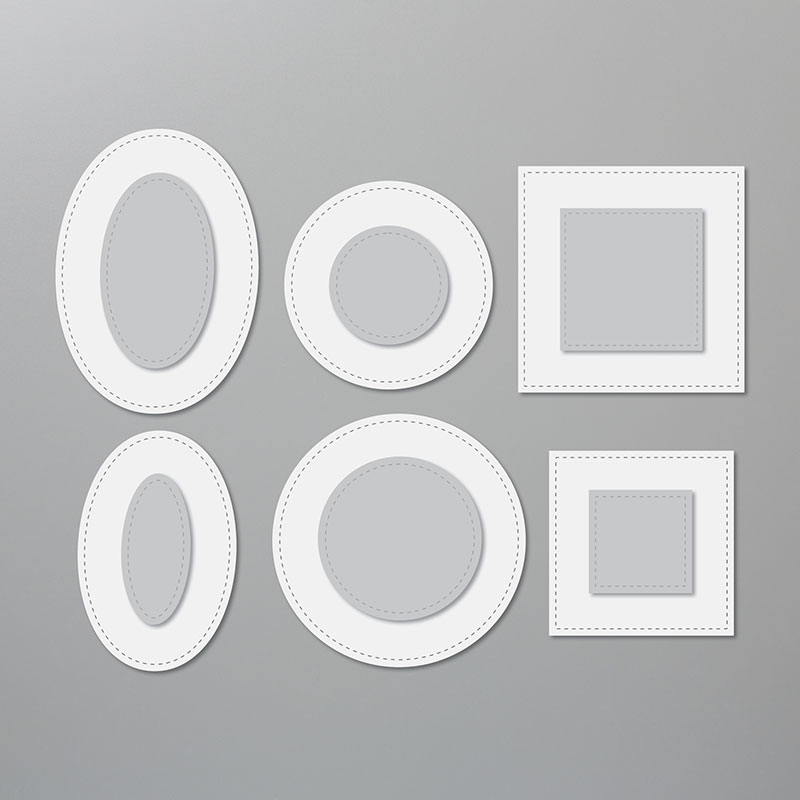
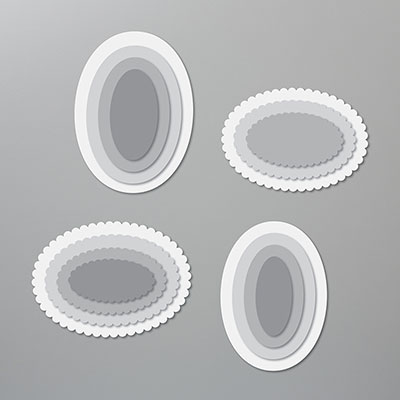
Scallop Oval Dies: largest scallop oval
Stitched Shapes Dies: largest oval
The head of the piggy is stamped a second time on a scrap of white card stock and "fussy cut." The mask is put on the piggy head first - then attached to the original stamped image with a dimensional.
The mask is approx 5/8 x 3/8; I made 3 score lines 1/8 inch apart - then trimmed with my paper snips. I glued two pieces of white baker's twine to the back of the mask - forming the letter x. Adjust the twine from the front so it looks like straps.
CONTACT ME if you have any questions.
CLICK HERE to visit my online store.
CLICK HERE to see my April 2020 class to go. This is a project that I designed.for beginners, but suitable for anyone: all you need to complete the 20 cards is your favorite adhesive!
CLICK HERE to see my other classes to go - which are still available while supplies last.
Thanks for stopping by!
Kathy
No comments:
Post a Comment