Wednesday, March 12, 2025

For the Books

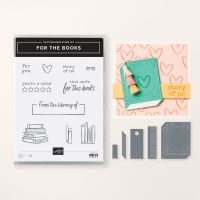
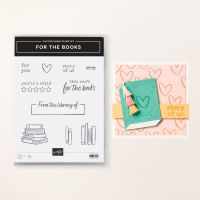
I made all of these projects using the "For the Books" bundle from Stampin' Up!  It was one of the first sets I purchased from the Jan/Apr 2025 mini catalog - yet I hadn't inked it up!  I'm not sure why I waited so long!  Once I started I could not stop playing with this bundle!


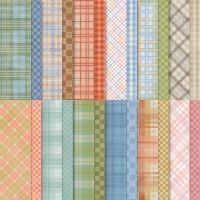
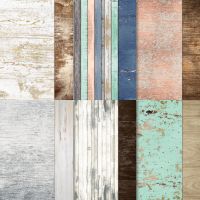
Below is the card I featured on Saturday's blog post.  I made it following a sketch.  I stamped the books on a scrap of Basic White card stock - then cut them with scissors and attached them to a piece of Country Woods desigenr paper.  The other patterned paper on this card is from Timeless Plaid, another product from the Jan/April 2025 mini.


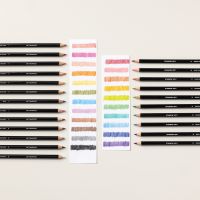
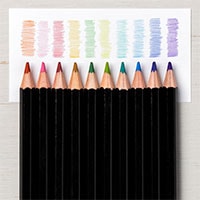
Next I made this quick and easy card.  I cut a strip of Country Woods designer paper to make a shelf - then stamped each of the book images directly on the white card base.  I colored the books using water color pencils. Don't you just love the addition of the eyeglasses?  That stamp is inlcuded in this stamp set.


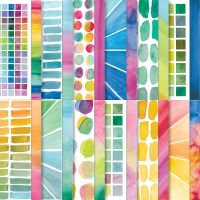
Next I made another quick and easy card.  I stamped one of the book images on the Melon Mambo card base using Versamark ink.  This gives it the "tone on tone" look and adds interest to the card front.  I matted a piece of Full of Life.designer series paper, stamped a greeting, and added the die cut book to the front.


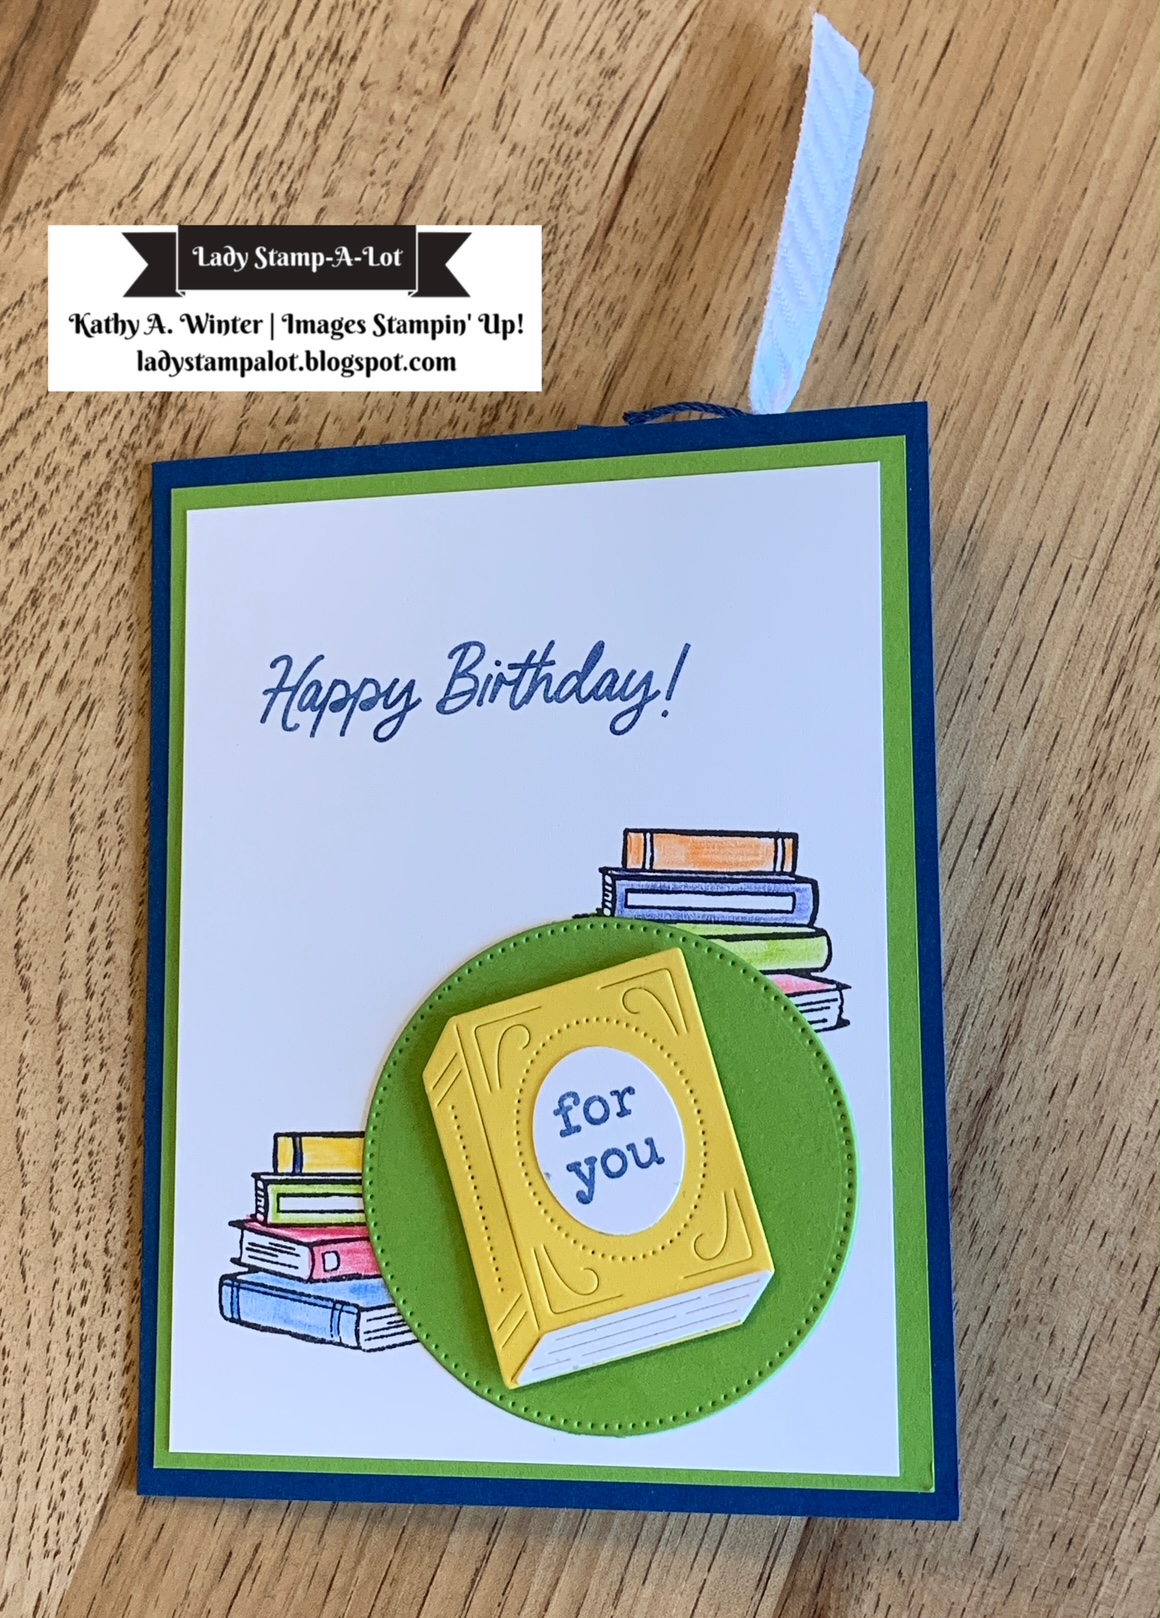

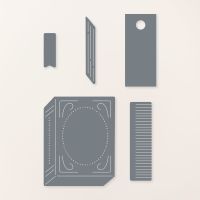
The cards below have the same layout but I used different colors of card stock and designer paper - to make one more masculine and one more feminine. For the one on the left, I stamped the books on a scrap of white, colored with pencils, fussy cut and attached to the card front.  For the card on the right I used the coordinating dies to add a book.  I punched out a scrap of designer paper to add to the book cover.


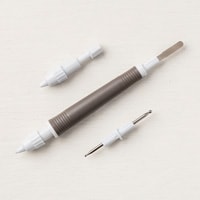
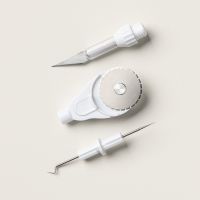
The project below is probably my favorite - a bookmark card.  I used one of the extra crafter's tips for the Take Your Pick tool - to make a perforated line - which will make the bookmark easy to detach and use.  What fun!


Finally, the last card is a Christmas card!  I saw this idea on Pinterest and thought it was so clever -  I had to give it a try!  I just stamped the book images in a tree shape, and colored them with three shades of green using colored pencils.


If you have any questions about these cards - please CONTACT ME.  I will share the 3D projects that I made with this bundle next week - so please check back to see them!

Shop my online store here:

https://kathywinter.stampinup.net/

 Follow me on Face Book:

https://www.facebook.com/ladystampalot

 Join my Facebook Group:

https://www.facebook.com/groups/907793999735887

 Follow me on Pinterest:

https://www.pinterest.com/karwinter/

 Follow me on You Tube:

https://www.youtube.com/channel/UCaChD48Der0nBykH6cEstvw

Thanks for stopping by!

Kathy

Saturday, March 8, 2025

Saturday Sketch #9 - For the Books


Here's a card I made - using a sketch challenge from a demonstrator training group I am in.  If you are in a creative slump - following a sketch might be the thing that will get you out of it.   I wanted to make some sample projects using the "For the Books" bundle - from the Jan/April 2025 Stampin' Up! mini catalog.  Once I had my hands on this set - I could not stop playing with it.  Check back on Wednesday to see all the cards and 3D projects I made using it.  The best thing about this bundle is the low price - only $28.75 for BOTH the stamp set and coordinating dies!


Below is the sketch that I used to make my card:

Please contact me if you have any questions!

Shop my online store here:

https://kathywinter.stampinup.net/

 Follow me on Face Book:

https://www.facebook.com/ladystampalot

 Join my Facebook Group:

https://www.facebook.com/groups/907793999735887

 Follow me on Pinterest:

https://www.pinterest.com/karwinter/

 Follow me on You Tube:

https://www.youtube.com/channel/UCaChD48Der0nBykH6cEstvw

Thanks for stopping by!

Kathy


Wednesday, March 5, 2025

Spring Wreath


Look at this fun wreath that was made at my recent "Her & Me" children's class.  This is a class that I teach once at month for my city's Parks & Rec department.  Each child/adult pair works together to complete a craft project that I design and prepare for them.  I TRY to make they easy enough for the children to make - with a bit of supervision and help from the adult.

I thought this project might be a little challenging - because it required using liquid glue - which can often cause a big mess and super sticky fingers (which most kids do not like!)  But they all did a great job - especially with arranging the patterned paper to make a beautiful wreath.

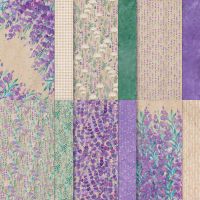
Of course - you will always end up with a beautiful project when you use patterned paper from Stampin' Up! - because the colors always coordinate perfectly.  These wreaths were made using paper that retired a few years ago - but you could make a wreat like this with any of our current papers.

You can see all of the patterned papers currently for sale BY CLICKING HERE.


How to Make the Wreath:

  • Start with a 9" foam wreath (I found mine at Dollar Tree.)
  • Cut patterned paper 1" x 9" 
  • Wrap the paper around the wreath - overlapping the pieces slightly. (You will need approx. 28-32 pieces; depending on how much you overlap them when making the wreath.)

**I used a combination of Tear Tape and Multipurpose Liquid glue - to attach the paper to the wreath.  I applied tear and tape to the the paper strips and spread the liquid glue to the wreath in small sections before wrapping the paper around the wreath.  Line up the ends of the paper and press together.**

  • After all the paper strips were attached - I looped a piece of ribbon around the top to hang the wreath.
  • Cut the ends of the strips to make a decorative "flag" edge.
  • Decorate your wreath!  We made a "spring" banner and paper flowers using various punches.


Here's a photo of me with three of the students from class - and their beautiful wreaths.

CONTACT ME if you have any questions about this project, my classes, or Stampin' Up! products.


Shop my online store here:

Saturday, March 1, 2025

Saturday Sketch #8


Here's a card I made - using a sketch challenge from a demonstrator training group I am in.  I used the Unbounded Beauty designer series paper from the annual catalog.  After an unusually large snow storm last week - it is starting to look like spring around here again.  Plus, today is meterogically the first day of Spring.  So I thought I'd pull out this bright paper to make a card for my challenge.

Below is the sketch that I used to make my card.
Measurements to make this card:
  • DSP 1: 3 x 4 -1/2
  • DSP 2: 3 x 4
  • Accent strips of glimmer paper: 1/2 x 3
  • The "thanks" is from a retired die set; substitute with anything you have or use a punched piece with a stampd sentiment.

Use up some of your extra patterned paper making this quick and easy card!


Please contact me if you have any questions!

Thanks for stopping by!

Kathy


Wednesday, February 26, 2025

Countdown to Christmas - 10 months

Yesterday was February 25th - which means 10 months until Christmas!  That gives you plenty of time to make Christmas cards to send out this year  Why not start now - while the stress levels are still low?  If you are local to me (Chesapeake, VA) I would be happy to prep these cards for you, and help you make them.

I used the "Shepherd's Care" stamp set from Stampin' Up!  to make these cards back in September - but I wasn't keeping up with my blog at that time so I never posted them.  This stamp set is available for you to purchase now in my online store.

The card above is perfect for someone who might not be feeling the jolliest during the holidays.  It is a nice card for someone to display as a constant reminder to remember the Good Shepherd is walking with them at all times.

Below are two other cards I made using the same set.  They are all surprisingly easy to make - easy to mass produce if you make them in stages.  


There are only a few more days until Sale-a-Bration ends - so be sure to place your Stampin' Up! orders by February 28th - or contact me by the 27th if you would like me to place your order for you.


See the items you can earn with a $60 order HERE.

See the items you can earn for with a $120 order HERE.


Please contact me if you have any questions!

Thanks for stopping by!

Kathy