Showing posts with label valentines. Show all posts

Saturday, March 14, 2026

Saturday Sketch #6


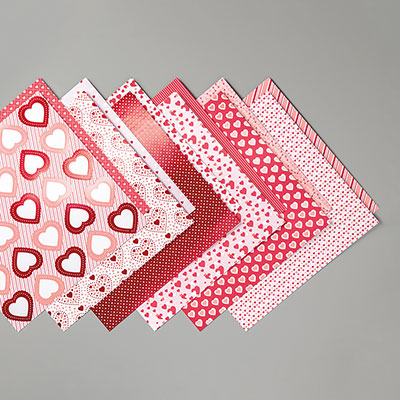
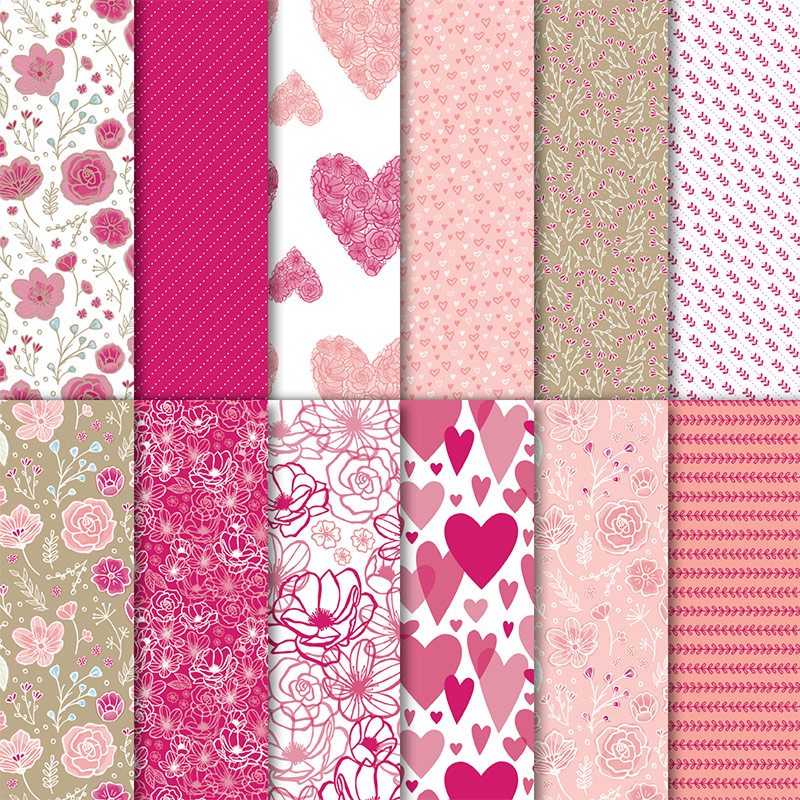
Here's a card that I made using a sketch, from a demonstrator training group that I'm in.  I used the Love Notes 6x6 Mix & Match Designer Series Paper, which is featured in the Stampin' Up! Jan/Apr 2026 mini catalog.  This was a fun pack of paper for making Valentine Cards - but like most double-sided paper, you could use it for other occassions, now that Valentine's Day is over.  (Or use the paper to scrapbook your Valentine's Day memories!)


As you can see, my card is almost exactly like the sketch.  When I first start "playing" with a pack of paper - or if I am in a creative slump - I find that using a sketch is a great way to get a card completed.

Measurements for today's card (inches): 

  • Real Red card base: 5-1/2 x 8-1/2; scored at 4-1/4
  • Light Pink DSP layer: 3-1/2 x 5
  • White layer (embossed): 4 x 2-3/4
  • Thin DSP strip: 1/2 x 5-1/2
  • The heart pieces were cut from the DSP and Real Red card stock using retired dies (sorry!)
  • DSP with XOXO: Three Banner Punch


Please contact me if you have any questions!


Shop my online store here:

https://kathywinter.stampinup.net/

Follow me on Face Book:

https://www.facebook.com/ladystampalot

Join my Facebook Group:

https://www.facebook.com/groups/907793999735887

Follow me on Pinterest:

https://www.pinterest.com/karwinter/

Follow me on You Tube:

https://www.youtube.com/@ladystampalot1

Thanks for stopping by!

Kathy

Monday, January 27, 2020

January 2020 Stamp Class Cards

 I had my stamp classes over the weekend and these are the cards we made.  Get a closer look at them by watching the short video below.


Here's a closer look at the inside of the "fancy fold" cards.


To make these cards:

  • Start with a quarter sheet of card stock (4 1/4 x 5 1/2 inches) for the base of the card.  I used Flirty Flamingo card stock for the card on the left and real red for the card on the right.
  • Cut a coordinating piece of card stock for the mat behind the white part of the card.  For the card on the left, I cut Real Red card stock 3 1/4 x 4 1/2.  For the card on the right, I cut Flirty Flamingo card stock 4 x 5 1/4  Choose the look you like!
  • Cut a piece of Whisper White card stock 4 1/4 x 9 3/4 and score the long side at 3 1/4 and 6 1/2
  • The Designer Series Paper is cut at 3 x 4 
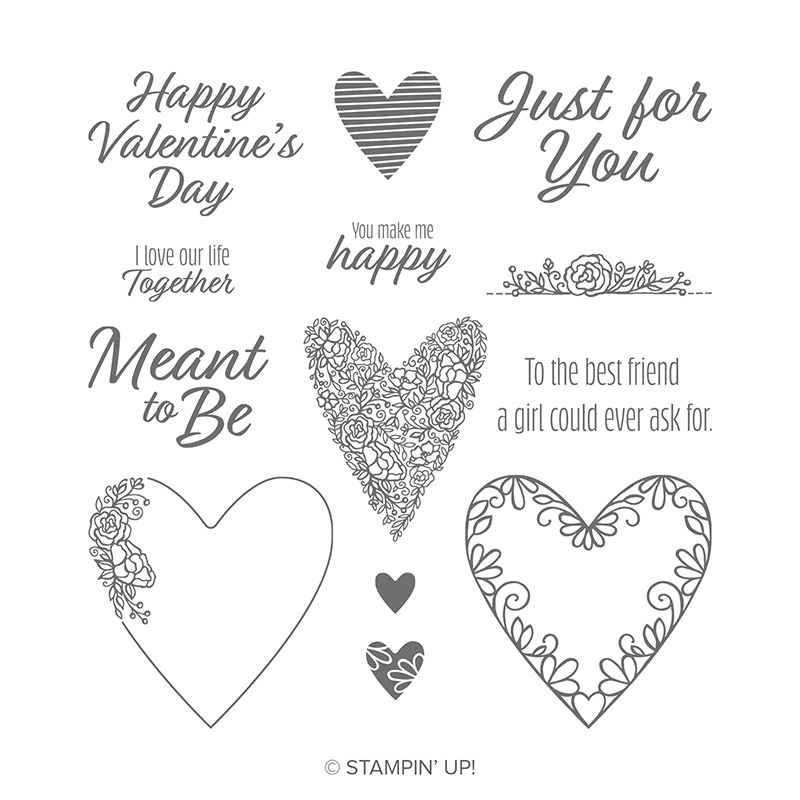
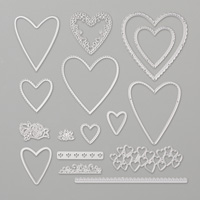
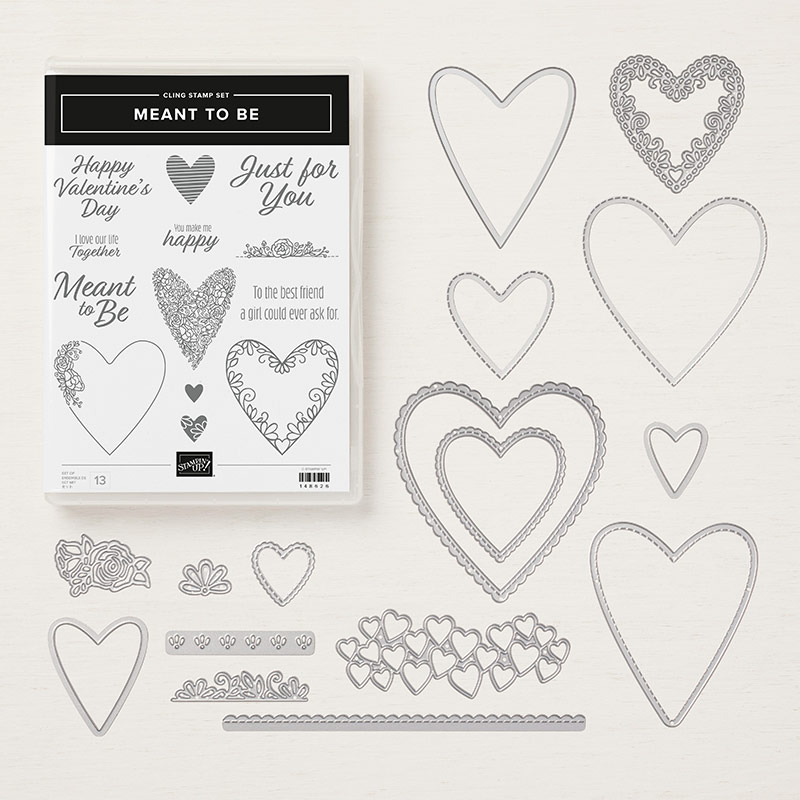
  • Decorate the panels using the Die Cut shapes from the Be Mine Stitched Dies and Meant to Be stamp set


CONTACT ME if you would like me to show you how easy it easy to make these cards!

CLICK HERE for information about a Greeting cards class I will be teaching for the Chesapeake Parks and Rec department.

VISIT MY STAMPIN' UP! website to see current specials and to RSVP for a class in February, March, or April.

Click on any image below to add the item to your shopping cart!
valentine making stamp setSTITCHED BE MINE DIESFROM MY HEART SPECIALTY DESIGNER SERIES PAPER
red paper cardstockFlirty Flamingo 8-1/2" x 11" Cardstockwhite paper

FROM MY HEART FACETED GEMS

Wednesday, January 22, 2020

NEW CLASS OFFERING


I am very excited to announce that I will be teaching a stamping class for Chesapeake Parks & Rec.  The cards will be suitable for Valentines - but greetings can be changed for Weddings, Anniversaries, or other occasions.

Here are the details:

Class Name: Greeting Card Design (ages 18+)

Class Description:Will you be my Valentine? Create your very own greeting cards for someone special. Don't have a valentine? No problem! Alternate greeting card themes will be available. All supplies will be provided.

Location:           Rokeby Center; 1709 Rokeby Ave, Chesapeake, VA 23320
Date/Time:       Thursday February 6, 6-7:30pm, 
Class Fee:           $12 for Chesapeake residents;  $17 for non-residents
Class ID:              3466-10         


 CLICK HERE to register online.

If you have any questions, or if the link is not working properly, please CONTACT ME and I will help you get registered.  Class size is limited to 10 people - so sign up now!

You can also register in person at any Chesapeake Community Center.


CLICK HERE to see other card classes that I have scheduled - two coming up this weekend: January 25 & 26.  We are always looking for new stampers!  Join the fun!


Thanks for stopping by!
Kathy


Monday, January 7, 2019

All My Love

I was a busy girl over the weekend!  I finally pulled out some of the items that I ordered from the new Occasions catalog and made these cards.  Even though they appear to be Valentines - they can easily be adapted for birthday, wedding, or thinking of you cards.

I was so proud of myself because I actually cut into each design of the ALL MY  LOVE designer series paper.  (Next step will be to use the patterns on the reverse side!)
All My Love 12" X 12" (30.5 X 30.5 Cm) Designer Series Paper


I really love layers and like to have some part of the card "popped up" with dimensionals.  But Stampin' Up! is encouraging us to find new stampers and go back to the basics with #simplestamping.  So two of the cards involve no layers - just stamps, ink, and paper.

Stop back to get specifics of each card - and to see more projects made with the MEANT TO BE bundle of products.
Meant To Be Cling Bundle
CLICK HERE to visit my online store - see the current Stampin' Up! promotions.
CONTACT ME if you have any questions!


Thanks for stopping by!
Come stamp with me!
Kathy

Wednesday, January 28, 2015

Hey, Valentine

These are the cute valentines we made at my stamp club meetings in January.


They were made with the stamp set, Hey, Valentine, from the Stampin' Up! Occasions 2015 catalog.  Everyone was able to choose which card they wanted to make.  They could also choose the patterned paper from the STACKED WITH LOVE DESIGNER SERIES PAPER STACK.

Stampin' Up supplies used to make these cards:

Stamp Set: Hey, Valentine
Card stock: Real Red, Basic Black, Whisper White, Crisp Cantaloupe
Tools/Accessories: Circles and Ovals Collection Framelits, Note Tag Punch, Banner Punch, Hearts Border Punch, Blendabilities and Stampin' Write markers.

PLEASE CONTACT ME  if you would like to gather a few of your friends for a private class to make these cards.

VISIT MY STAMPIN' UP! WEBSITE to shop 24/7  and to see my calendar of events.

Thanks for stopping by!
Kathy
Wednesday, January 29, 2014

Be Mine

This is the second card we made at my January club meetings. Supplies used to make this card:

Stamp Set: Crazy Mixed - Up Love
Card stock: Basic Gray, Daffodil Delight, Whisper White
Ink: Basic Gray, Daffodil Delight
Designer Series Paper: Watercolor Wonder
Tools: Big Shot, Honeycomb & Perfect Polka Dots Embossing Folders, Hearts Collection Framelits
Accessories: Basic Gray 1/4" Stitched Grosgrain Ribbon

CONTACT ME if you would like more information about my stamp clubs.

CLICK HERE to shop for Fabulous Stampin' Up! products.

Thanks for stopping by!
Kathy
Sunday, February 24, 2013

Club Contest Entries 2 & 3

 Here are the two other contest entries for my Stamp Club Contest.  The card above was made by Connie.  She has so many details in this card that make it very special, including dazzling details, the larger size rhinestones, and the Large Scallop Edgelit.

The card below was made by Nancy M.  I LOVE cards with fancy folds and special cuts and this is one of those cards!  I love how she layered a stamped image on the paper heart.  The ribbon adds a nice finishing touch.

I only had three entries into this month's contest: 1. Diane 2. Connie 3. Nancy M.

I used random.org to choose the winner ..................and the winner is.........................


2. Connie!!!


Congratulations, Connie!  Next time you are over you get to choose a prize from my special basket.  AND I think you still need to pick something out of my other basket for your "show and tell" cards at our club meeting this month!

Thanks to everyone who entered.  Hope you are all busy working on your cards for this month's contest!

Thanks for stopping by today!
Kathy

Saturday, February 23, 2013

Club Contest

Each month I like to challenge my stamp club members to stamp in between our meetings by using the supplies I give them to make a card.  Last month I gave everyone a heart and a scrap of paper from the More Amore designer series paper which was left over from the cards we made at our January meeting.   Here is Diane's entry in this month's contest:
When she handed me the card I was thinking that I should "fuss" at her for not using Stampin' Up! supplies.  I didn't recognize the designer series paper, but then I looked closely and saw that she stamped the background and then cut the scrap of paper I gave her into tinier pieces to make a pattern.  How creative!

Check back to see the other card entries.  I only had three stampers participate this time........but they all made BEAUTIFUL cards!  Good thing I use random.org to choose the winner.

Thanks for stopping by today!
Kathy


Thursday, February 21, 2013

Connie's Cards

 It always makes me happy when my club members and/or team members bring cards they have made to our meetings.


These are cards that Connie made for her husband and daughters for Valentine's Day!


Connie is one of my team members.  Aren't her cards beautiful?!  Thanks for sharing, Connie.


Thanks for visiting my blog today!
Kathy


Friday, February 15, 2013

P is for Puppy

Here is another project my Pre-K class made this week.  We have a "letter of the week" curriculum and this week we are learning about the letter "P" so the kids made a puppy valentine for their parents.  I CASED this idea from a card I saw on the Stampin' Up! demonstrator website. I just made it a little bigger so it would be easier for little people to cut out the heart shape.  This card opens up and each child wrote "I Love You" inside and then signed their name.  They did a great job!

Thanks for stopping by today!
Kathy

Thursday, February 14, 2013

Happy Valentine's Day


What could be more fun than celebrating Valentine's Day with small children?!  These are Valentine's bags my Pre-K class made this week.  Our classroom theme is everything OWLS, so I had to make these bags when another teacher shared the idea with me.  I guess I was getting tired when I started punching the red circles for the eyes, because I cut the wrong size!  But they still look cute.

Here is a photo of the bags the kids made.

Thanks for stopping by today!
Kathy

Monday, February 11, 2013

More Valentine's Day Cards

The ladies that came to stamp night last week decided to make these cards.  They are super simple to make, if you don't mind getting a little glue on your fingers.  To make this card you need to punch out different sizes of hearts using Real Red card stock.  Glue the hearts onto a 4 x 5 1/4 piece of Whisper White card stock.  Use a glue stick or 2 Way Glue pen and make sure the entire back of the heart is covered with adhesive.  Run the card stock through the Square Lattice embossing folder then adhere to a Real Red card base.  Stamp you greeting on a scrap of Whisper White card stock (I used a stamp from the set, Teeny Tiny Wishes.)  Punch out using an oval punch, then punch an oval scallop out of Real Red card stock. Attach the label to the card using Stampin' Dimensionals.  Some of the hearts on these cards were made using a retired punch.  That is a great reason to attend a stamp night at my house.  You can use all of my supplies to make cards like these.

Thanks for stopping by!
Kathy

Sunday, February 10, 2013

Sweet Valentine


This is a card I made for a Special Valentine.  Can't say who, in case he/she is reading my blog!  This card and the one below, were made using a kit that was on the CLEARANCE RACK   a few weeks ago.  I just checked, and they are sold out.  Which is why you need to check the clearance rack often, and if you see a good deal - GRAB IT!  Because many things sell out quickly.
You can still make both of these cards if you come to one of my stamp nights.  This month's stamp night already happened.  Check back to see when I will have another.

Thanks for visiting my blog today!
Kathy

Saturday, February 9, 2013

Ornamental Fish

This was one of the cards that the ladies chose to make last night at my 4 for $5 stamp night.  Can you tell that the fish is made with the ornament punch?  This was not my original idea.  There are lots of talented crafters who think outside of the box and come up with these very clever ideas.  The fish's fins are made using the 5 petal punch - which sadly, is retired.  But the great thing about stamp night, is that you can come to my house and use all my tools and make cards like this!

Thanks for stopping by!
Kathy

Friday, February 8, 2013

Punch Puppy

This is one of the cards you could make if you stop over tonight to stamp with me!  We made this a few years ago in my club meetings.  The puppy is made using circle and oval punches, and the word window punch for his ears and eye patch!  I made a template for the bone, using a (retired) heart punch for the ends. The sentiment is from the stamp set, "Teeny Tiny Wishes."  This is my "go to" set  and has over 20 different greetings for major holidays and occasions.  Hearts are stamped on the card front using Versamark ink.

Thanks for stopping by today!
Kathy

Wednesday, February 6, 2013

Quick Card


I had to come up with a quick card idea for our "SOUP"er Bowl Stamp Camp on Sunday, since Linda was out with the flu.  (We missed you, Linda!)  Several  people had asked if we could make cards for Valentine's Day, so this is what I came up with.  These cards are basically identical.  The only differences are the back ground texture, the border punch used on the red strip of card stock, and the sentiment on the card.  Below are two more versions of this card.


Check back tomorrow for two similar versions of this card - suitable for a wedding or anniversary.

 If you would like to make these cards, come over for some fun on Friday night and make 4 cards for only $5.

CLICK HERE to RSVP and to see all my upcoming events.

Thanks for visiting my blog today!
Kathy

Monday, January 28, 2013

Valentine Treat

We made these Hershey Kiss hearts at my stamp club meetings this month.  These were originally designed by Brenda Q.    CLICK HERE to go to her blog if you would like to see her directions for making them.

Or you can CONTACT ME and I will send you printed directions.  Brenda also designed the Christmas Trees that I showed you ON THIS BLOG POST.  And when I visited her blog last week, I saw that she is sharing a tutorial for a Hershey Kiss Shamrock!

If you come to my monthly stamp club meetings, you will make at least two cards, and one "3D" item like these candy treats!

Visit MY STAMPIN' UP! WEBSITE to find out when my next club meetings will be, and for information on other stamping events.

Thanks for visiting my blog today!
Kathy

Saturday, January 24, 2009

Thank You Gift


Here is a little something I gave to my stamp club members with their January orders. I used Valentine’s paper that I found at the dollar spot at Target, red Christmas clearance ribbon from Michael’s, and the Wow Flowers stamp set (from Stampin’ Up, of course.) I filled these “sour cream” containers with mini tootsie rolls. Here is the tutorial I followed.