Showing posts with label box. Show all posts

Monday, August 17, 2020

Easy Treat Box

I'm back with a new video for you.  Watch to see how easy it is to make this cute Tall & Skinny treat  box.  It uses just one sheet of 6x6 patterned paper.  As you might be able to tell - I made these boxes using the 2019 - 2021 In Color Designer Series Paper Assortment.  The patterns are a little different in the current Annual Catalog - but the paper is available in all of the Stampin' Up! color assortments.

I always like to put candy in my treat boxes, but these could hold a small hand sanitizer, lip stick, etc.  The box is 6 inches tall, 2 inches wide, and 3/4 inch deep.


Supplies used to make the box:

  • 6x6 piece of Designer Series Paper
  • 2x3 piece of coordinating card stock
  • Linen thread, Baker’s twine, or narrow ribbon
  • Tag Topper punch
  • Adhesive (something strong enough to hold the box together)
  • Stamps/ink/punches of your choice to decorate (I used Daisy Lane stamp set and Medium Daisy punch)


Basic  Directions:

  • Score the Designer Series Paper at 2, 2 ¾ , 4 ¾ , 5 ½   Turn and score at ¾

  • Fold along all score lines; cut from the bottom along all score lines - up to the other score line; cut away the smallest flap

  • Add adhesive to the RIGHT SIDE of the box along the narrow flap and along the bottom  flap that is the farthest away; adhere the box together.  (It will not matter if your scoring resulted in the smallest flap being on the opposite side as the one in the photo.)

  • Lightly pinch the top of the box together

  • Score the 2x3 piece of card stock in half at 1 ½  and punch one of the 2” ends using a Tag Topper punch

  • Glue the card stock piece to the top of the box and having the punched end flap over the opening of the box.

  • Thread ribbon or twine through the opening in flap and around the box and tie in a bow on the front of the box.

  • Decorate box as desired.


I also have a PDF tutorial for this project.  Just EMAIL ME if you would like a copy, or leave a message below.


Thanks for stopping by!
Kathy

Please follow my FACEBOOK PAGEPINTEREST BOARDS, and YOU TUBE channel 

Sign up for my news letter here:

Subscribe

* indicates required

/ ( mm / dd )

Monday, March 23, 2020

Easy Box for Note Cards

In today's video I show you how to make a box that will hold about 6 Stampin' Up! note cards and envelopes.   It is featured in the video that I posted last Monday, showing you how to make the cards,  You can see that video by CLICKING HERE,

As I mentioned in today's video - I would like to send you supplies to help you make 6 note cards and the box!


All you need to do is purchase the following 3 items from my online store:
                                                 
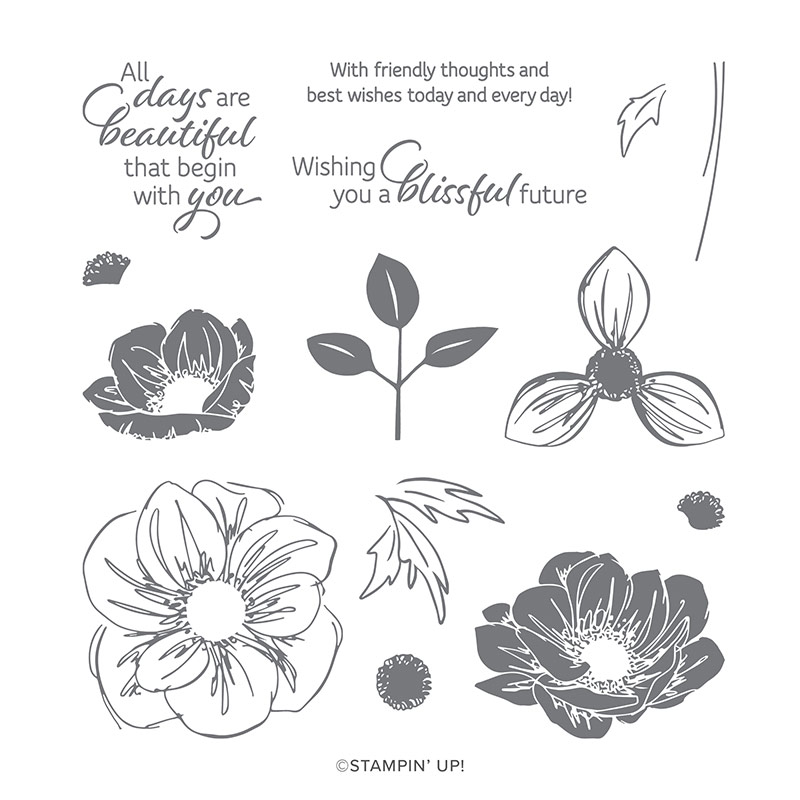
FLORAL ESSENCE PHOTOPOLYMER STAMP SETnote cards and envelopesStampin' Blends

When you purchase the stamp set, note cards, and at least one set of blends, then I will send you:

  • the card stock pieces to make SIX note cards and the decoration for the top of the box
  •  black card stock cut and scored to make the black box
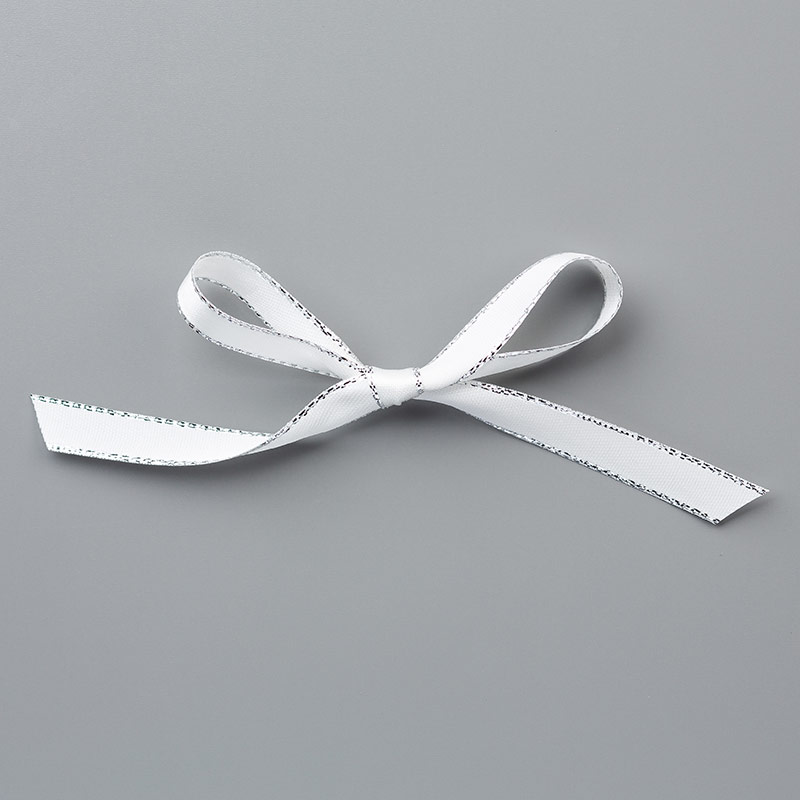
  • ribbon to finish the box


You will also need the following supplies to make the cards:
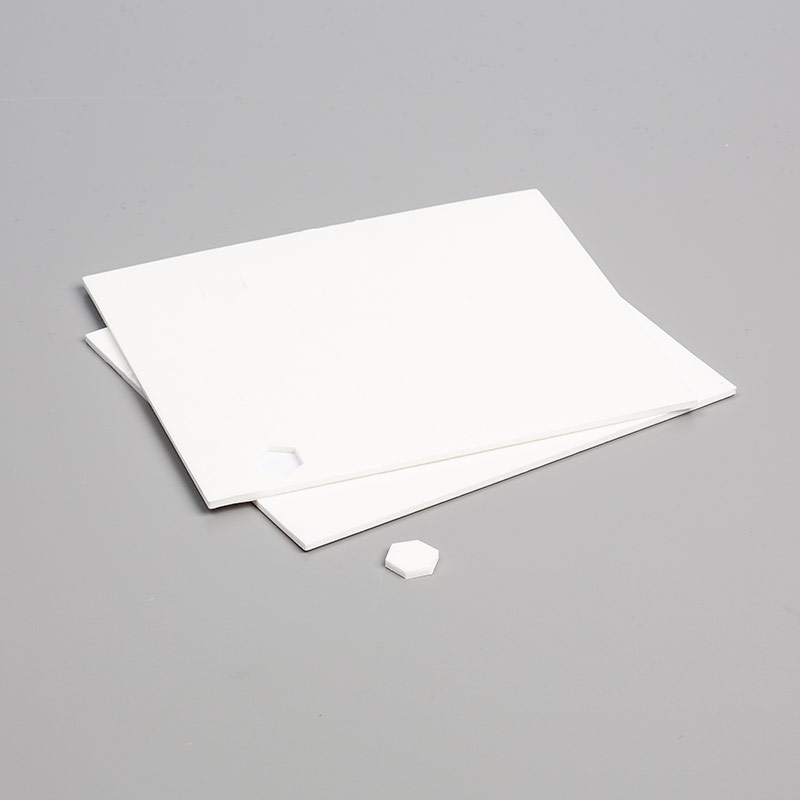
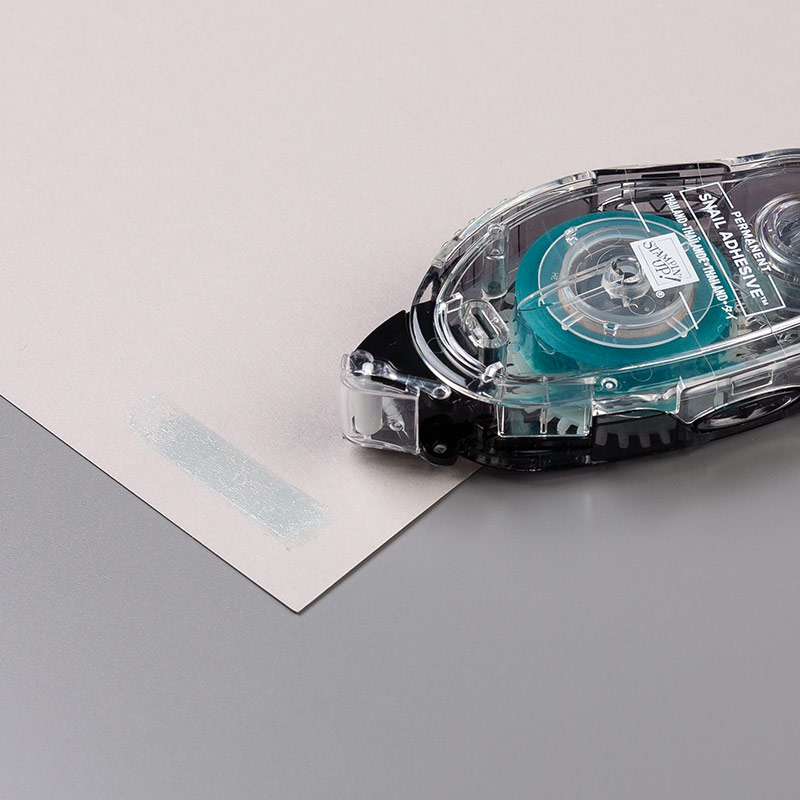
black stamp ink padclear stamp mounting blockfine tip liquid glueblack inkadhesive foam dotssnail sticker adhesive

And to make more boxes:
  silver and white 3/8" ribbon or WHISPER WHITE 1/4" (6.4 MM) CRINKLED SEAM BINDING RIBBON


The box and note cards would be a great project to help keep your mind off the things that are happening in our country and in the world right now.   Wouldn't it make a great gift?  Or better yet, make the note cards - and send them to those people who are out there helping us get through this difficult time: medical personnel, first responders, grocery store workers, truck drivers, delivery people, farmers, factory workers, military and their families, or anyone who is working to keep things going!


CLICK HERE to see another set of cards you can make using the same stamp set.

For more ideas of how to keep busy - and maybe to help keep the kids busy - CLICK HERE

CLICK HERE to go to my online store.  Or click on any photo above to add that item to your shopping cart!

CONTACT ME if you have questions, need help placing your order, or if you want more information about a private party!

Thanks for stopping by!
Kathy

Monday, March 16, 2020

Floral Essence Note Cards & Box


This is a video I made in the fall - using the Floral Essence stamp set from Stampin' Up!  Watch the video to see how EASY it is to make these beautiful cards.  

Below is a photo showing the cards in the video.  This card would be beautiful using any of our card stock colors and coordinating blender pens.


I am still offering the special deal that I mention in the video:

Purchase the stamp set, note cards, &  a set of Blender Pens from my online store, and I will send you the card stock pieces needed to make 4 note cards.  (I will send you the card stock to match the blends you purchase.) Click on the photos below to add item to your shopping cart!  

**Choose more than one set of blends and I will send you the card stock to make 4 note cards of each color.**

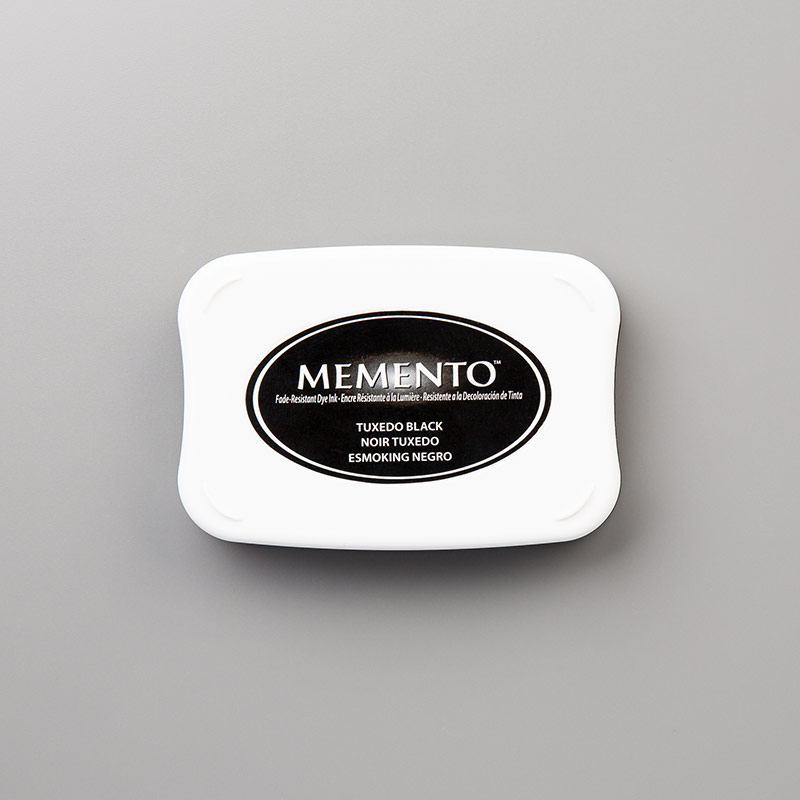
(You will also need a clear block, Memento ink & adhesive to complete the cards.  Add a VersMark ink pad if you want to add the "tone on tone" flower stamped images.)


FLORAL ESSENCE PHOTOPOLYMER STAMP SETnote cards and envelopesStampin' Blends


clear stamp mounting blockblack stamp ink padblack inkfine tip liquid gluesnail sticker adhesiveadhesive foam dotsmat for piercing and stampingsimply shammy stamp cleaning cloth

Cutting dimensions to make the cards:

Card base is a Stampin' Up! Whisper White note car,  5" x 3-1/2"

Your choice of card stock cut at 4 7/8 x 3 3/8
Black card stock cut at 4 1/8 x 2 5/8
Whisper White card stock cut at 4 x 2 1/2


CLICK HERE to see another set of cards you can make using the same stamp set.

CLICK HERE to go to my online store.  Or click on any photo above to add that item to your shopping cart!

CONTACT ME if you have questions, need help placing your order, or if you want more information about a private party!

Thanks for stopping by!
Kathy

Tuesday, June 11, 2019

Floral Essence note cards

This is a note card that I made using the Floral Essence stamp set from Stampin' Up!   It is a really easy card to make.

Grab a friend or two for a private party where I will show you how to make these cards - at your house or mine.  CONTACT ME NOW to set a date!

Or you can watch my video HERE and try making the cards yourself.  

Purchase the stamp set, note cards, and a set of Blender Pens, and I will send you the card stock needed to make four note cards - already cut to the size needed to make these cards.  Details at the end of this post.
.

This is a box that I made to hold a set of notecards.  I will post a video soon, showing how I made it. Below are similar cards, made using different colors of card stock and Stampin' Blends.
Calypso Coral 


Highland Heather


Night of Navy
Notice the yellow center in the flower.  This is one of the super cute Perennial Essence Floral Centers.  You get 18 pieces for $6.


Pool Party
This is a close up - to show you the stamping I did on the colored card stock.  I used the same flower stamp - but used Versamark ink to get a "tone on tone" look.  Super simple and it adds so much to the card.  I also used a  Pretty Peacock Faceted Dot in the center of the flower.


Supplies needed to make the cards:

#149450   Floral Essence stamp set   $17
# 131527  Whisper White note cards $7
Your choice of Blender pens; $9 for two pens

Your choice of card stock cut at 4 7/8 x 3 3/8
Black card stock cut at 4 1/8 x 2 5/8
Whisper White card stock cut at 4 x 2 1/2

Clear Block D 
Memento Black Ink
Versamark Ink

Tombow Liquid Glue
SNAIL adhesive
Stampin' Dimensionals

Piercing Mat
Simply Shammy


June 2019 Special:
FLORAL ESSENCE PHOTOPOLYMER STAMP SET  note cards and envelopes  light and dark red marker

Purchase the stamp set, note cards, &  a set of Blender Pens, and I will send you the card stock pieces needed to make 4 note cards.  (I will send you the card stock to match the blends you purchase.) Click on the photos to add item to your shopping cart!  Please use the current hostess code: ZH4DYWBTwhen placing your online order.

You will also need a clear block, Memento ink & adhesive to complete the cards.

clear stamp mounting blockblack stamp ink padfine tip liquid gluesnail sticker adhesiveadhesive foam dots

CLICK HERE to see another set of cards you can make using the same stamp set.

CLICK HERE to go to my online store.  Or click on any photo to add that item to your shopping cart!

CONTACT ME if you have questions, need help placing your order, or if you want more information about a private party!

Thanks for stopping by!
Kathy


Wednesday, December 14, 2016

How to Make Your Own Custom-Sized Boxes


This is a box that we made at my stamp club classes back in September.  We started with a 12x12 sheet of card stock for the bottom of the box.  Then we cut Designer Series paper a little smaller so that when the lid was on - you can also see the card stock bottom.  It makes for a cute box for your Christmas gifts! 

Watch the video below to see how to make this box, and how to adjust the size so that you can make a box that fits your gift perfectly!


CONTACT ME if you would like information about my stamp club classes.  I am always looking for new people to join the fun!

CLICK HERE to visit my Stampin' Up! website.  See my calendar of events and visit my online store.

Thanks for stopping by!
Kathy

Wednesday, March 9, 2016

February Stamp Club Projects

These are the projects we made at my February stamp club classes.  We made 3 cards this month - since they were all fairly easy to make.  The box was also very easy to make.  Below is close up of the box, and a photo of the box open - with the cards inside.


Friday night's class made the card below as an alternate third card:

This uses a cool rubber band technique.  One of my Friday club members is a new team member - so it was her job to teach the rest of the ladies how to make this card.


CONTACT ME if you would like more information about joining the fun of stamp club!

CLICK HERE to start shopping!

Thanks for stopping by!
Kathy

Friday, February 27, 2015

February Club "3D" Project

This is the 3D project we made at my stamp club meetings in February.  I was cleaning out my craft room recently and found LOTS and LOTS of Designer Series Paper that I have been hoarding.  So I decided to look for a project that would help me use some of it up.  I came across THIS YOU TUBE VIDEO.  This box measures 6 inches across and 5 inches high.  It takes one piece of 12x12 sheet of paper and a 6 x 4 piece of coordinating card stock.  I changed my box a little bit, by pinching in the sides a little bit.  Wouldn't this make a cute gift for Easter or Mother's Day?  Check your paper stash and start making these cute boxes NOW!!!

CONTACT ME if you would like more information about my stamp club classes.

VISIT MY STAMPIN' UP! WEBSITE to see the current Stampin' Up! promotions and to shop 24/7.

If you choose to place an online order, please use the current hostess code: ZKYPYXMG

Thanks for stopping by!
Kathy
Friday, October 3, 2014

September's 3D Project


We usually make two cards and one 3D item at my monthly stamp club meetings.  The 3D items are usually my favorite - and this little box is quick and easy to make.  It is the perfect size for about 4 cards and envelopes.  You could also cut up copy paper and make a place to keep paper for notes.

I found the tutorial for this project online, but the measurements were off a bit.  If you would like the directions, please CONTACT ME and I will send you the corrected directions.

CLICK HERE to see details of the current Stamp, Stock, and Save promotion from Stampin' Up!  Selected ink pads, card stock, and stamp sets on sale through October 6 only.

 If you choose to place an online order, please use the hostess code: 9YPY6Y7V

Thanks for stopping by!
Kathy
Thursday, August 7, 2014

Stamp Club "Thank You" Gift

I really enjoy holding my Stamp Club meetings each month.  I have even added some morning times this summer and so I have been able to have more people join me for some stamping fun!  As a way to show my appreciation, I have a little gift for everyone who takes the time to attend a meeting.

At my July meetings, each person who attended chose one of these boxes.  They were filled with odds and ends, including ribbon, bows, paper scraps, sponges, brads, Dazzling Details, and more!  The box is super easy to make.

Start with a 6x6 piece of Designer Series Paper.  Using THE ENVELOPE PUNCH BOARD, punch and score at 2 and 4 inches on all sides.  You will have to make cuts along some of the score lines to fold up the box.

I punched a hole in each top flap and threaded ribbon through. You do not even need to glue the box together if you are using ribbon.  You could also fold the box flat, glue it together, and wrap it with the ribbon or top it off with a flower or bow.

CONTACT ME if you have any questions
CLICK HERE TO VISIT MY STAMPIN' UP! WEBSITE  You can see my upcoming events and Stampin' Up!'s current promotions.

If you choose to place an online order please use the hostess code: EFEZCMPN

Thanks for stopping by!
Kathy