Friday, August 23, 2019

August Stamp Club Cards1 & 2

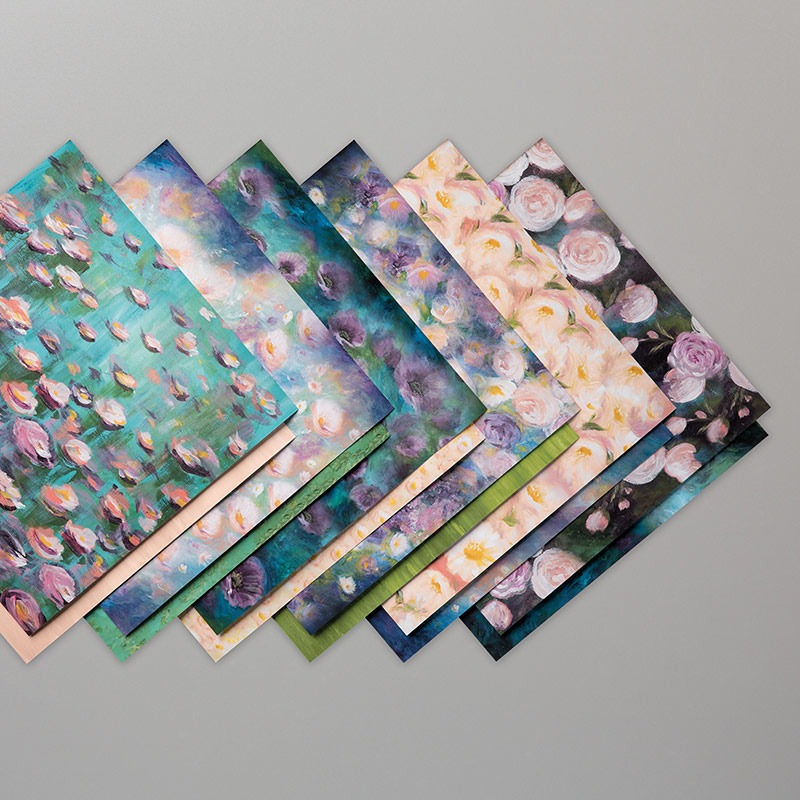
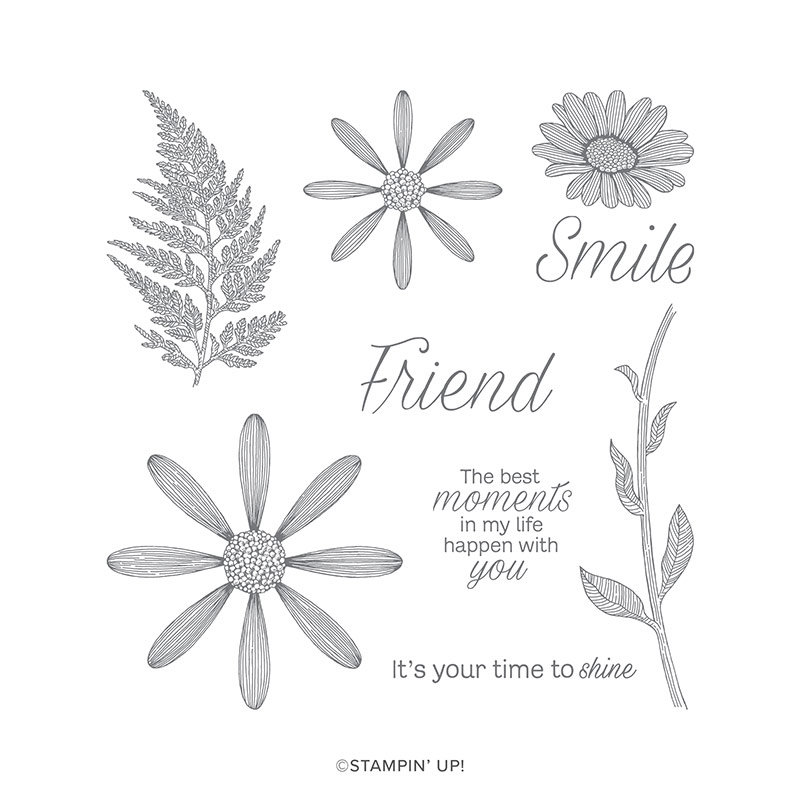
This is one of the cards we made at my August stamp club classes.  It is made using the Floral Essence stamp set and Perennial Essence Designer Series Paper from Stampin' Up!  This is an easy card to make - yet it is a beauty and anyone would love to receive it.  The photo below shows the inside of the card and the envelope.  I stamped both of them using the same floral image that was stamped on the card front.


At my August stamp clubs, we made two projects from three different stamp sets.  The second card using the Floral Essence stamp set was one of the note cards in the photo above.  Everyone chose the color they wanted to use to make their card.

I show you how easy it is to make a card like this HERE.  


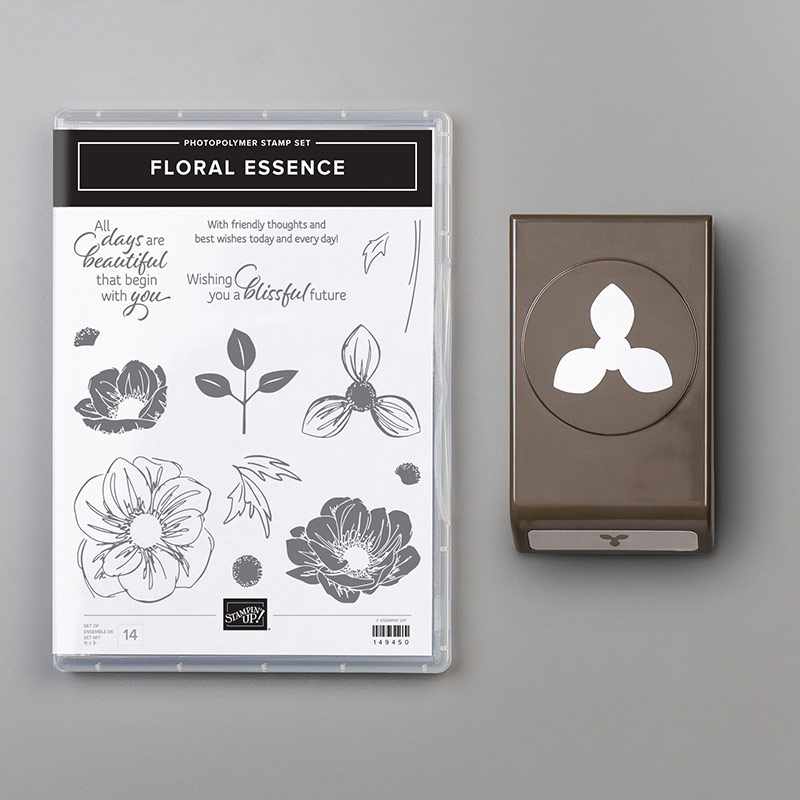
Purchase the Floral Essence stamp set, a pack of notecards, and two blends from my online store, and I will send the the card stock needed to make 4 cards.

Below are some of the products used to make the cards above.  Click on any image below to purchase the item from my online store!
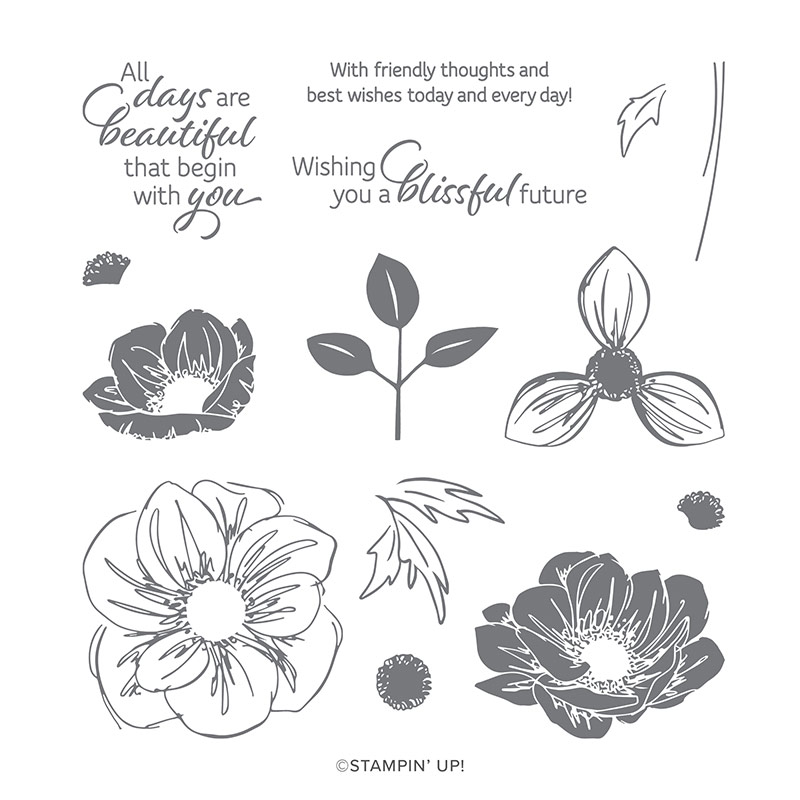
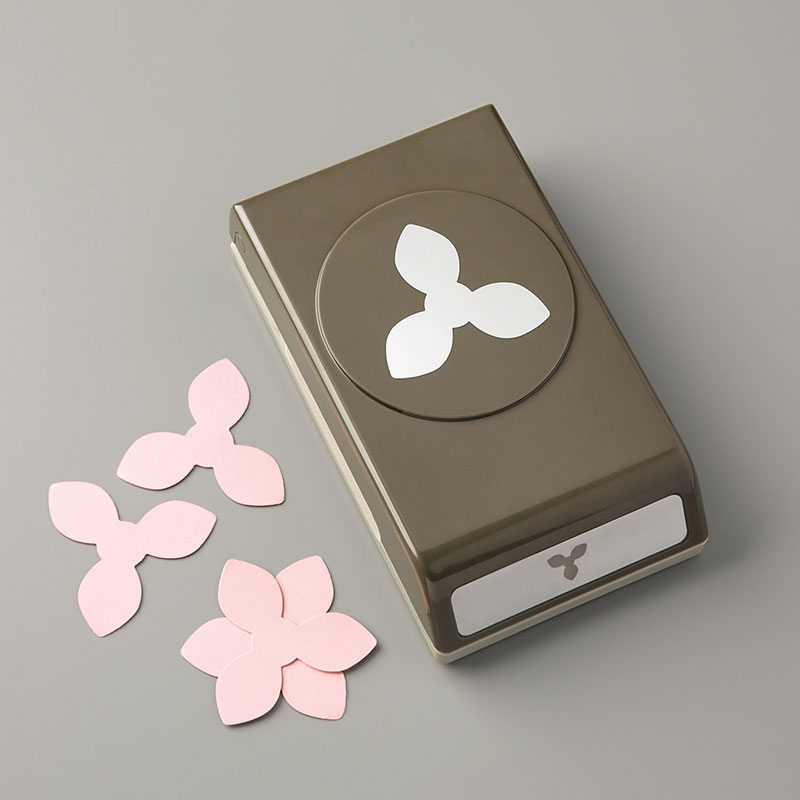
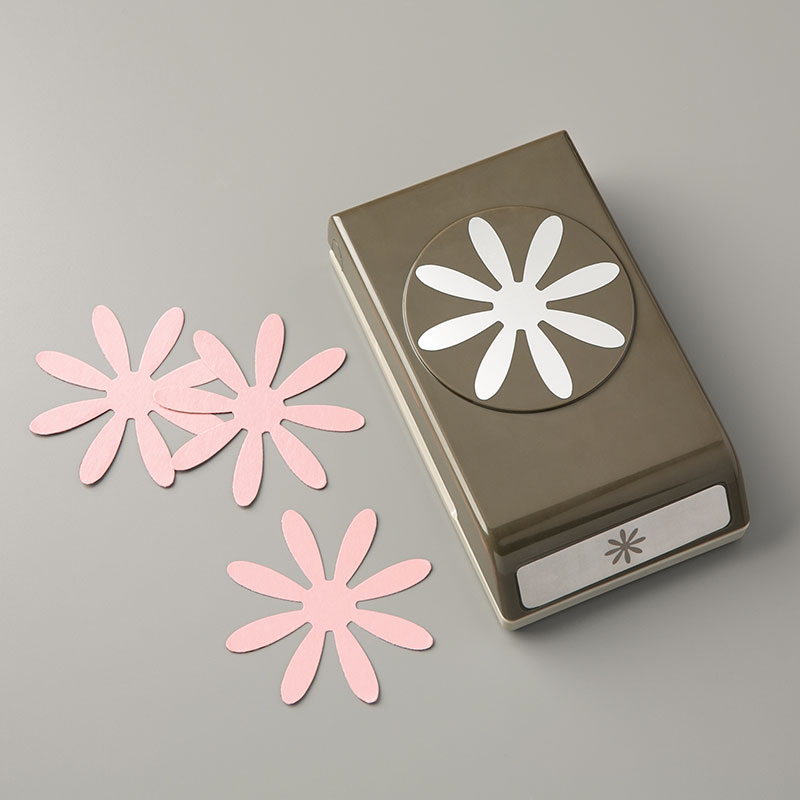
FLORAL ESSENCE PHOTOPOLYMER STAMP SETPERENNIAL FLOWER PUNCHFLORAL ESSENCE BUNDLEPERENNIAL ESSENCE DESIGNER SERIES PAPERnote cards and envelopes

CLICK HERE to shop for blends markers - used to color the floral image on the note cards.

CLICK HERE to shop my entire online store, and to see current Stampin' Up! promotions.

CONTACT ME if you have any questions.

Thanks for stopping by!
Kathy

Tuesday, August 20, 2019

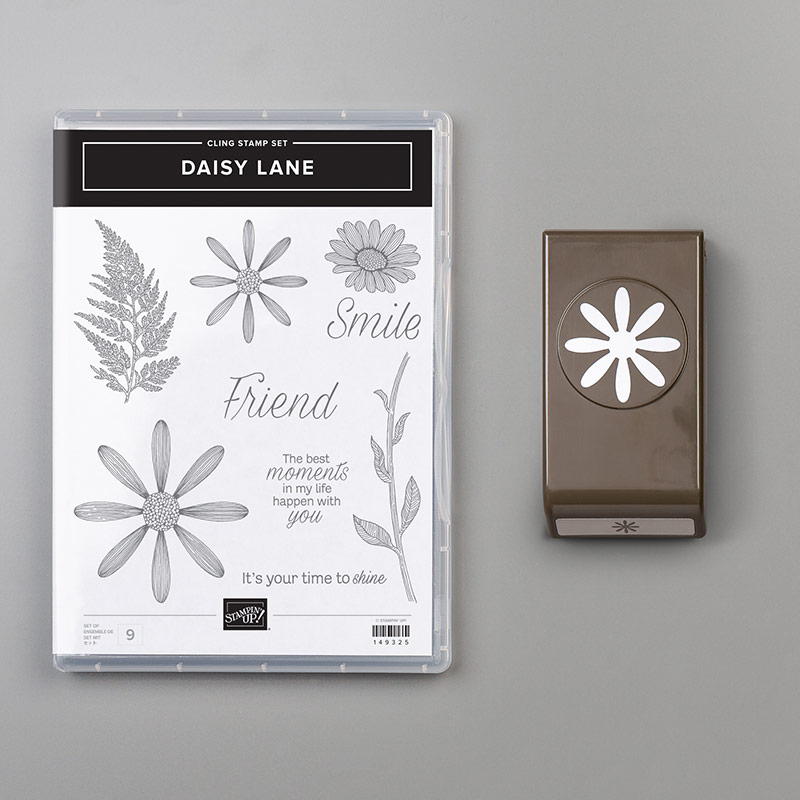
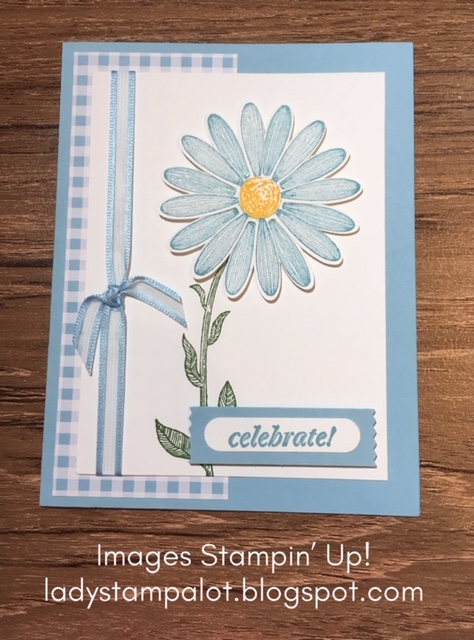
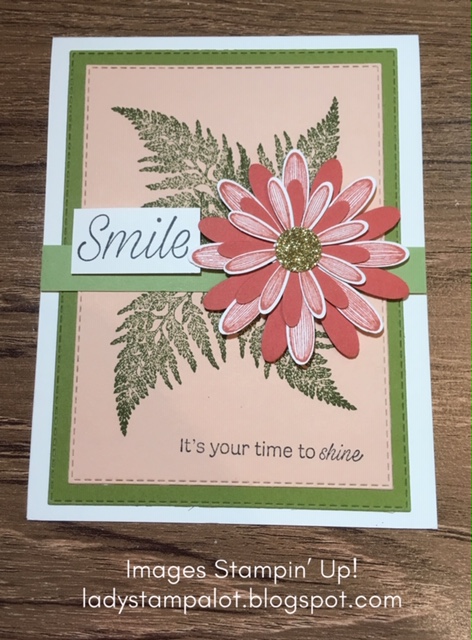
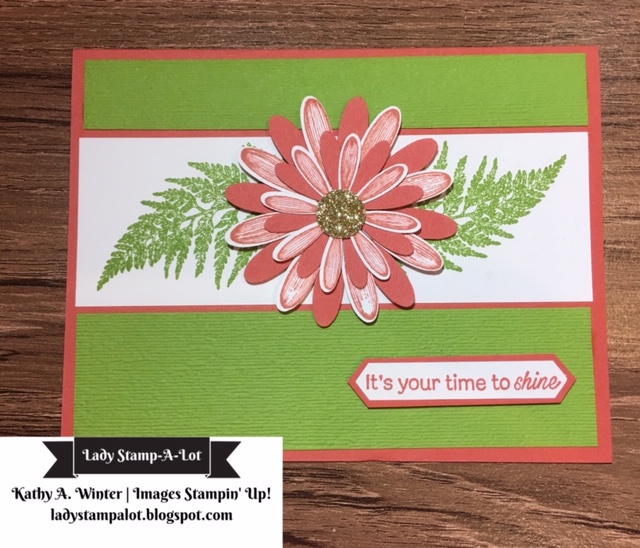
Daisy Lane Samples

DAISY LANE BUNDLE
At my August stamp classes we made two projects using three different stamp sets.  You can see the projects we made using the Daisy Lane stamp set by clicking HERE,

Below are several additional cards that can be made using the Daisy Lane stamp set.  This set coordinates with the Daisy and Medium Daisy punches.


If you would like to make these cards - I would love to teach a private class for you and your friends!  Please CONTACT ME to set a date!  Or contact me for specific details about any of the cards.

If you would like to purchase the products to make these cards pleas visit my online store BY CLICKING HERE  Or click on any of the photos below to buy now!


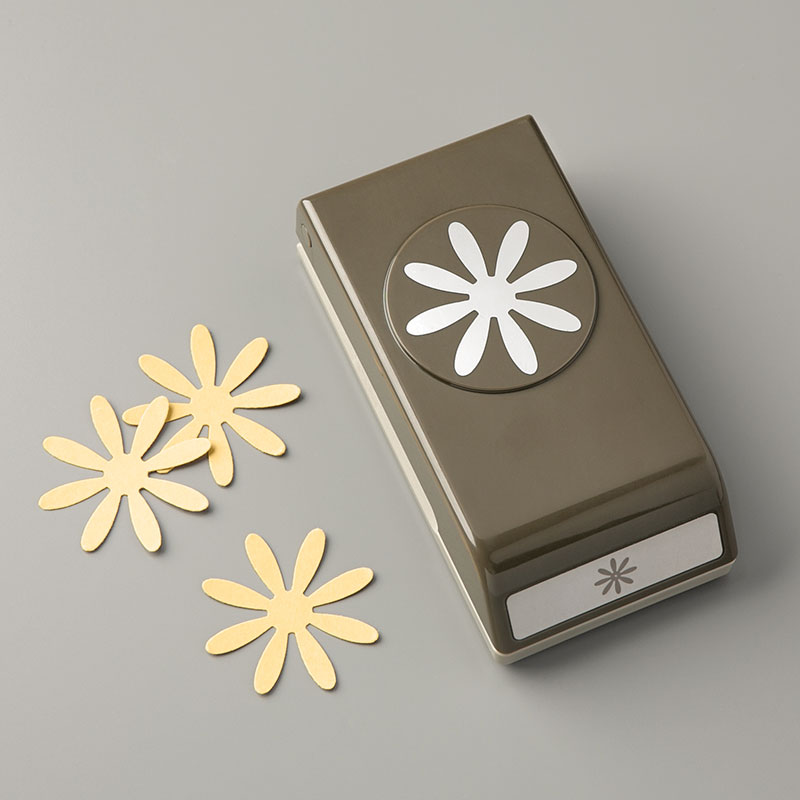
DAISY LANE BUNDLEDAISY LANE CLING STAMP SETsingle daisy punchMEDIUM DAISY PUNCH

Thanks for stopping by!
Kathy


Friday, August 16, 2019

August Club Projects 5 & 6

After taking a few months off  -  I am back to holding classes!  It was great to see my stamping friends and to catch up with them.  To make up for lost time, I showcased three stamp sets and three packs of Designer Series Paper in my classes last weekend.  I think I can safely say that the little treat bag was everyone's favorite - but maybe it was because it was the 6th and final project we made and everyone was ready to go home!  Or maybe it was because I gave everyone a candy bar to put inside!

So let's start with that!  Here is is:
This treat bag was made using one 6x6 sheet of Designer Series Paper.  For our projects - we used the 2019-2021 In Colors from Stampin' Up!  The bag in the photo was made using Seaside Spray - the light washes out the color. Although, it is a nice light blue color.  I saw this box on Pinterest; you can see the pin HERE.

This is a card that we made using the same DSP and the Daisy Lane stamp set, and coordinating punches.  This is another idea I found on Pinterest HERE

 After all my classes were over I made up the extra card kits that I had prepared, and realized that I made a mistake during class!  I told everyone to stamp and punch one large and one medium daisy, when they should have stamped/punched TWO large daisies.  So their flowers turned out like the one on the right in the photo - but still pretty!  I felt so bad - but no one noticed the difference - unless they were too afraid to speak up!

Below are some of the products we used to make these projects.  Click on the image to go directly to my online store.  Please note that as of today - the Purple Posy ink color is not available.  It should be back in stock soon.

In addition, you will need clear blocks when using the Daisy Lane stamp set. Suggested clear blocks (sold separately): b, c, d, g, h. You can choose the sizes you need HERE.

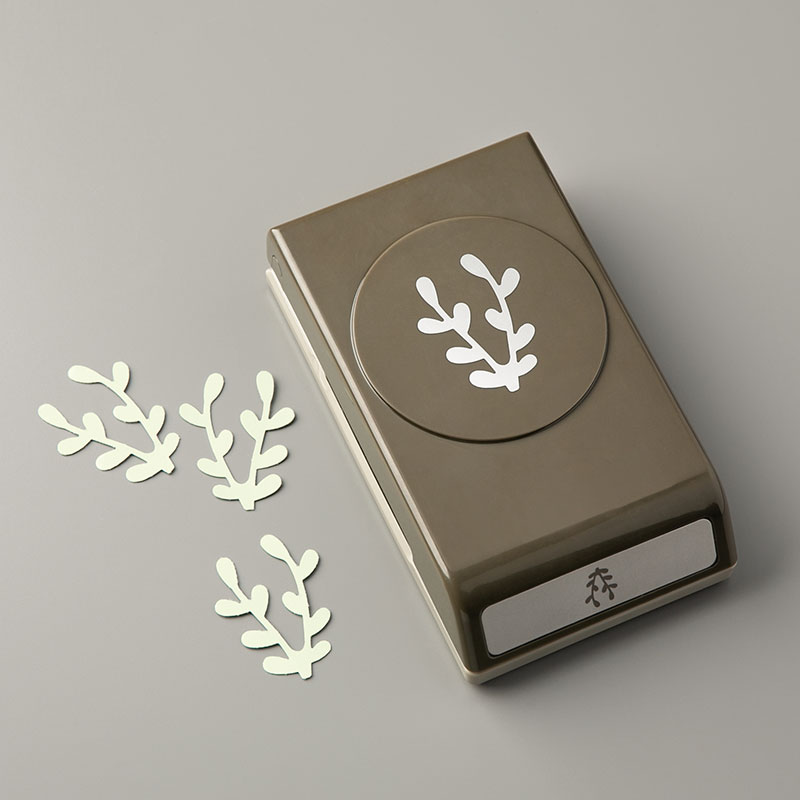
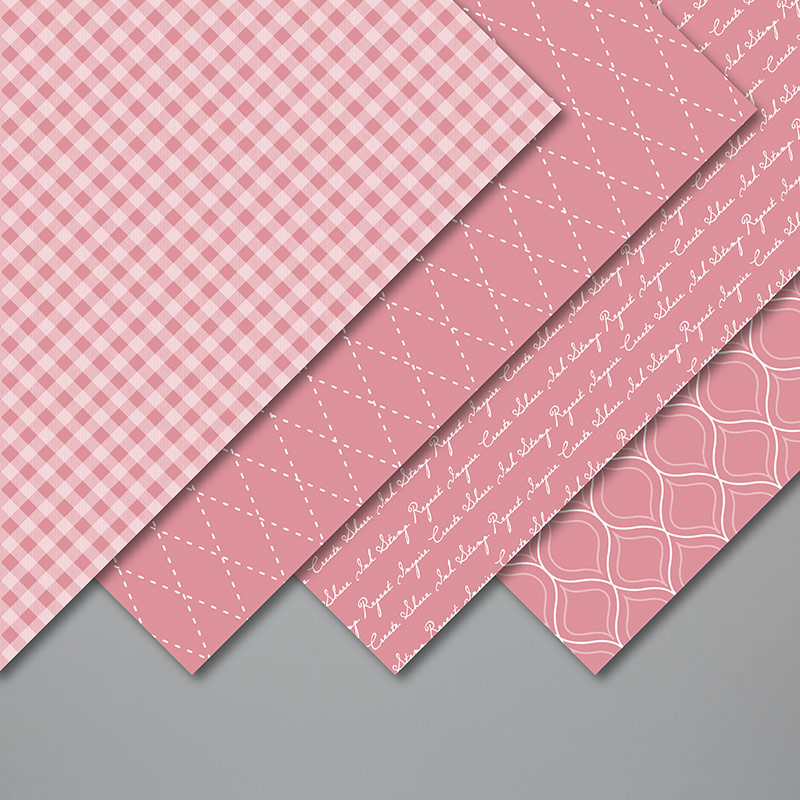
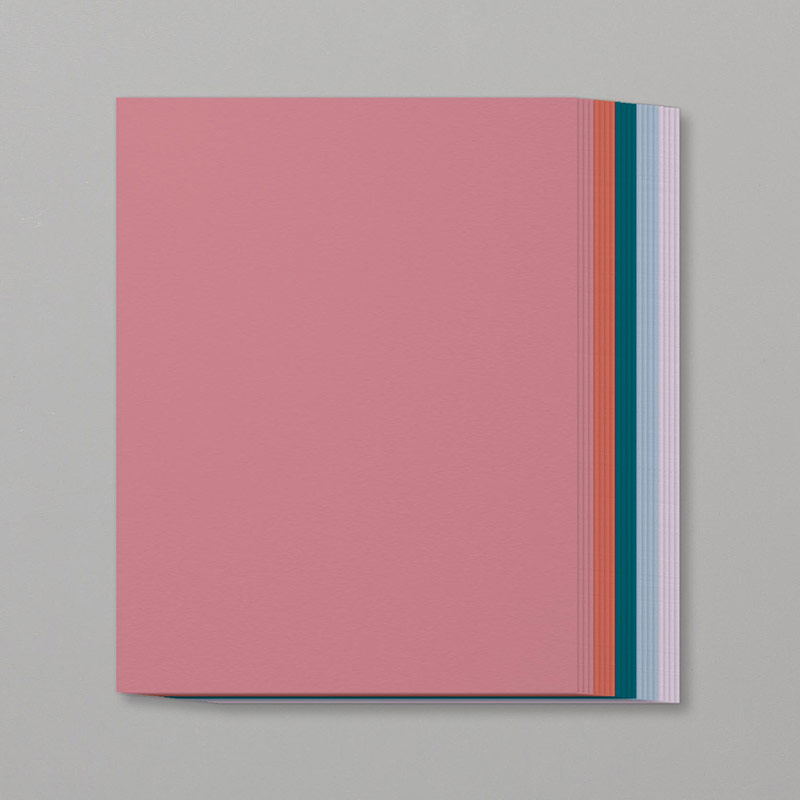
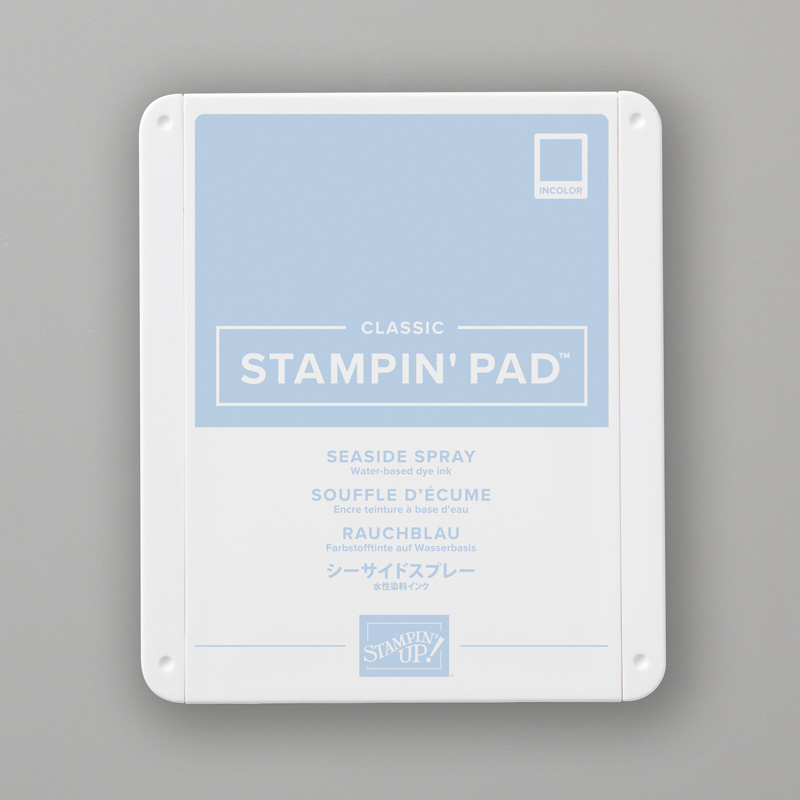
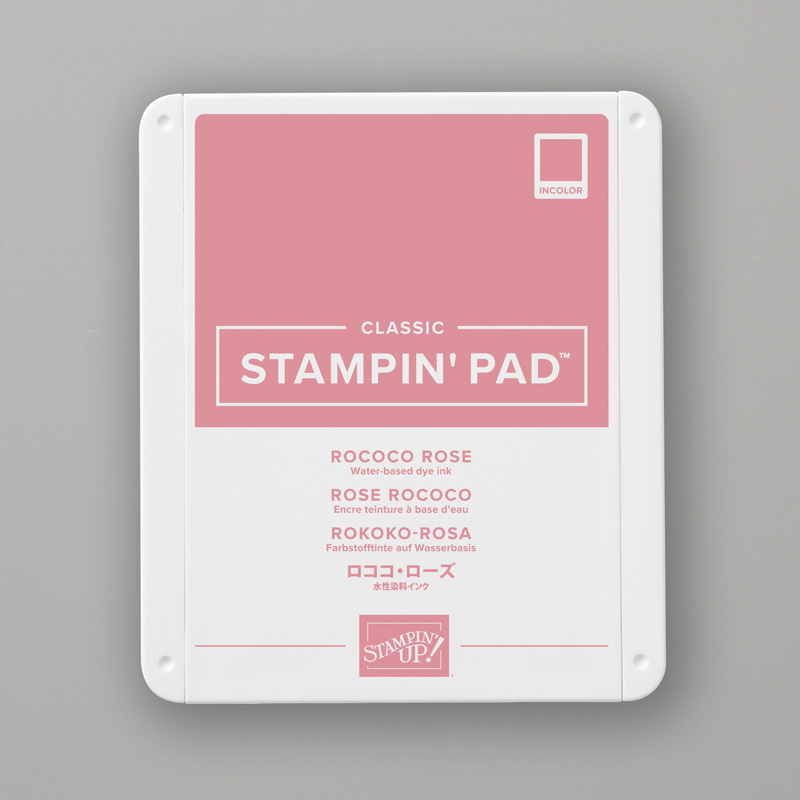
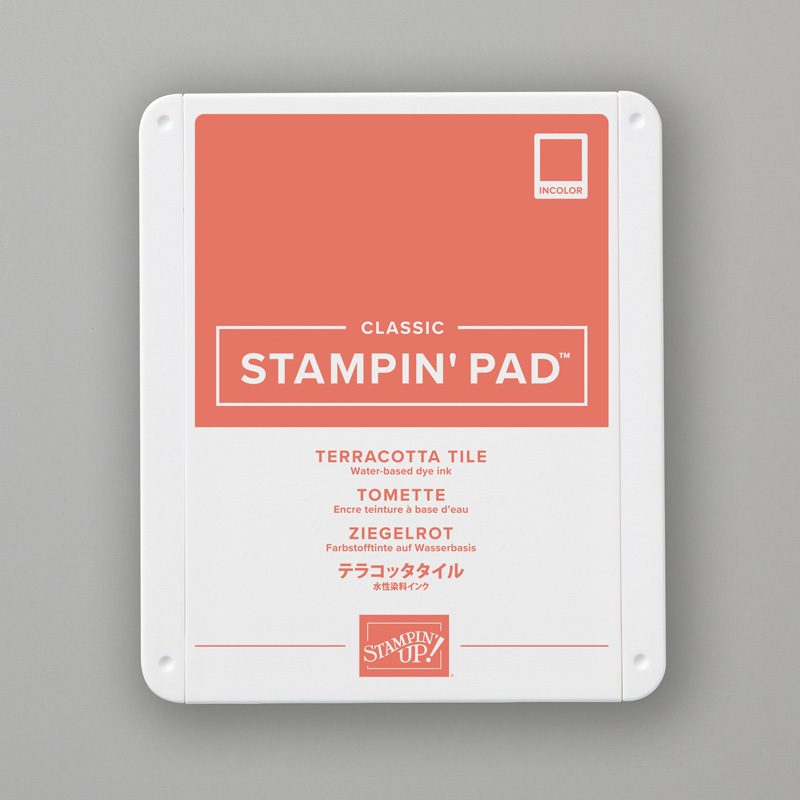
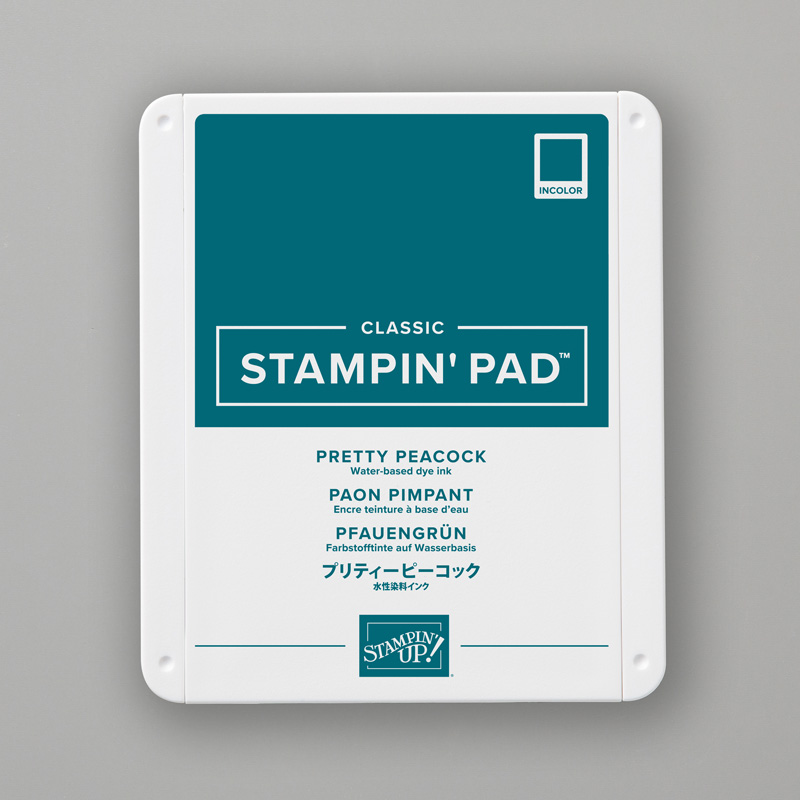
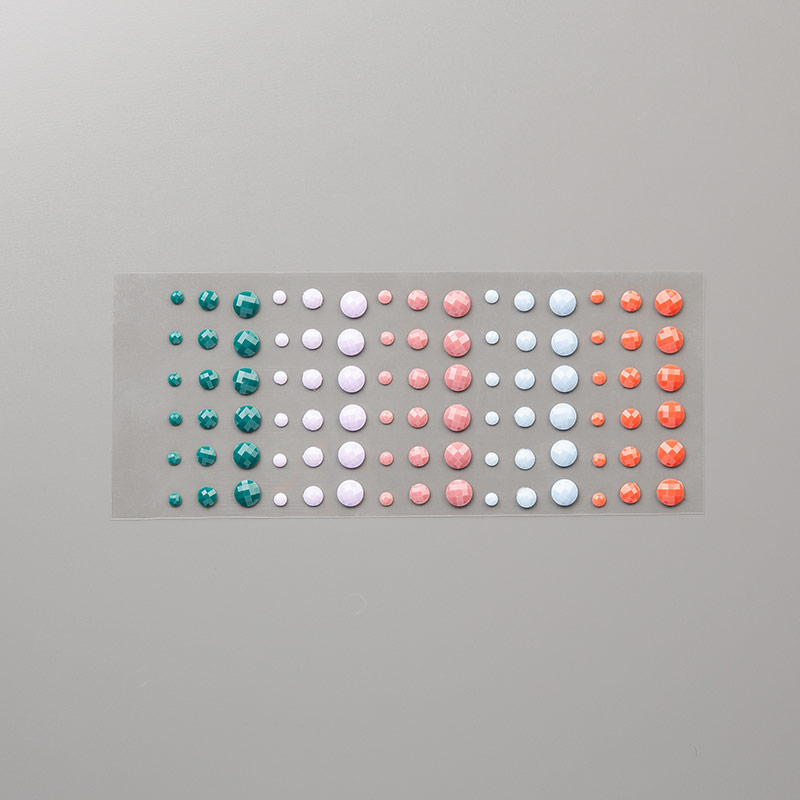
DAISY LANE BUNDLEsingle daisy punchleaf sprig punch2019–2021 IN COLOR 6" X 6" (15.2 X 15.2 CM) DESIGNER SERIES PAPER2019-2021 IN COLOR 8-1/2" X 11" CARDSTOCKwhite paperSEASIDE SPRAY CLASSIC STAMPIN’ PADROCOCO ROSE CLASSIC STAMPIN’ PADTERRACOTTA TILE CLASSIC STAMPIN’ PADPRETTY PEACOCK CLASSIC STAMPIN’ PAD2019-2021 IN COLOR FACETED DOTSWhisper White Medium Envelopes

If you have any questions, please EMAIL ME

Want to join my team?  CLICK HERE for information.  We have an EXTRA EXTRA special if you sign up this month!

Thanks for stopping by!
Kathy


Tuesday, July 23, 2019

Do Something Creative


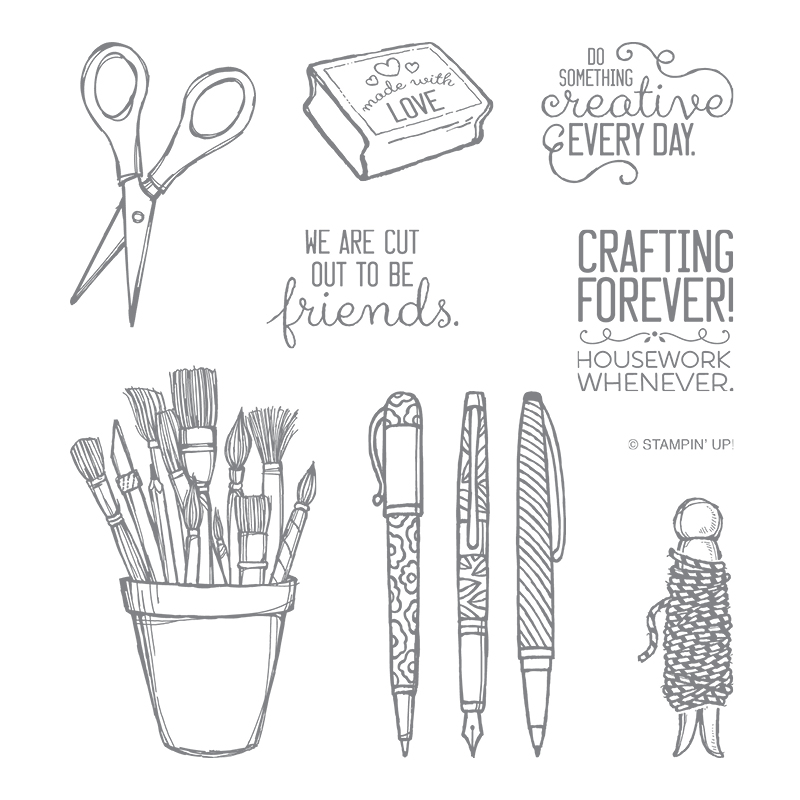
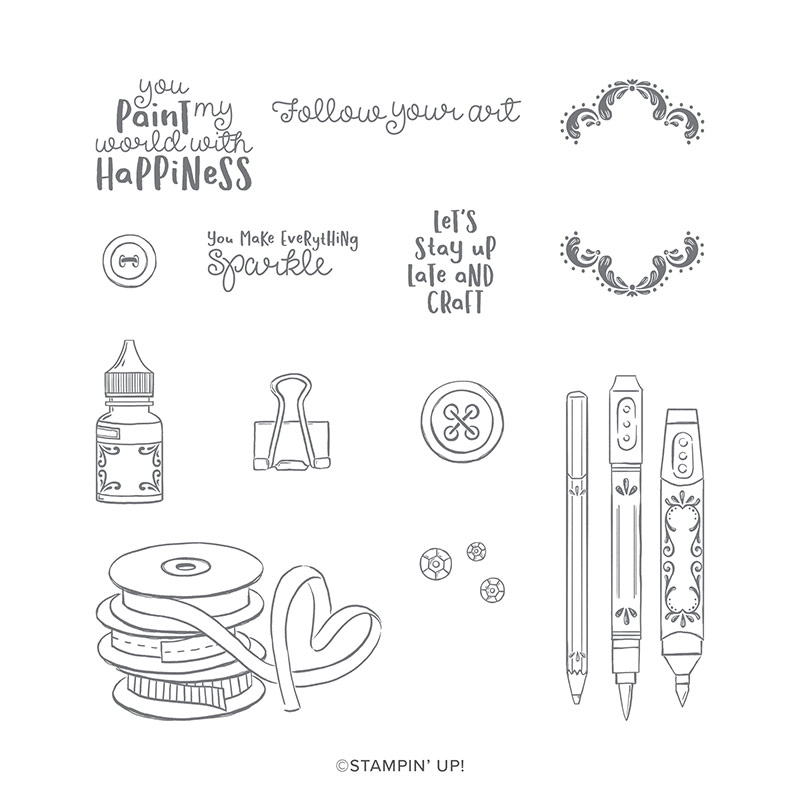
These are post it note holders that I made for everyone at the scrapbook retreat I went to over the weekend.  They were made using the Follow Your Art Designer Series paper and coordinating card stock from Stampin' Up!  The greeting on the front is from the Crafting Forever stamp set and inside I stamped a greeting from the new stamp set, It Starts with Art.

These post it note holders are super easy to make.  I cut the card stock 3 1/8 inches by 6 1/2 inches.
Score on the long side at 3 1/8  and 3 3/8 inches.

My post it note pads are 3"x 3"  about 1/4 inch thick.  If your pads are a different size - then you may have to adjust these measurements a little bit.  For the front cover, I cut the DSP at 2 3/4" square and the card stock mat is 2 7/8 inch square.

I am glad that I made one of these for myself - because I used the post it notes to mark the places on my scrapbook pages where I need to add journaling to the pages.

CLICK HERE to visit my online store.  See the current promotions including how to earn a $5 coupon on your AUGUST order.

Below are some of the products I used to make the Post It Notes holder.

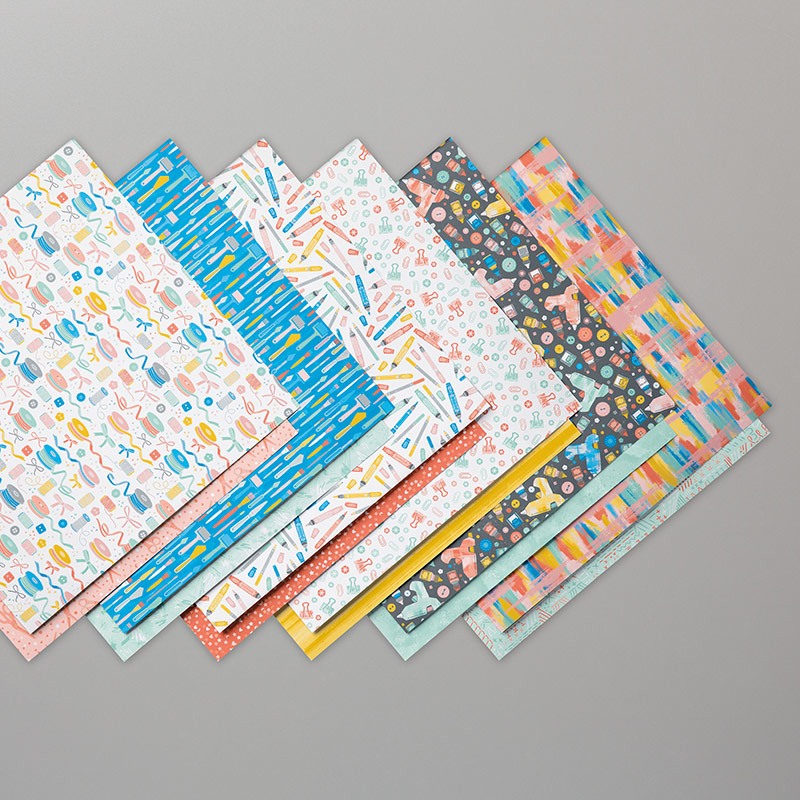
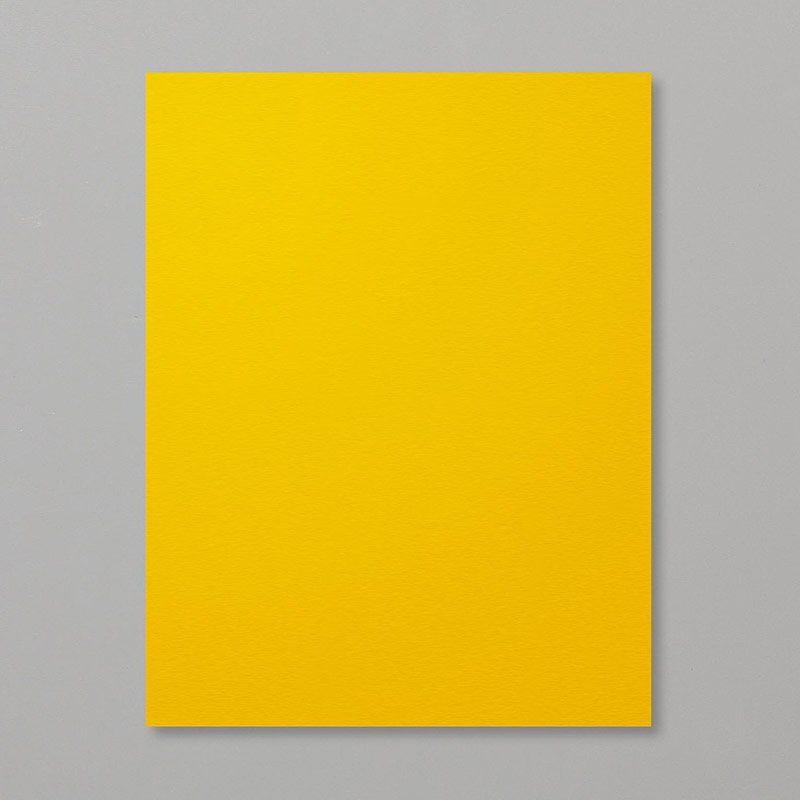
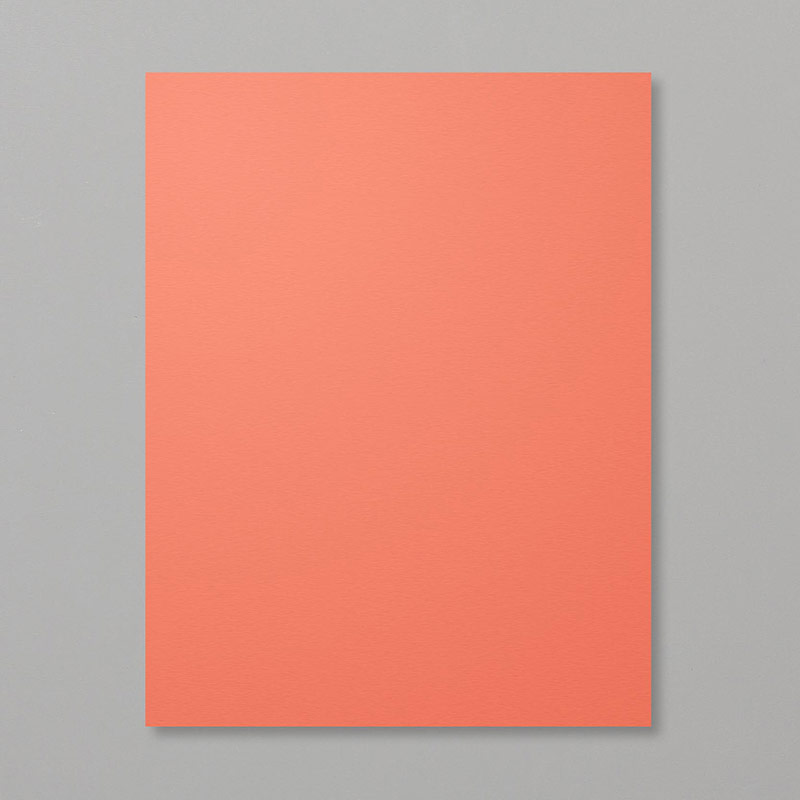
FOLLOW YOUR ART DESIGNER SERIES PAPERbright blue papermint green papergold yellow papersoft coral paperCrafting Forever Cling-Mount Stamp SetIT STARTS WITH ART CLING STAMP SET

CONTACT ME if you have any questions.

Thanks for stopping by!
Kathy


Saturday, July 20, 2019
Where Were You?

Where were you 50 years ago today?  Are you old enough to remember the Apollo 11 Moon Landing?  I had just turned 12 and thought it was great that I got to stay up late to watch history being made.  Maybe that is the reason I have always been interested in space travel.  When I lived and taught in Northern Virginia, a trip to the Air & Space Museum in Washington D.C. was always my favorite!  Anyone born that historic day - is now 50 years old!  These would be perfect cards for them.  I made them using the March 2019 Paper Pumpkin kit.

Below are two samples of the cards that came in this kit.


This kit is no longer available - but the great thing about Paper Pumpkin kits is that a new one will show up in your mailbox each month - until you tell them to stop coming!  July's kits have already been shipped; I'm hoping mine is there when I get home from my trip to Pennsylvania.

Watch the short video below to learn about the August kit. There is something special about this kit - and add on bonus, sold separately.  CLICK HERE to get more information and to sign up!  


CLICK HERE to see the current Stampin' Up! promotions.  Earn a $5 coupon to use in August for every $50 you spend in July. 


CONTACT ME if you have any questions!

Thanks for stopping by!
Kathy